

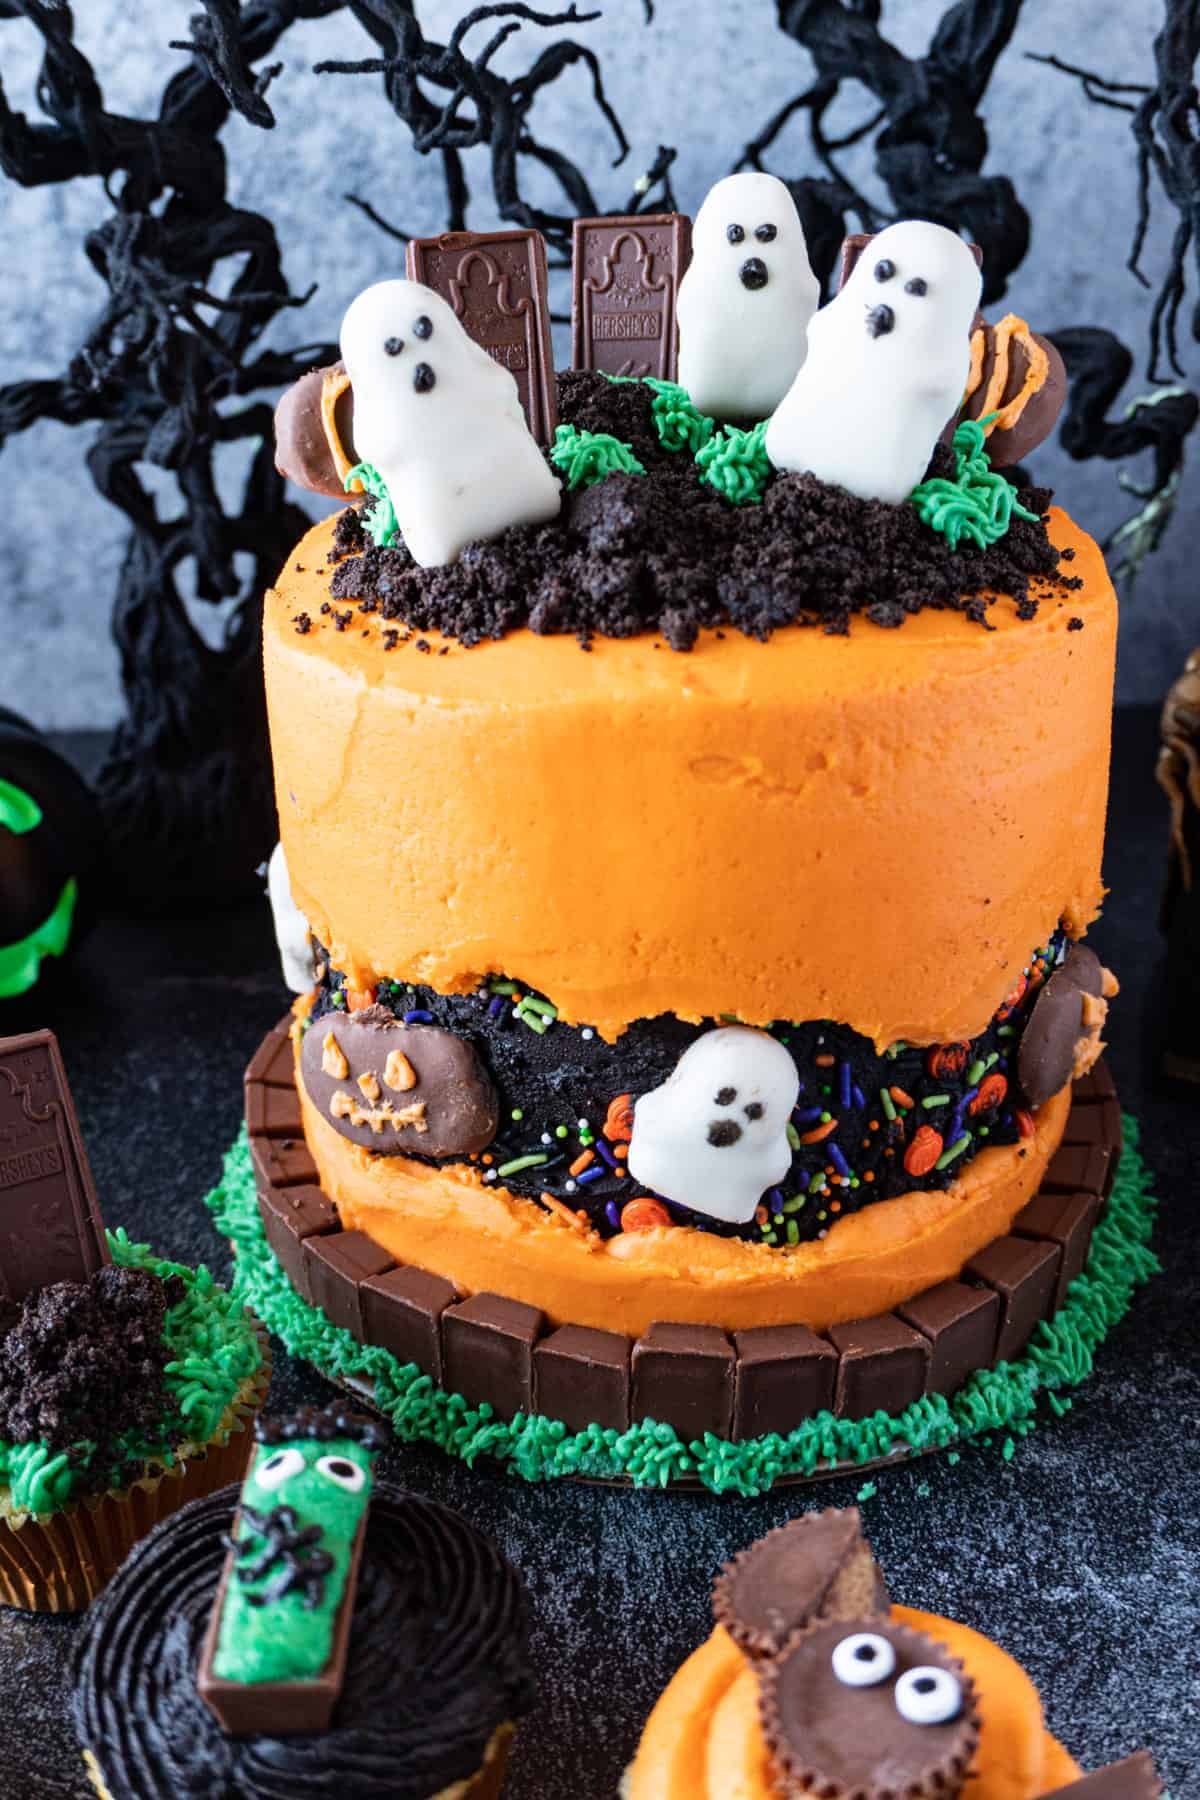
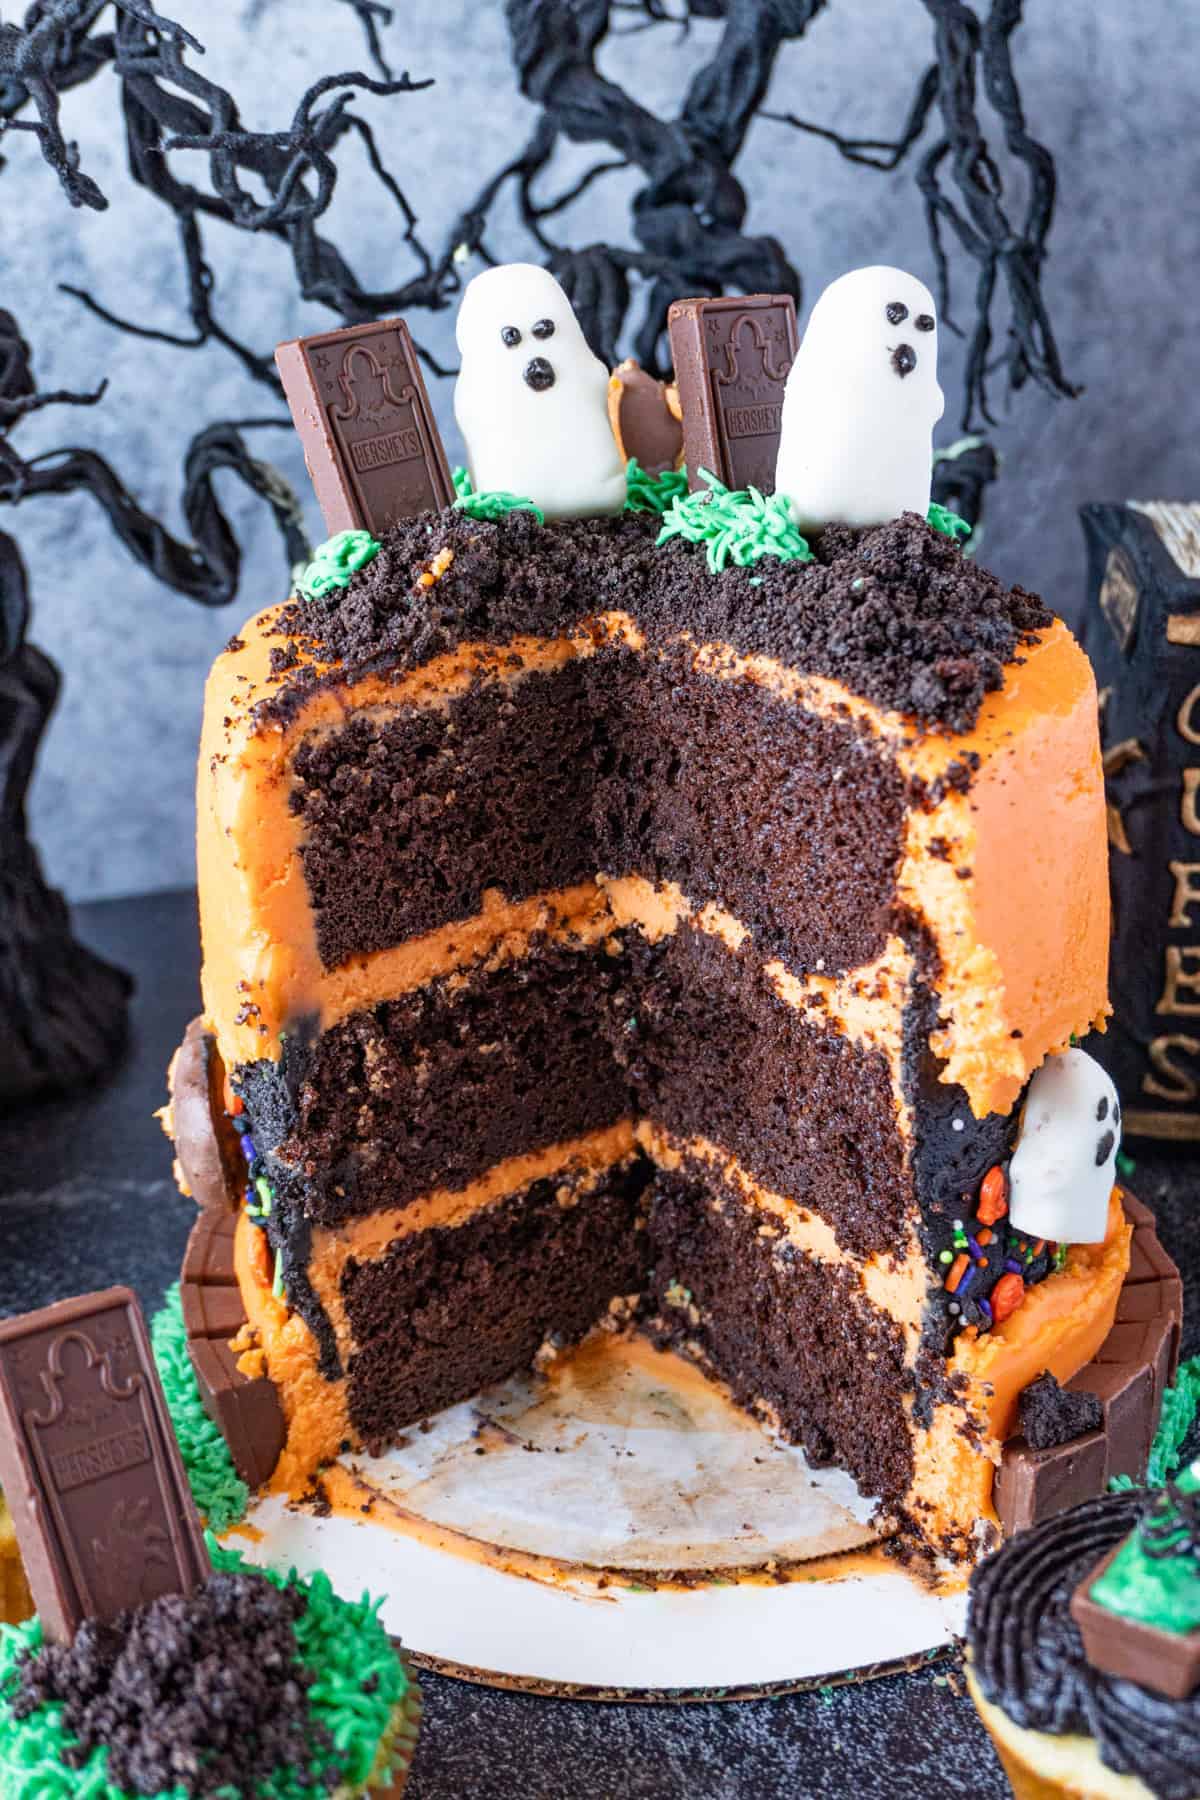
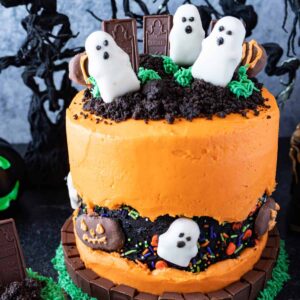
Bring spooky fun to your dessert table with a Graveyard Halloween Cake treat that looks as creepy as it is delicious. Made with delicious ingredients and creative decorations, this dessert is sure to impress at any Halloween party.
Jump to:
Why This Recipe Works:
- Creative: Fun design that doubles as both dessert and décor.
- Customizable: Add cookies, candies, or spooky toppers to make it your own.
- Crowd-Favorite: A hit with kids and adults, perfect for festive gatherings.
If you love this Halloween Cake, make sure to check out these other fun Halloween treats for your next spooky party: Halloween Popcorn Balls, Halloween Rice Crispy Treats, and this Cauldron Cocktail!
What You Need for This Graveyard Halloween Cake
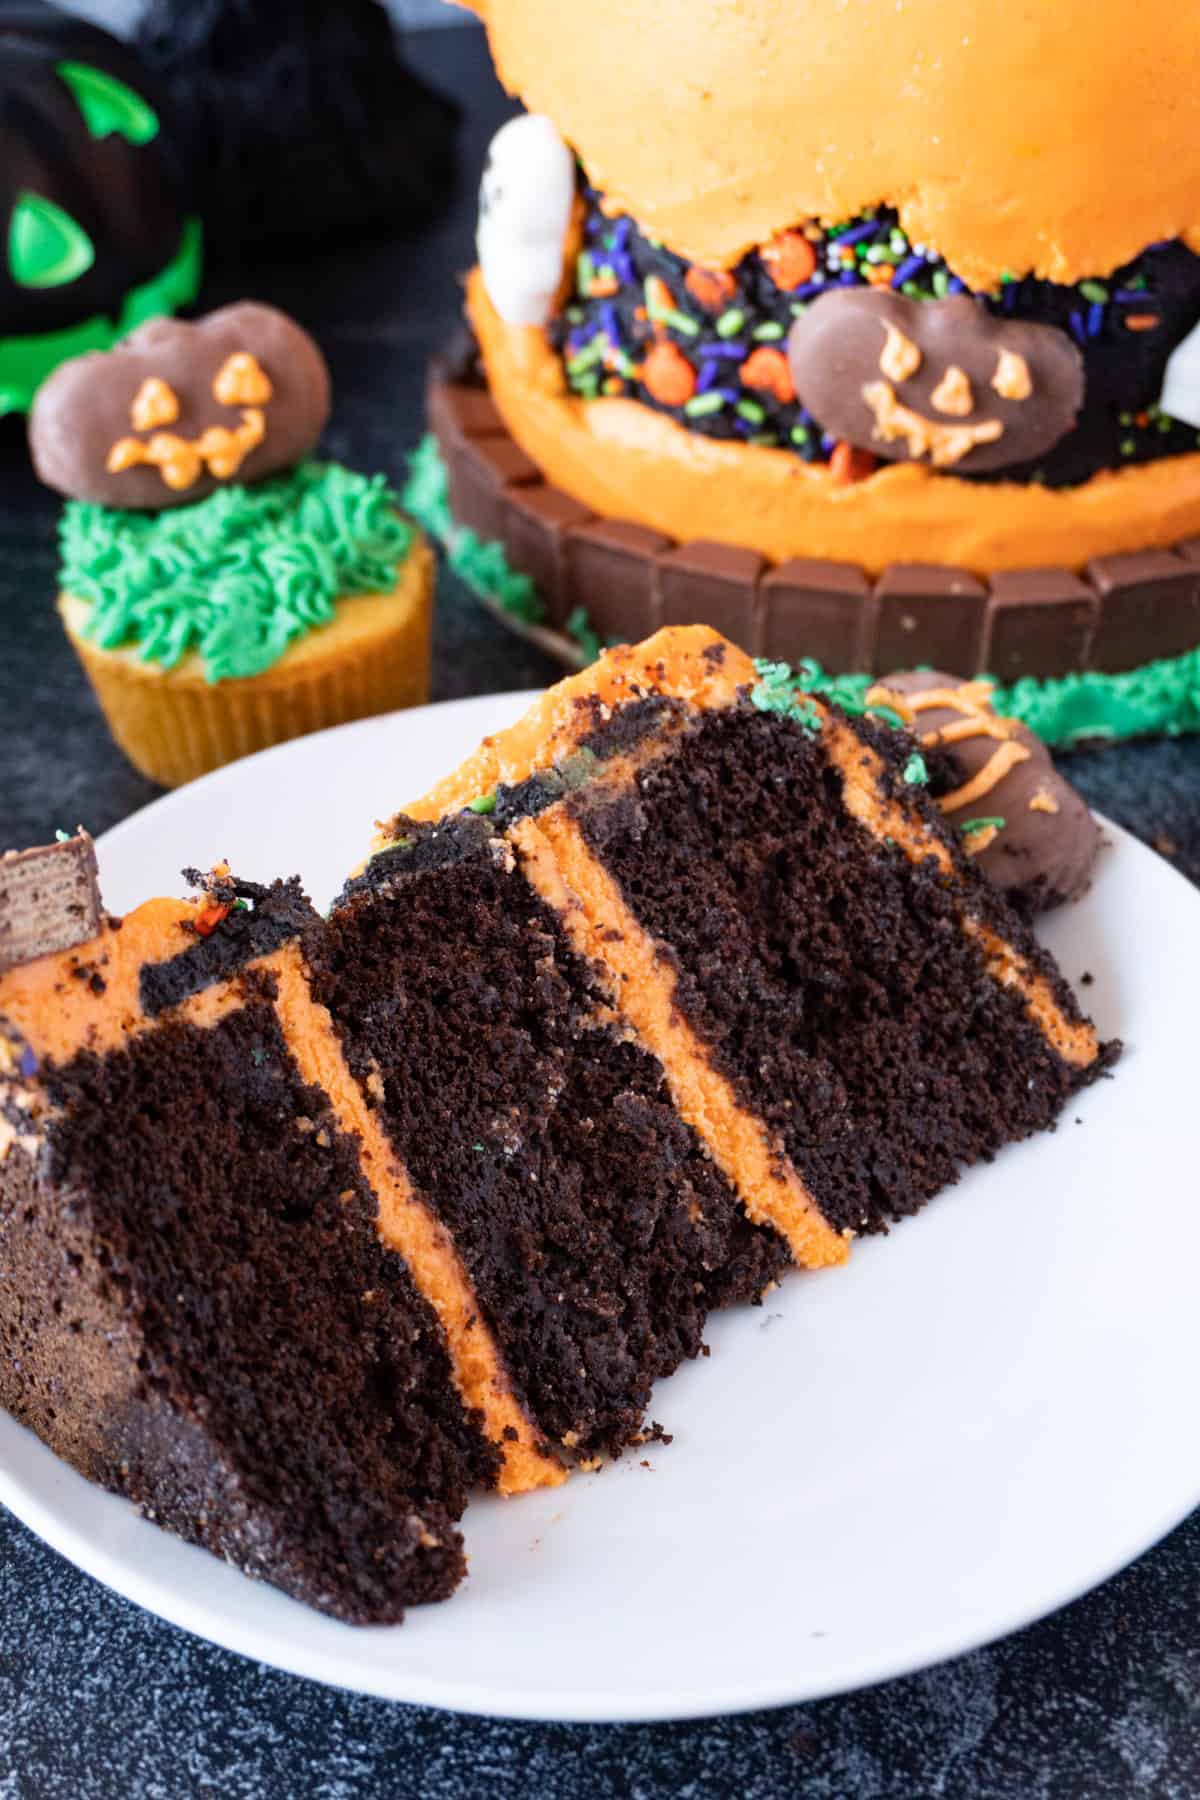
Cake: Homemade Buttermilk Chocolate Cake baked into three 6-inch layers (just like my German Chocolate Cake) is my go-to for this recipe. It's tender, delicious, and comes together easily.
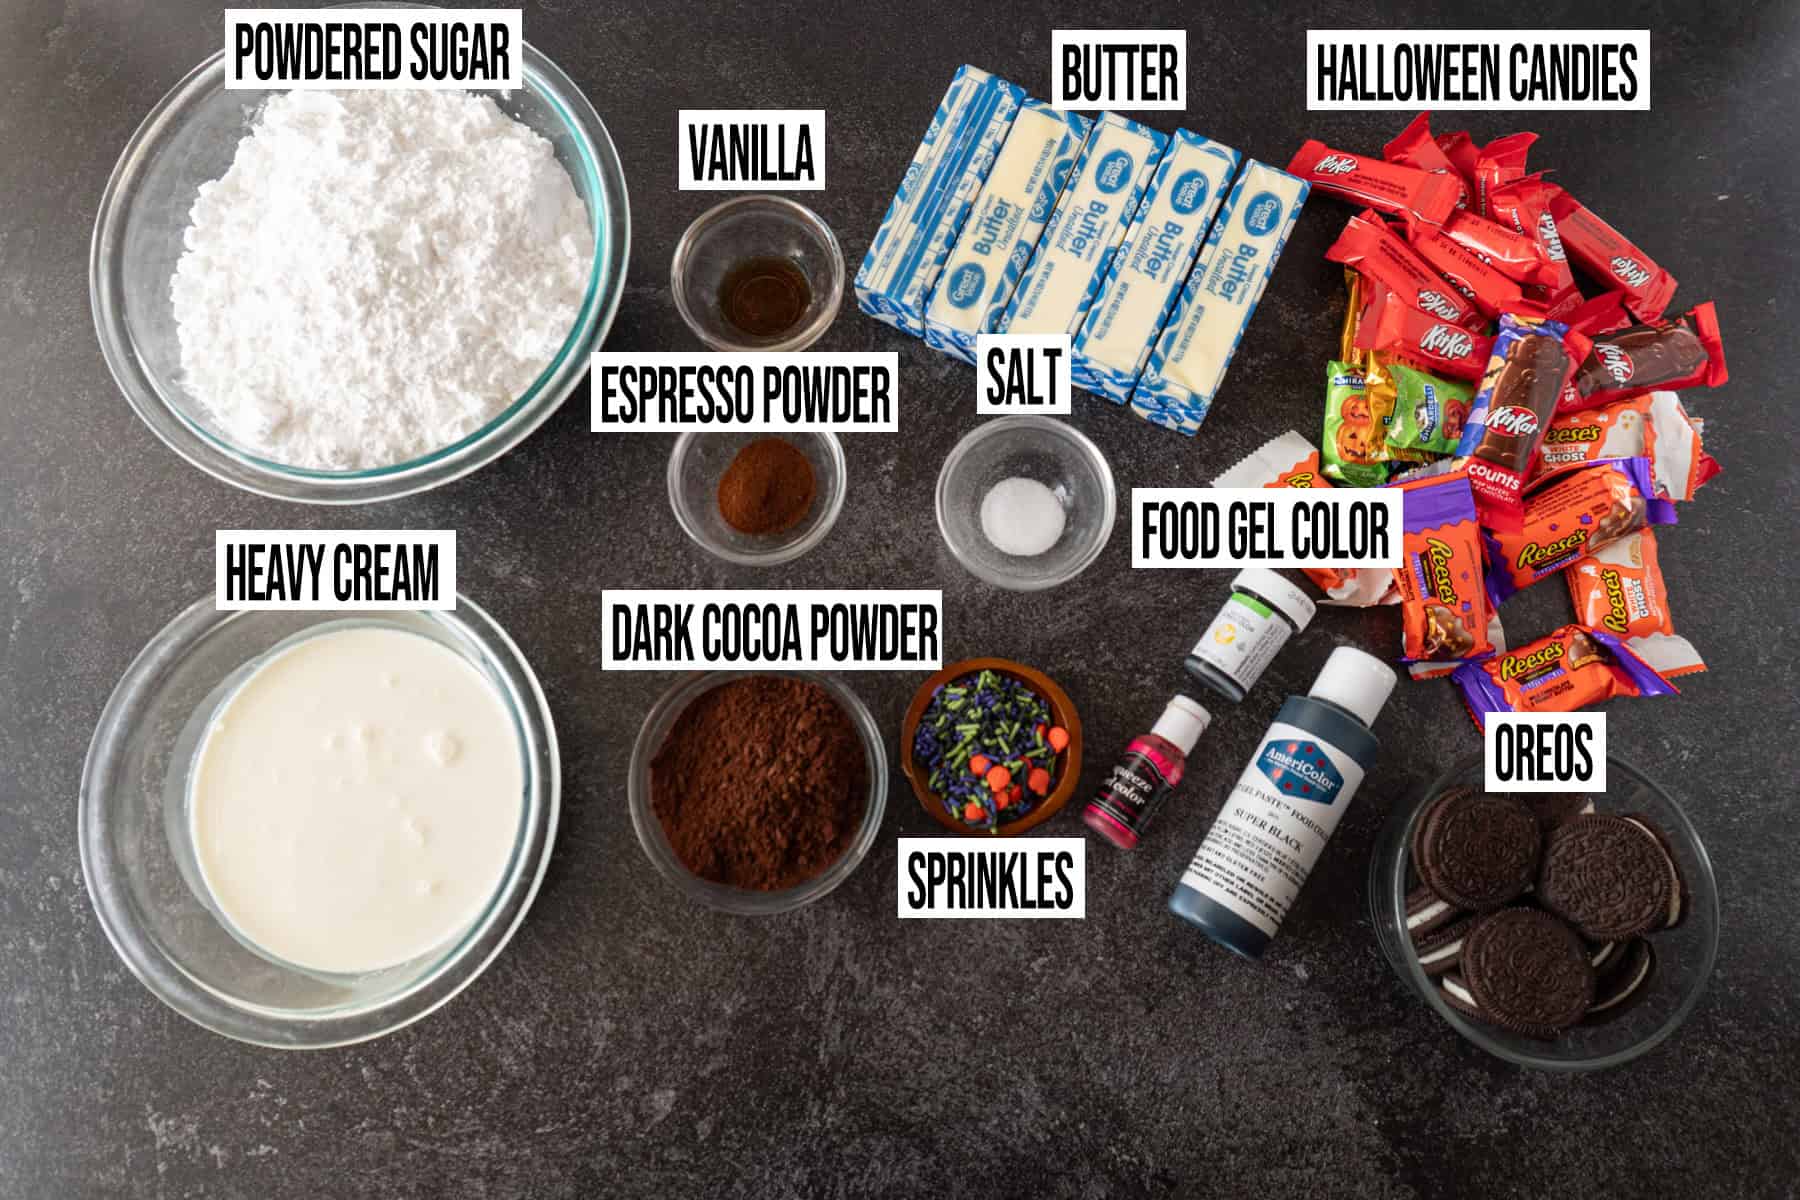
Buttercream Frosting: I use vanilla buttercream as the base for the orange and green frosting and dark chocolate buttercream as the base for my black frosting.
Decorations: I use crushed Oreos for the dirt, white chocolate Reese's Ghosts, Reese's Pumpkins, Hershey's Chocolate Tombstones, Kit Kats, and fun Halloween sprinkles.
Tools: Toothpicks- for helping the ghosts stand up, Piping Bags, Piping Tips: Small Writing Tip (Wilton #3), Grass Tip (Wilton #233), and a piping tip coupler so you can swap the writing tip between different colors- this is optional but makes decorating much more easy, Cake Scraper/Bench Scraper, Small Offset Spatula, Three 6 inch Round Cake Pan, Cake Boards (6 inch and an 8 inch), Cake Turntable
Halloween Cake Substitutions & Variations
Cake: Use your favorite boxed cake mix for an easy cake substitution! Or try my Funfetti Birthday Cake recipe, but use Halloween Sprinkles!
Candy: New Halloween Candy comes out every year! Use whatever you find to be the most fun!
Tombstones: Use Milano Cookies with RIP piped on for a fun alternative!
Classic: A classic graveyard cake is made in a 9x13 dish. It is a flat, single-layer cake, with crushed Oreos as dirt, and cookies for headstones.
How to Make Graveyard Halloween Cake?
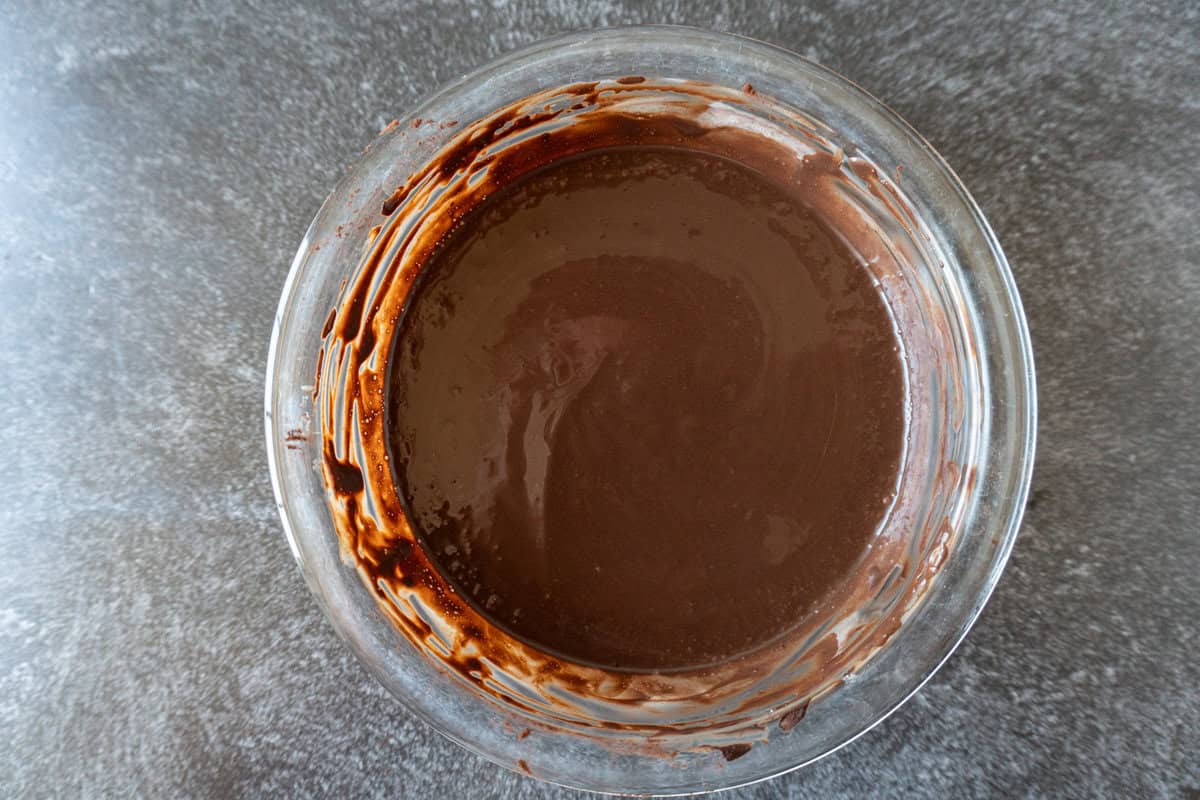
- Step 1: Combine boiling water and instant espresso. Then mix in the cocoa powder, buttermilk, and vanilla.
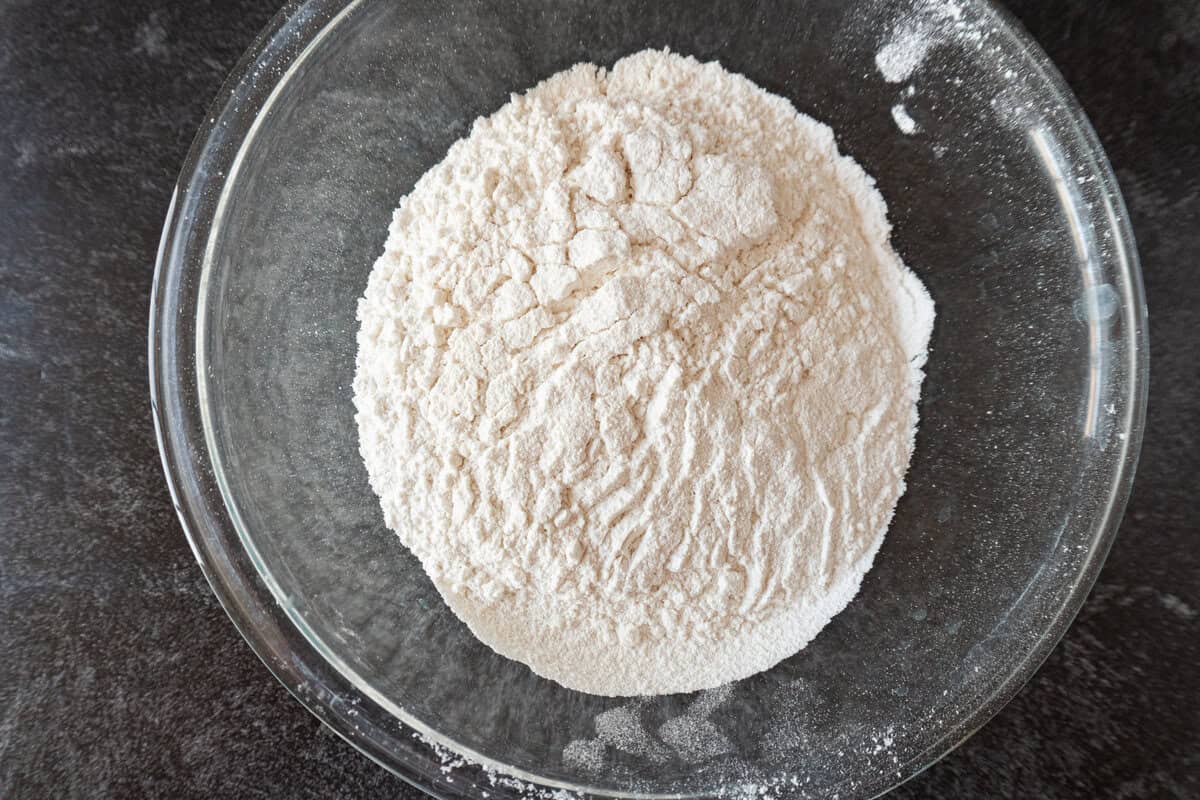
- Step 2: n a separate bowl, mix together the cake flour, baking soda, and salt.
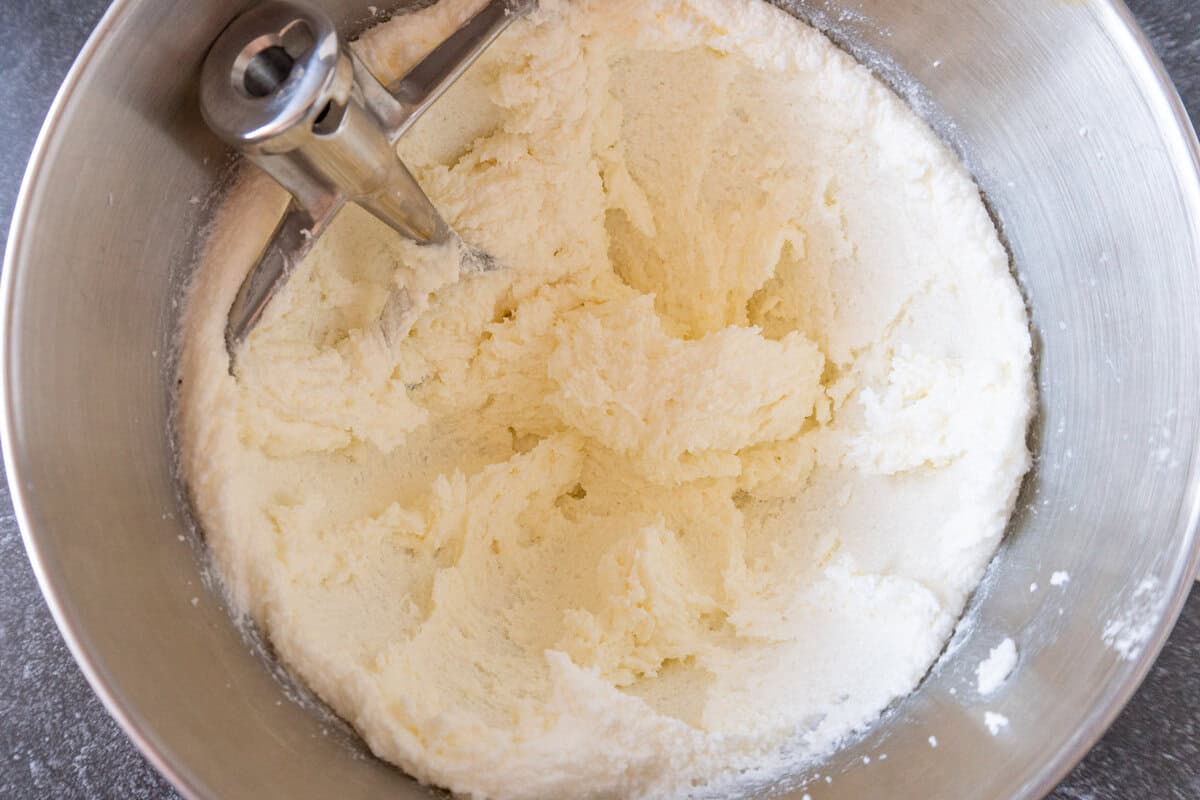
- Step 3: In the bowl of a standup mixer beat your butter and sugar together until light and fluffy.
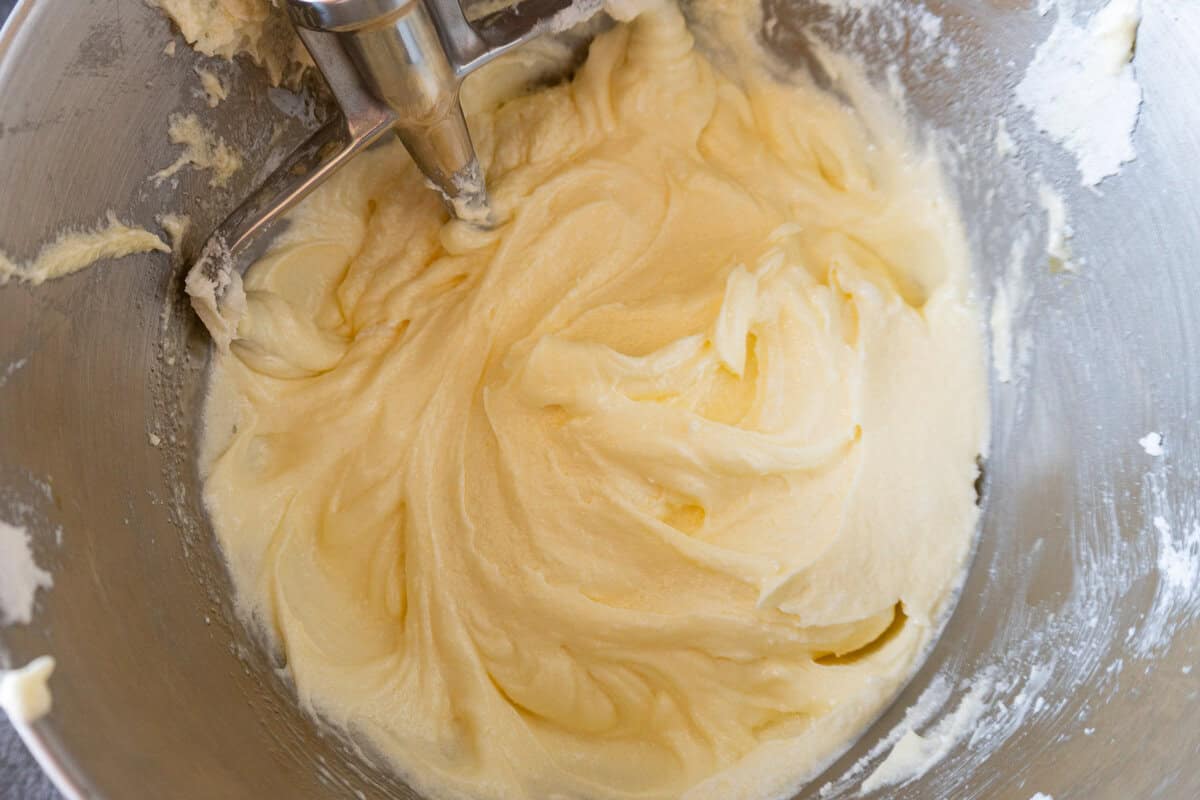
- Step 4: Then add in your eggs and yolks one at a time, mixing in between each egg. Mix in your oil, then beat on high until batter is light and airy.
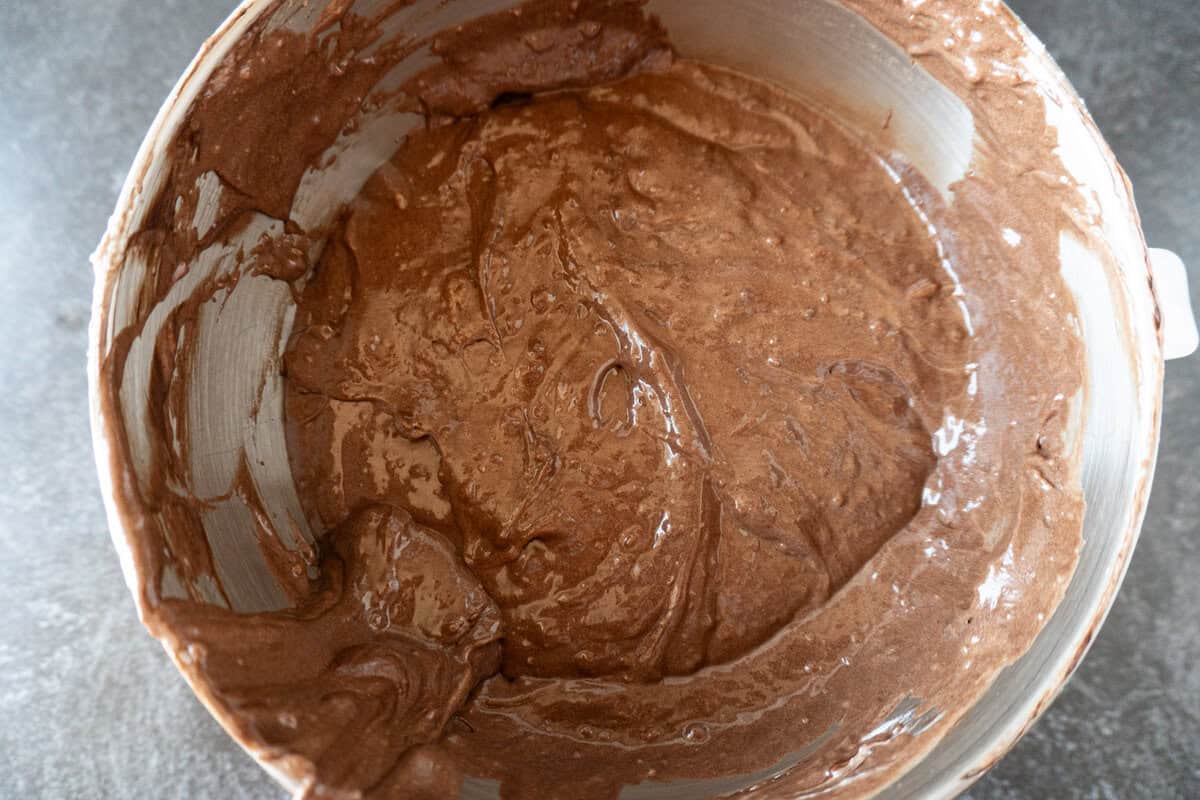
- Step 5: Fold in half the flour mixture, then fold in half the buttermilk mixture. Then repeat until everything is incorporated.
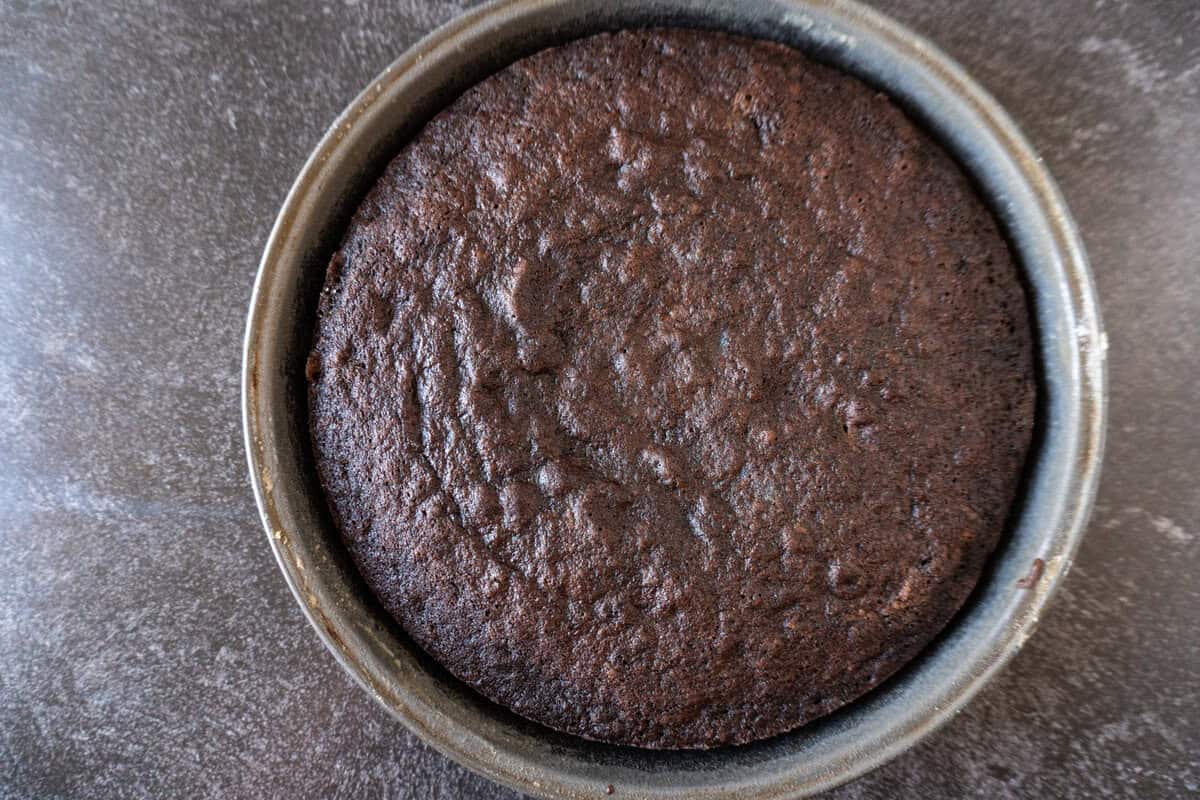
- Step 6: Pour into three 6-inch greased baking pans, then bake until done! Allow cake to cool completely, then wrap in a saran wrap and freeze overnight before frosting.
Save this for later!
Don't worry, I promise not to spam you!
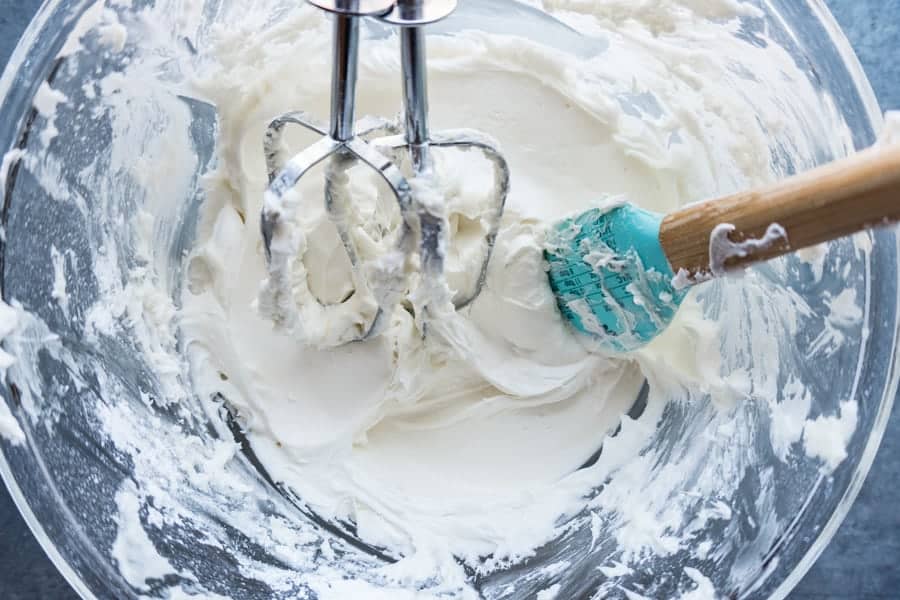
- Step 7: Make a batch and a half of my vanilla buttercream. Dye most of it orange and about 1.5-2 cups green.
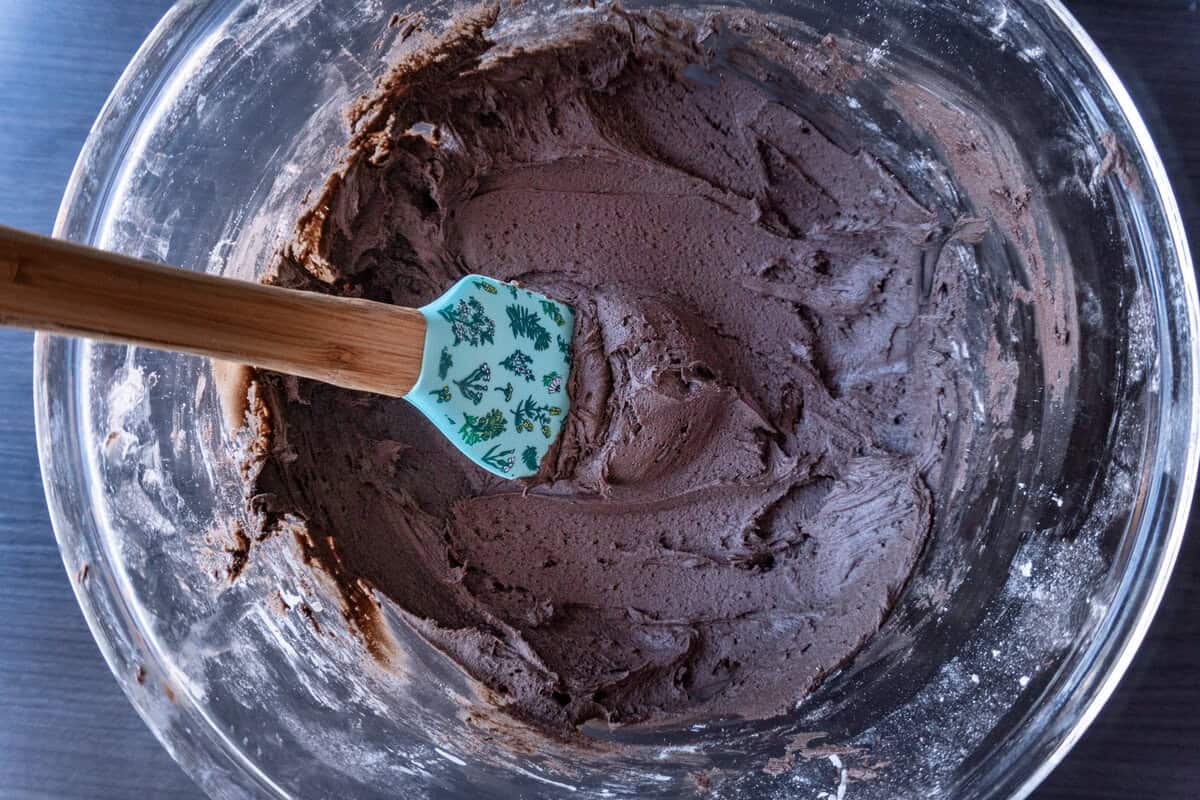
- Step 8: Make a batch of my dark chocolate buttercream and dye it black.
How to Frost and Decorate Graveyard Halloween Cake?
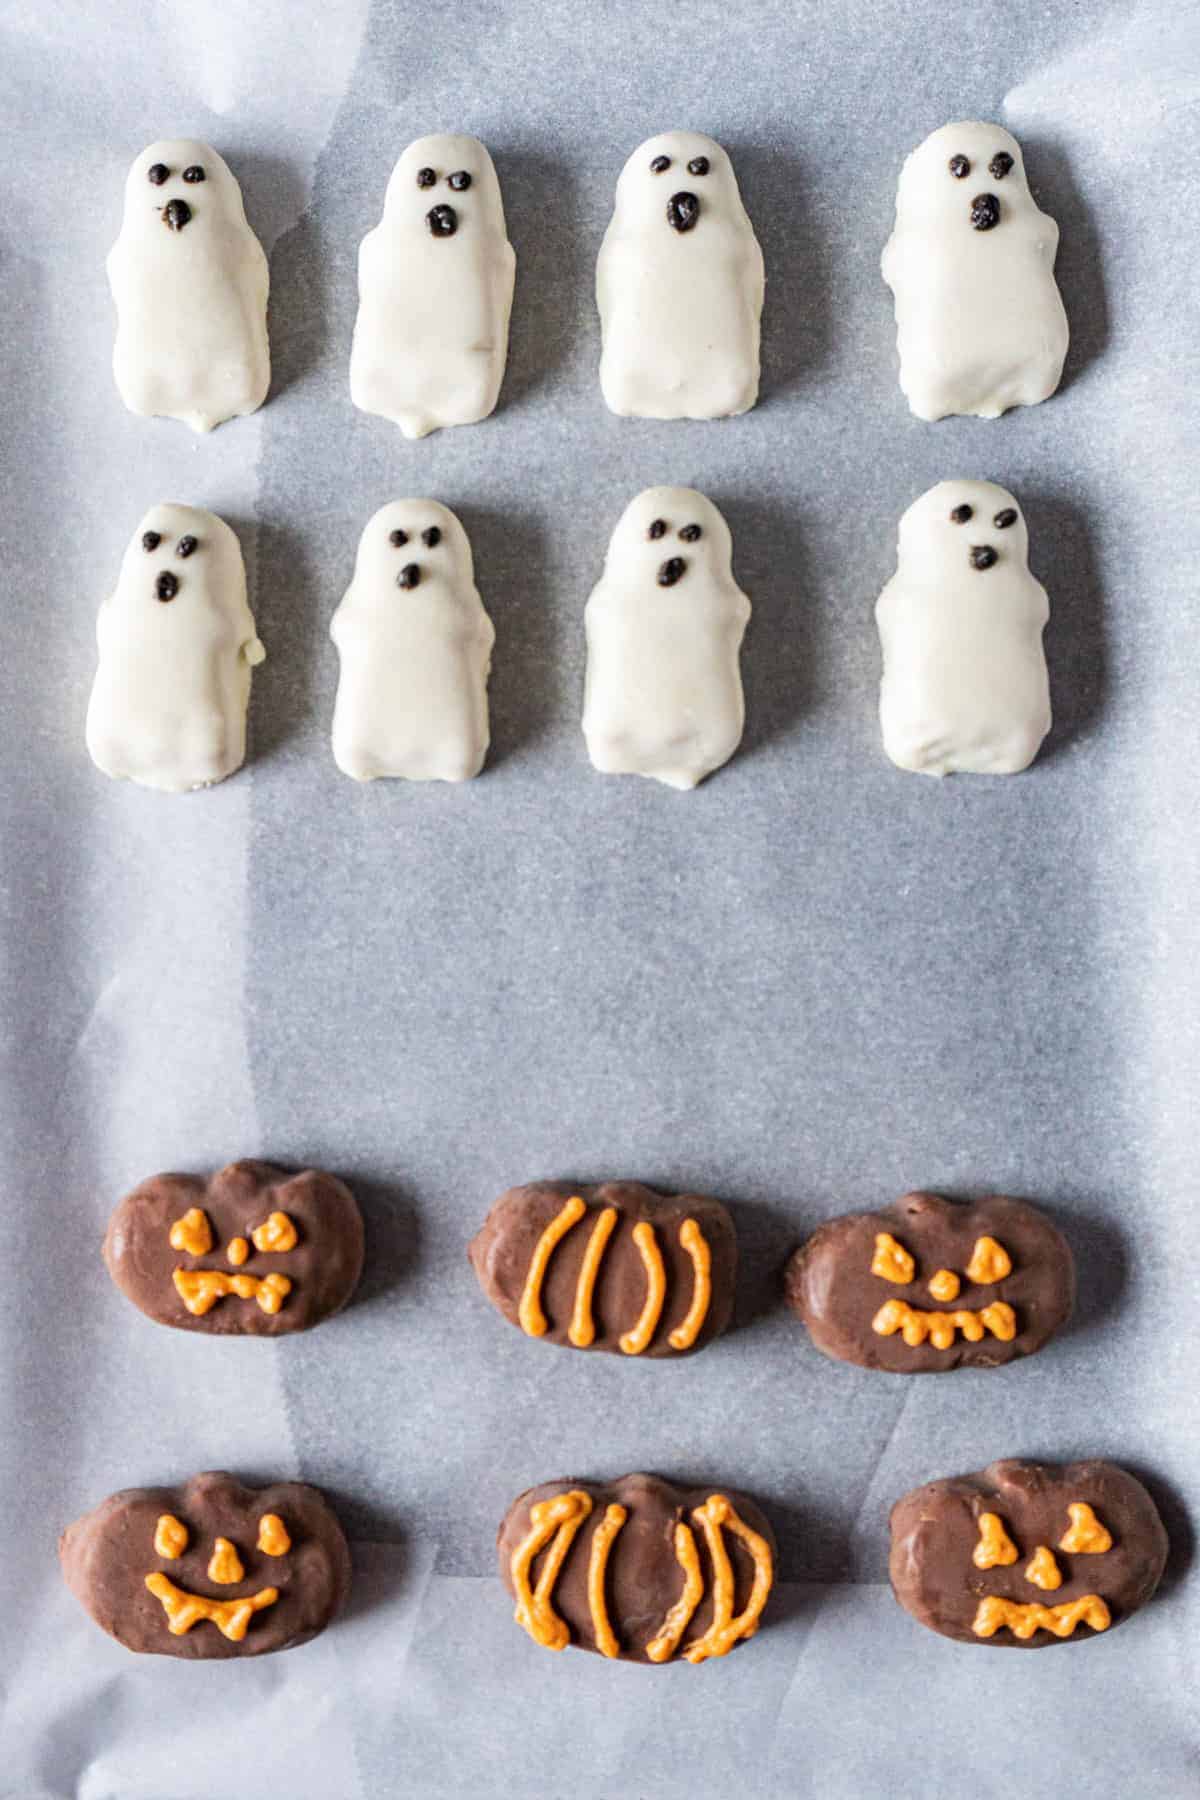
- Step 9: Using the writing tip, add details to the Halloween Candy.
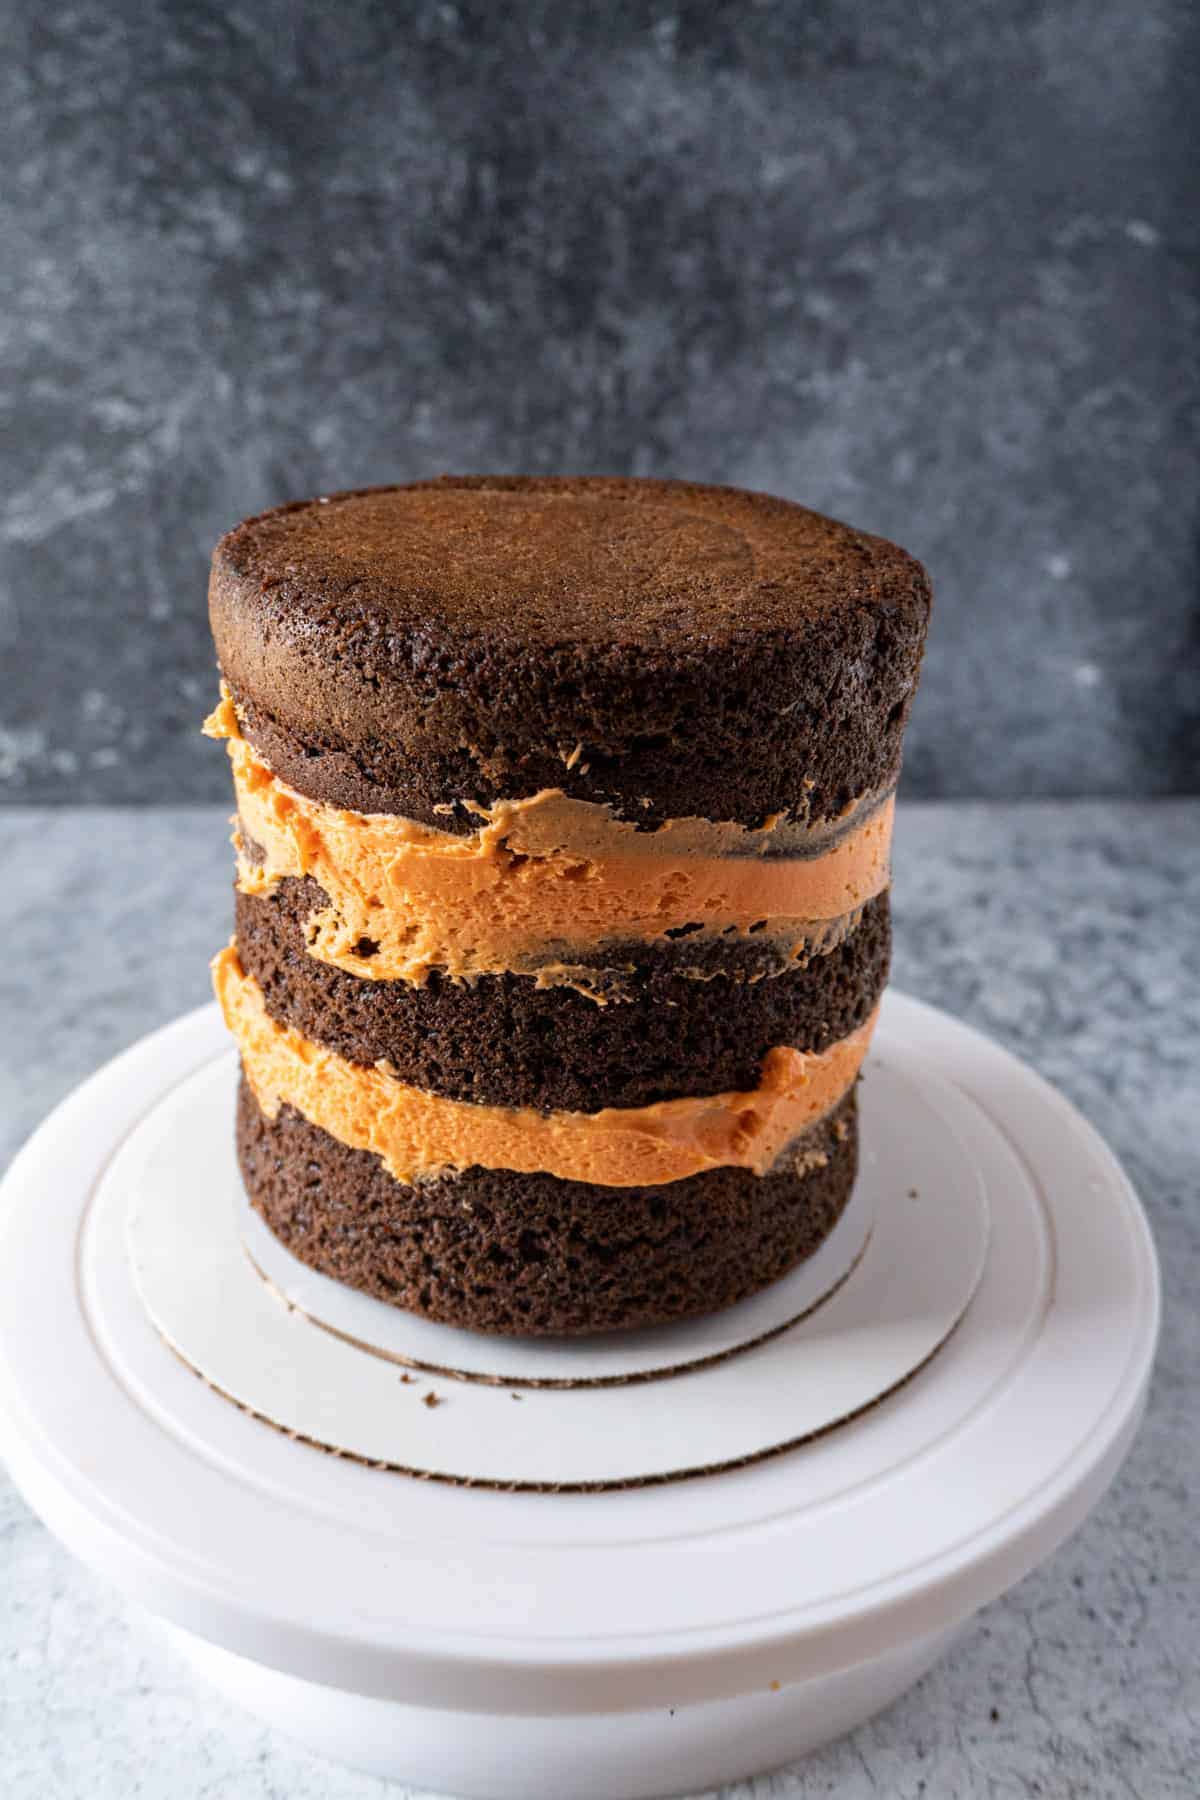
- Step 10: Stack the cake with a layer of orange buttercream between each layer.
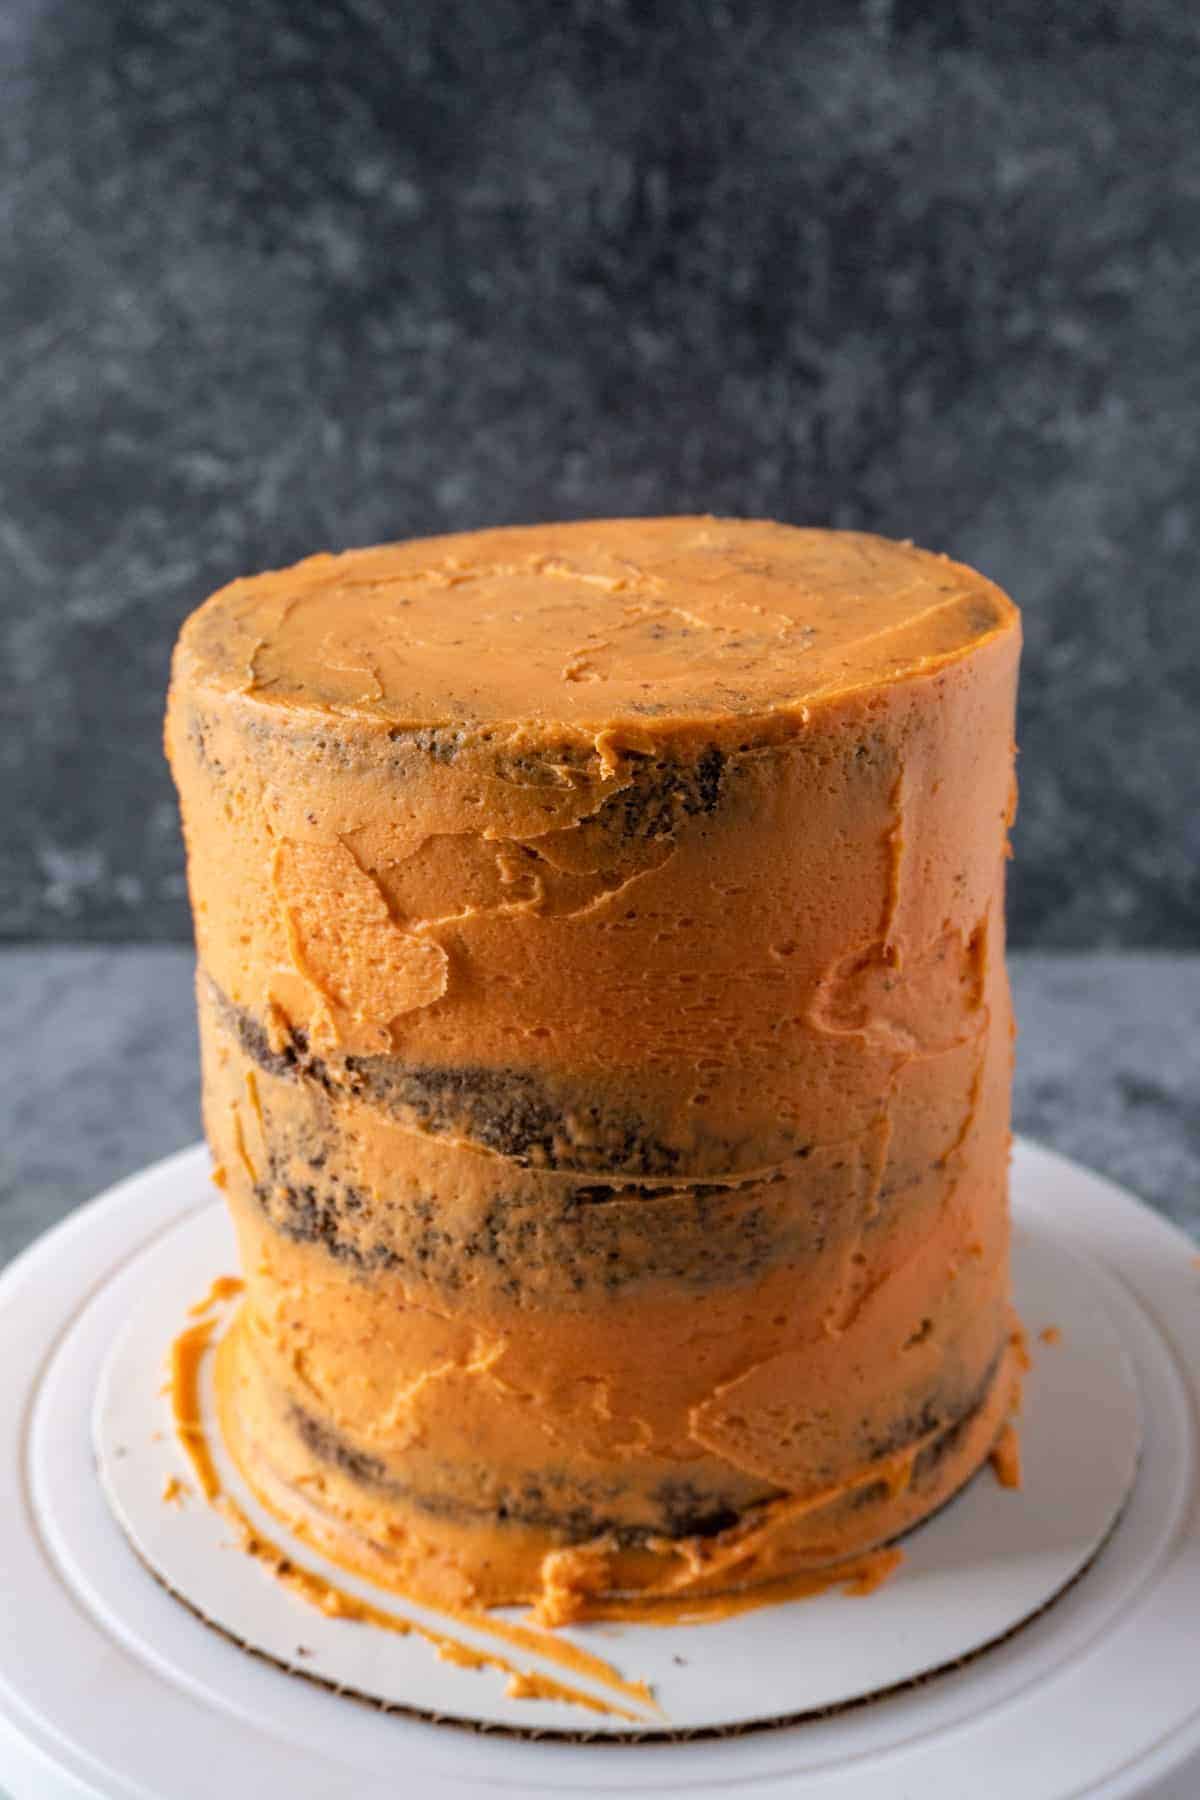
- Step 11: Add a crumb coat using the orange frosting, then refrigerate the cake for 10 minutes.

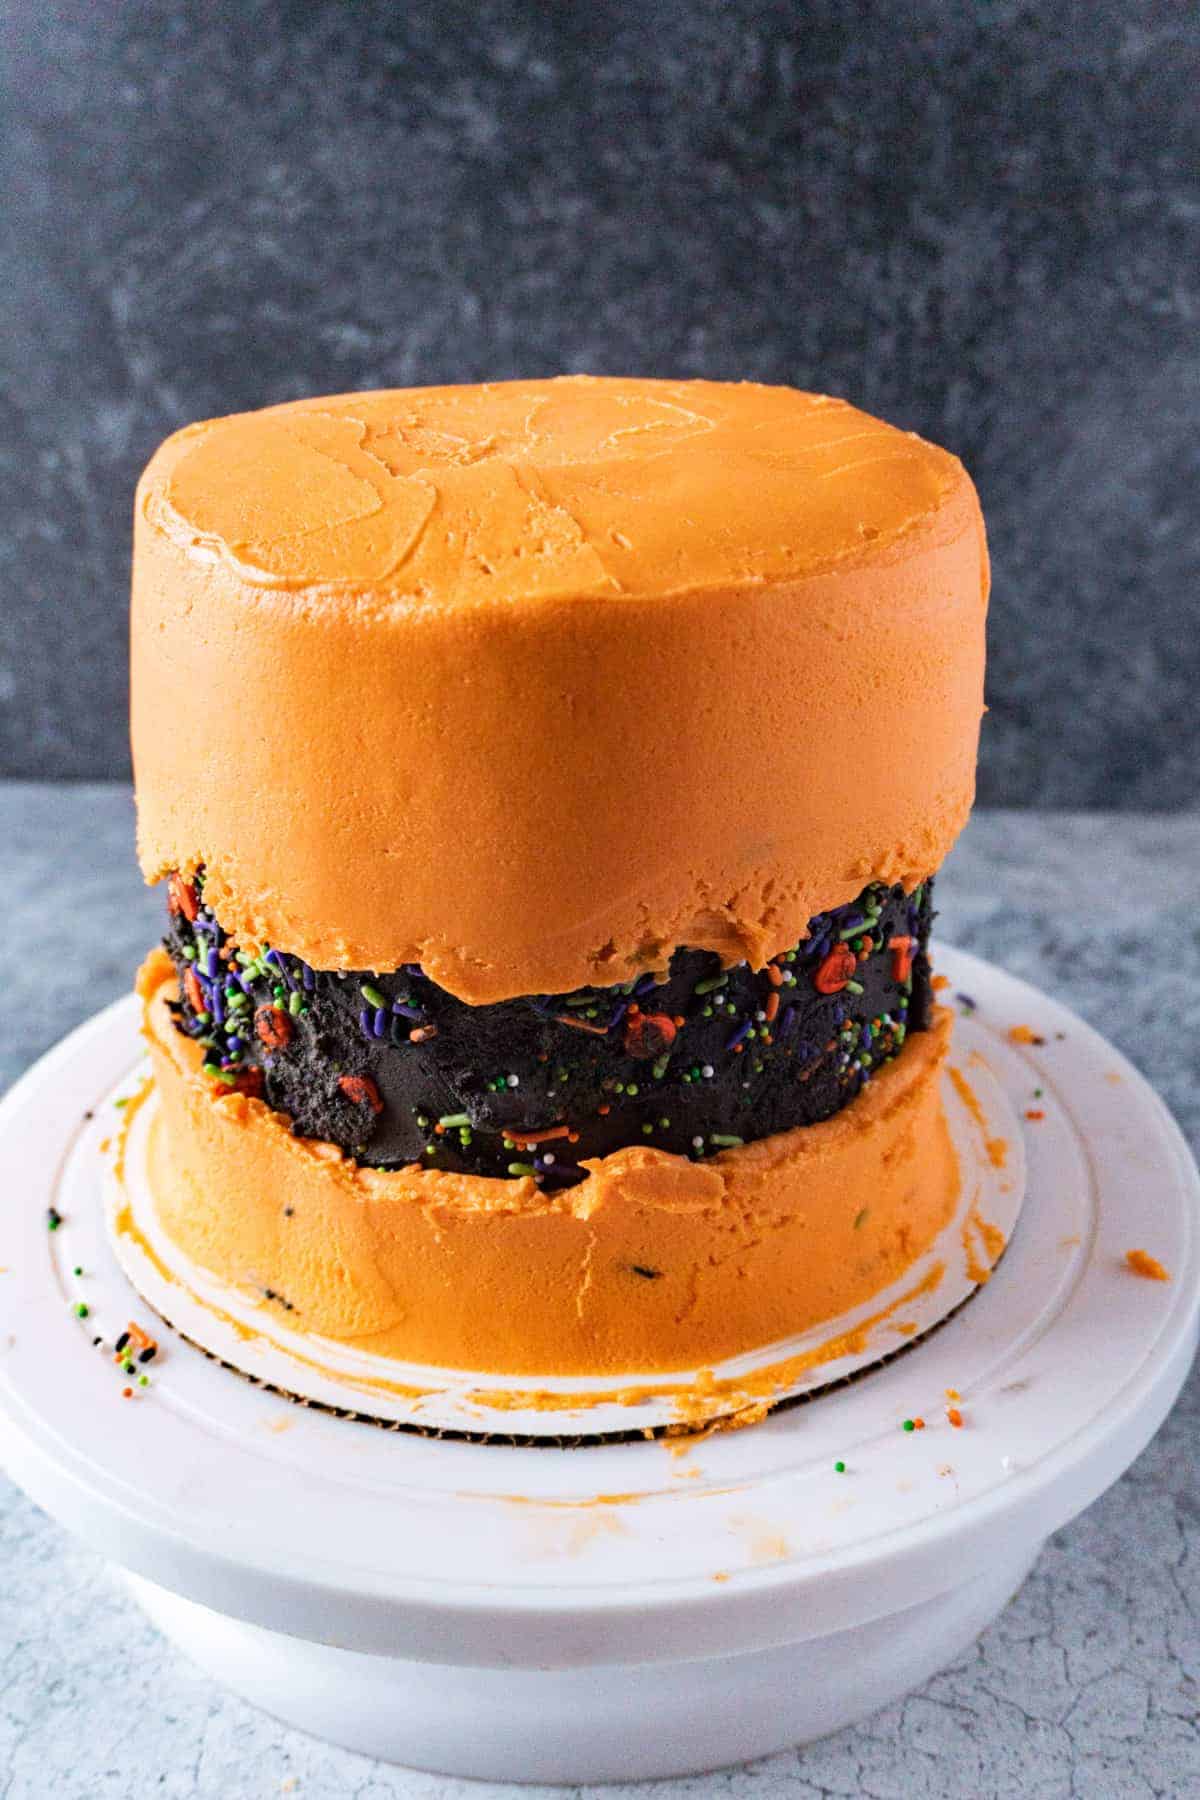
- Step 12: Add a black band around the middle of the cake. Use the bench scraper and offset spatula to smooth it out. Press on sprinkles and ghosts/pumpkins to the black area before the frosting sets, then refrigerate for 10 minutes.
- Step 13: Pipe on and smooth out orange buttercream on the top and bottom of the cake. Halve the Kit Kats and place them around the bottom of the cake as a border.
- Step 14: Add green grass, crushed Oreos dirt, ghosts, and pumpkins to finish decorating. Use toothpicks stuck through the ghosts to help them stand up.
Halloween Graveyard Cake Tips
- Bake cake at 325°F on the second-to-lowest baking rack position. Baking times will depend on the size of the cake, but for my 6-inch recipe, it is 20-25 minutes.
- Make the cake the day before and freeze. This will help so much with frosting.
- Black Buttercream: As you mix the black gel into the frosting, it will look dark grey. As the frosting sits, it will darken to black.
- Add sprinkles to the fault line first before adding the ghosts and pumpkins.
- Slice the back of the ghosts and pumpkins off that you are using for the fault line area to make them thinner. That way, they won't stick out too far.
- Cut the bottoms of the ghosts off that you use for the fault line, to make them shorter to fit in the fault line (if making a larger cake, you won't have to do this).
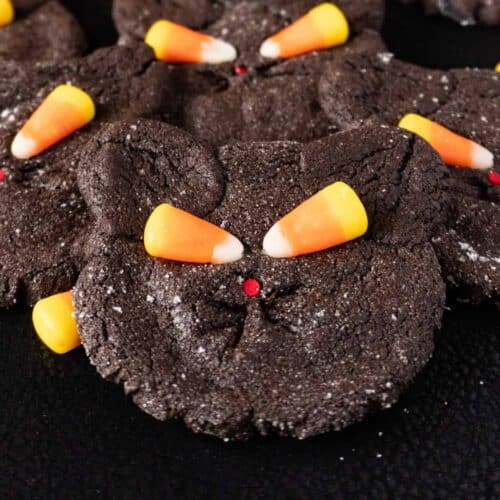
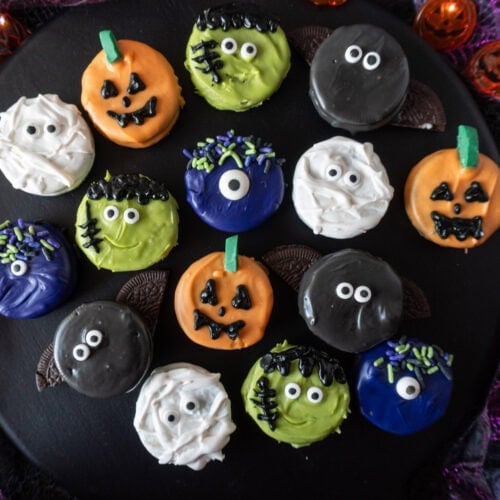
- Use leftover frosting for Halloween cupcakes or spider cookies!
Frequently Asked Questions
Absolutely! I have a delicious homemade chocolate cake that makes a 3-layer 9-inch cake- and it is huge and delicious! You can also make two batches of boxed cake mix and bake in 9-inch pans.
For a bigger cake, you will also need larger cake boards, 2 batches of orange buttercream since there is more surface area and filling to cover. I would still only make a half batch of green buttercream and 1 batch of black buttercream, and then make more only if needed.
If cut correctly, it will serve at least 15 people. Cut the cake into squares and not into pie wedges for good-sized servings that feed many.
More Hauntingly Fun Recipes
I have so many Easy Halloween Recipes that I love to make- from Halloween Donuts, to a fun, sparkly Witches Brew, and accompanying Witches Fingers! Make sure to check them out and let me know your favorites!
If you like this recipe, make sure to give it a 5-star review and leave a comment down below!
Also, don't forget to sign up for my newsletter, and make sure to follow along on Facebook, Instagram, and Pinterest!
Video
Graveyard Halloween Cake
Equipment
- 3 6-inch Cake Pans
- Piping Tips: Small Writing Tips Wilton #3, Grass Tip (Wilton #233) (might also want a piping tip coupler so you can swap the writing tip between different colors)
- Cake Scraper/Bench Scraper
- Small Offset Spatula
- Cake Boards One 6-inch and One 8-inch
- Cake Turntable
- Tooth Picks
Ingredients
Orange Buttercream Frosting
- 1 cup butter softened to room temperature
- 5-7 cups powdered sugar
- 1 tbs vanilla
- ¾ cup heavy cream
- Pinch salt
- Orange food gel coloring
Black Buttercream Frosting
- 1 cup butter softened to room temperature
- ½ teaspoon espresso powder
- ½ cup dark cocoa powder I used Hershey's Special Dark
- 1 teaspoon vanilla
- 5- 7 cups powdered sugar
- ¾ cup heavy cream
- Pinch of salt
- Black food gel coloring
Green Buttercream Frosting (this is a half batch)
- ½ cup butter softened to room temperature
- 3-5 cups powdered sugar
- ½ tbs vanilla
- 6 tbs heavy cream
- Pinch salt
- Green food gel coloring
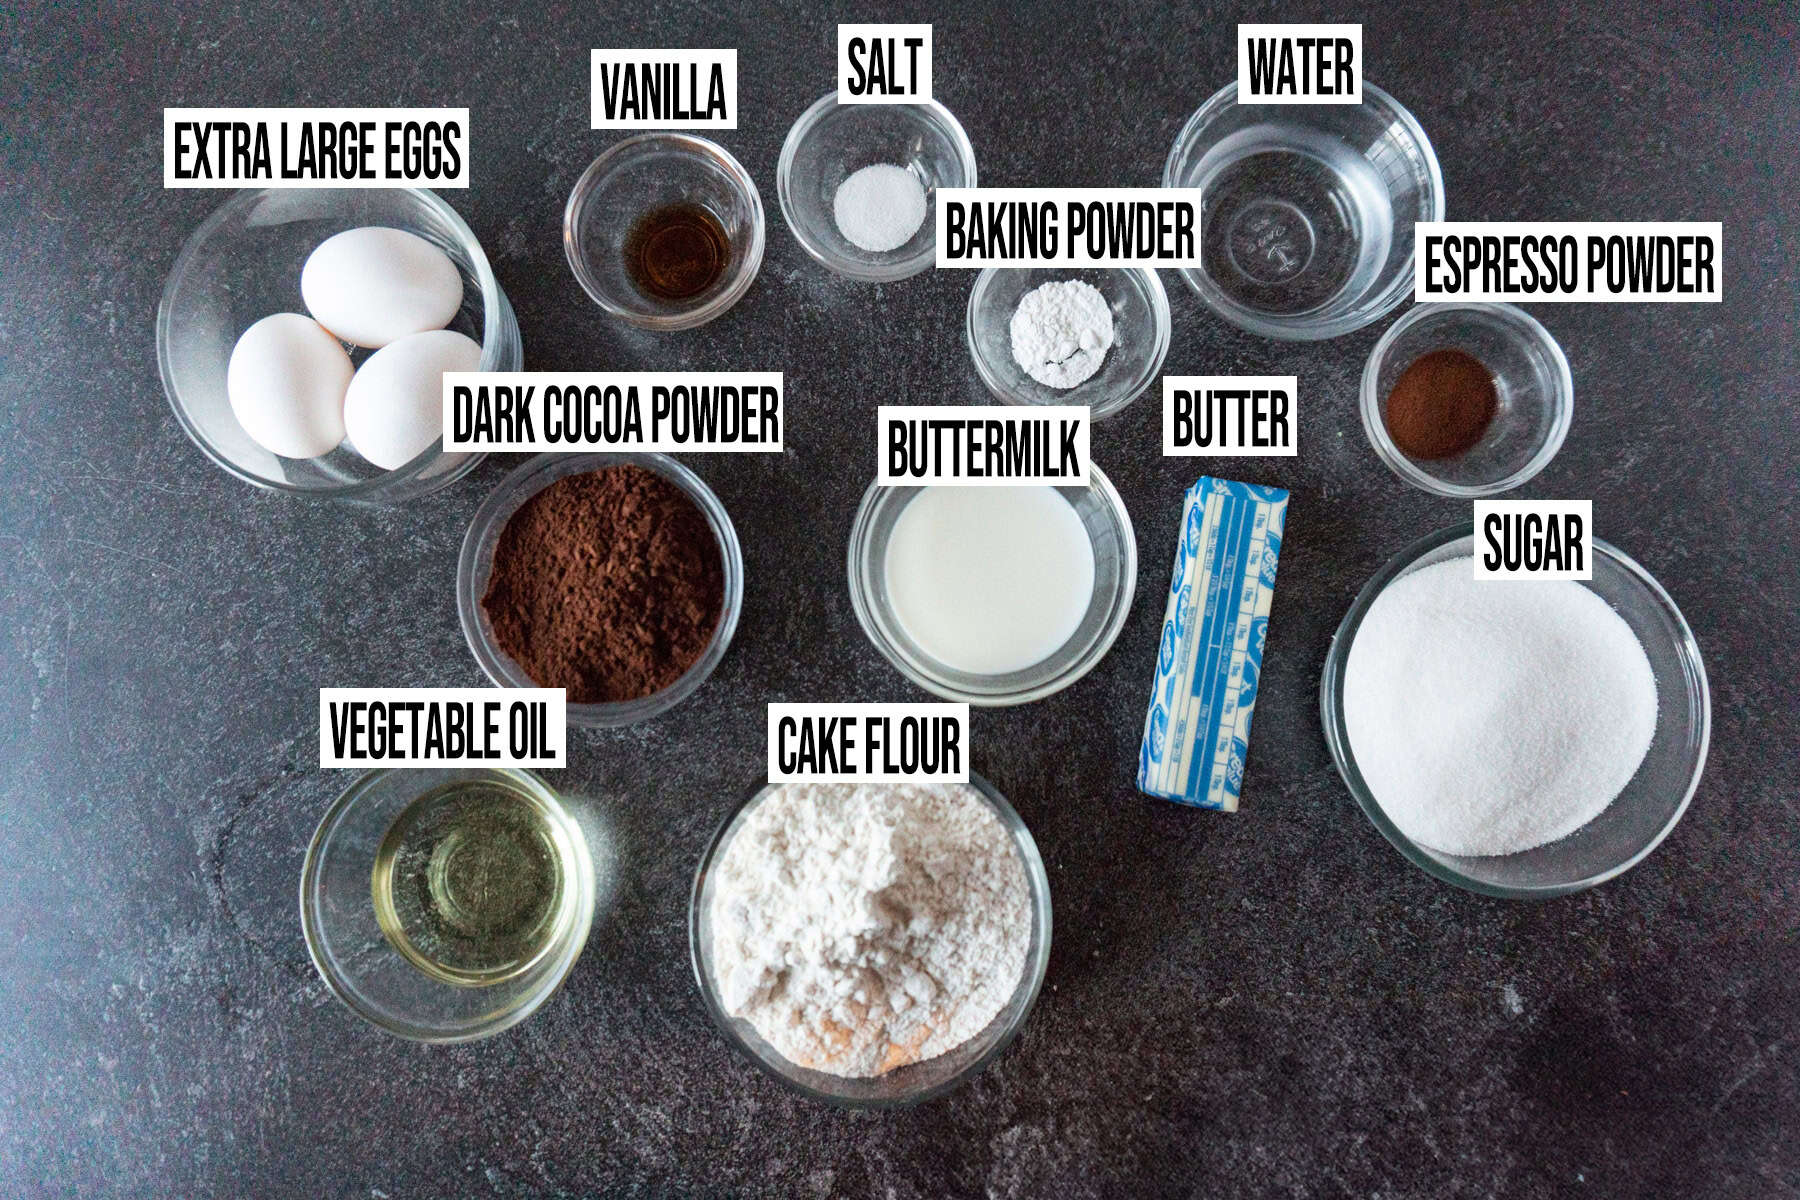
Chocolate Cake
- 1 ¼ cup sugar
- ½ cup unsalted butter
- ½ teaspoon instant espresso
- ⅓ cup boiling water
- ⅓ cup dark cocoa powder
- ½ cup buttermilk
- 1 teaspoon vanilla extract
- 1 ⅓ cup cake flour
- ¾ teaspoon baking soda
- ½ teaspoon salt
- 2 extra-large eggs
- 1 extra-large yolk
- ¼ cup vegetable oil
Additional decorating items:
- Crushed Oreos
- Halloween Ghosts, Pumpkins, Tombstones
- Kit Kats Halved
- Halloween Sprinkles
Instructions
How to make chocolate cake:
- Preheat oven to 350°F. Grease three 6-inch round cake pans with butter and flour (or use floured baking spray like Baker's Joy).
- Using a stand mixer, mix sugar and butter until fluffy. About 5 minutes.1 ¼ cup sugar, ½ cup unsalted butter
- While mixing the butter and sugar, microwave water for 30 seconds, then add espresso to it, stirring until dissolved.½ teaspoon instant espresso, ⅓ cup boiling water
- Whisk cocoa powder, then buttermilk and vanilla into the water/espresso mixture.⅓ cup dark cocoa powder, ½ cup buttermilk, 1 teaspoon vanilla extract
- In a separate bowl, sift flour, baking soda, and salt together.1 ⅓ cup cake flour, ¾ teaspoon baking soda, ½ teaspoon salt
- Once butter and sugar are a lighter color and fully mixed, add each egg and the yolk, one at a time, into the butter mixture, letting each one fully mix into the batter before adding the next. Add in oil and mix until fully combined. Then beat mixture on medium high speed for a minute- the mixture will be light and fluffy.2 extra-large eggs, ¼ cup vegetable oil, 1 extra-large yolk
- Fold in ½ of the flour and then fold in ½ of the buttermilk mixture to the batter. Then fold in the remaining flour and the remaining buttermilk mixture.
- Bake for 20-25 minutes or until a toothpick inserted comes out clean. Try baking the cakes on the same rack, or baking them one at a time. This will ensure even baking.
- Once the cakes are done, let them cool completely, then level if needed (cut the cake layers so they are flat on top and not domed). Wrap them in Saran Wrap and freeze overnight or for at least an hour.
How to make orange buttercream:
- In a mixer, whip the butter until it is fluffy. Add in the vanilla and salt and mix until combined.1 cup butter, 1 tbs vanilla, Pinch salt
- Add in powdered sugar and heavy whipping cream, alternating between the two. I like to add 1 cup of powdered sugar, followed by 2 tablespoon of heavy whipping cream, let it combine and then add the next round of powdered sugar and heavy cream.5-7 cups powdered sugar, ¾ cup heavy cream
- Once everything is added, mix on high for 20-30 seconds. Then add the orange food gel and mix on medium-low speed until fully incorporated.Orange food gel coloring
How to make black buttercream:
- In a mixer, whip the butter until it is fluffy. Add in the espresso powder, dark cocoa powder, vanilla, and salt, and mix until combined.1 cup butter, ½ teaspoon espresso powder, ½ cup dark cocoa powder, 1 teaspoon vanilla, Pinch of salt
- Add in powdered sugar and heavy whipping cream. Alternating between the two. I like to add 1 cup of powdered sugar, followed by 2 tablespoon of heavy whipping cream, let it combine, and then add the next round of powdered sugar and cream.5- 7 cups powdered sugar, ¾ cup heavy cream
- Once everything is added, mix on high for 20-30 seconds. Then add in the black food gel and mix on medium-low until full incorporated. Frosting will look grey at first, but will darken to black over time.Black food gel coloring
How to make green buttercream:
- In a mixer, whip the butter until it is fluffy. Add in the vanilla and salt and mix until combined.½ cup butter, ½ tbs vanilla, Pinch salt
- Add in powdered sugar and heavy whipping cream. Alternating between the two. I like to add 1 cup of powdered sugar, followed by 2 tablespoon of heavy whipping cream, let it combine, and then add the next round of powdered sugar and cream.6 tbs heavy cream, 3-5 cups powdered sugar
- Once everything is added, mix on high for 20-30 seconds. Then add in the green food gel and mix on medium-low until full incorporated.Green food gel coloring
How to Decorate Graveyard Cake:
- Crush Oreos (I like to use a food processor because it's easy, but crushing them in a ziplock baggie works too).Crushed Oreos
- Add tape to the bottom of your 8-inch cake board and stick it to your cake turntable. Then, add tape to the bottom of your 6-inch cake board and stick it to the center of the 8-inch cake board.
- Place a small dollop of frosting in the center of the 6-inch cake board and place your first cake layer on top. Add a nice, even layer of orange buttercream to the first cake layer, then add your second cake layer, another layer of buttercream, and the third cake layer.
- Spread a thin layer of orange buttercream all over the cake as your crumb coat. Don't worry too much about making it super smooth because it will all be covered with the final coat. Once the crumb coat is on, refrigerate for 10-15 minutes.
- While the cake is chilling, decorate your ghosts and pumpkins. Use the writing tip to make details like eyes and mouths, and lines on the pumpkins.Halloween Ghosts, Pumpkins, Tombstones
- Once chilled, add a thick layer of black buttercream all around the center of the cake. Press in the sprinkles and then add the ghosts and pumpkins to the black frosting. I found that halving the ghosts and pumpkins so they were thinner worked well. Chill for another 10 minutes in the refrigerator.Halloween Sprinkles
- Add the final orange coat by frosting a large area above and below the black frosting. I found using a piping bag with the end cut off (to make a large circle) worked well to frost these areas evenly. Add frosting to the top of the cake as well.
- Using the bench scraper, smooth out the sides, being careful not to mix the orange into the black, but to keep a nice ledge/line.
- You can use the offset spatula to clean up the top edge.
- Make several mounds of Oreos on top of the cake, and place KitKats around the bottom of the cake (I halved each KitKat). Then, refrigerate for 10 minutes.Kit Kats
- Slide a tooth pick into the bottom of the ghosts and pumpkins, then place them on top of the cake. Gently press in the headstones.
- Using the green frosting and the grass tip, pipe on grass around the headstones, and around the KitKats at the base of the cake.
Notes
- Make the cake the day before and freeze it. This will help so much with frosting. Otherwise, I recommend allowing it to freeze for at least an hour or two.
- Add sprinkles to the fault line first before adding the ghosts and pumpkins.
- Slice the backs of the ghosts and pumpkins off that you are using for the fault line area to make them thinner. That way, they won't stick out too far.
- Cut the bottoms of the ghosts off, that you use for the fault line, to make them shorter to fit in the fault line (if making a larger cake, you won't have to do this).
- Use leftover frosting for Halloween cupcakes or cookies!
- Nutrition Info is an estimate and does not include candy or Oreos for decorating.


Lisa Killian says
This cake is so fun and extra tasty! It's definitely a hit whenever I make it!