

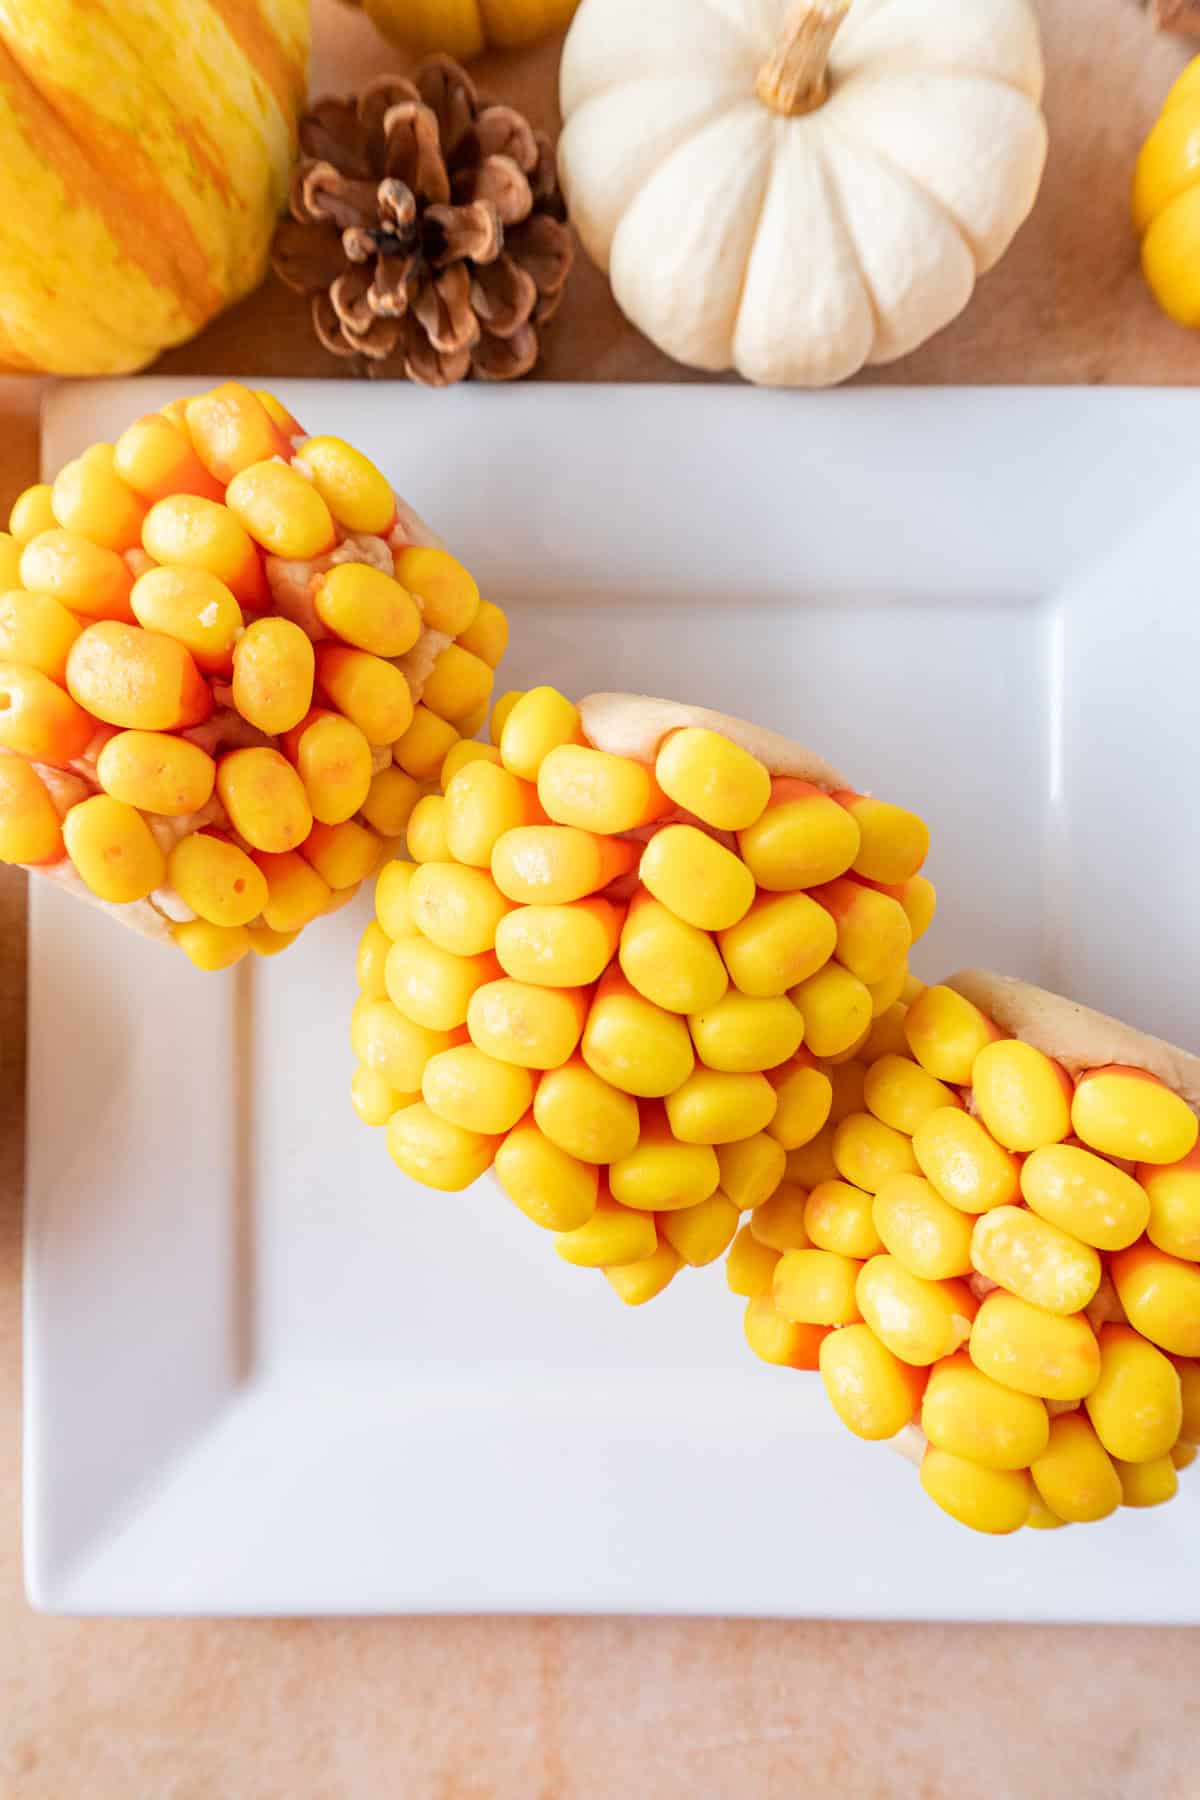
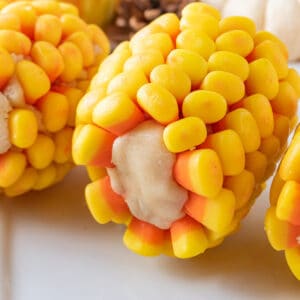
Candy Corn on the Cob is a cute and fun Thanksgiving decoration that's also pretty tasty! These are easy to make and require only two ingredients.
Jump to:
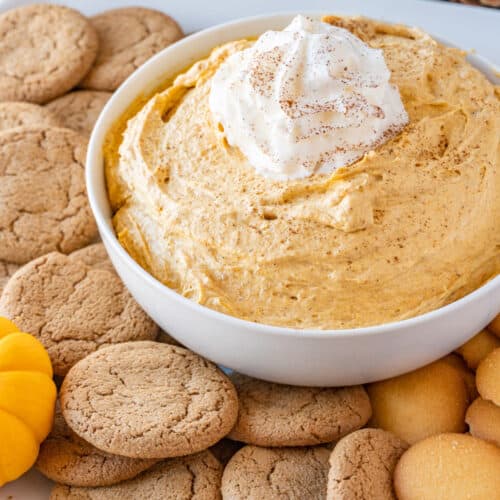
Recently, I shared my fun Thanksgiving Turkey Cheese Ball, and I knew I had to share this fun Thanksgiving idea too!
With a bit of patience and lots of candy corn, you can have these cute edible table decorations, too!
Why This Recipe Works
- Playful Concept: It turns candy corn into a "corn on the cob" format, making it whimsical and eye-catching.
- Minimal Ingredients: You only need two main components, making it easier to execute with less fuss.
- Customizable Size: You can make short or longer cobs depending on how many servings you want.
- Edible Décor: Because they're made from cookie dough and candy, they look great on your table and still make a sweet snack.
What This Recipe Needs
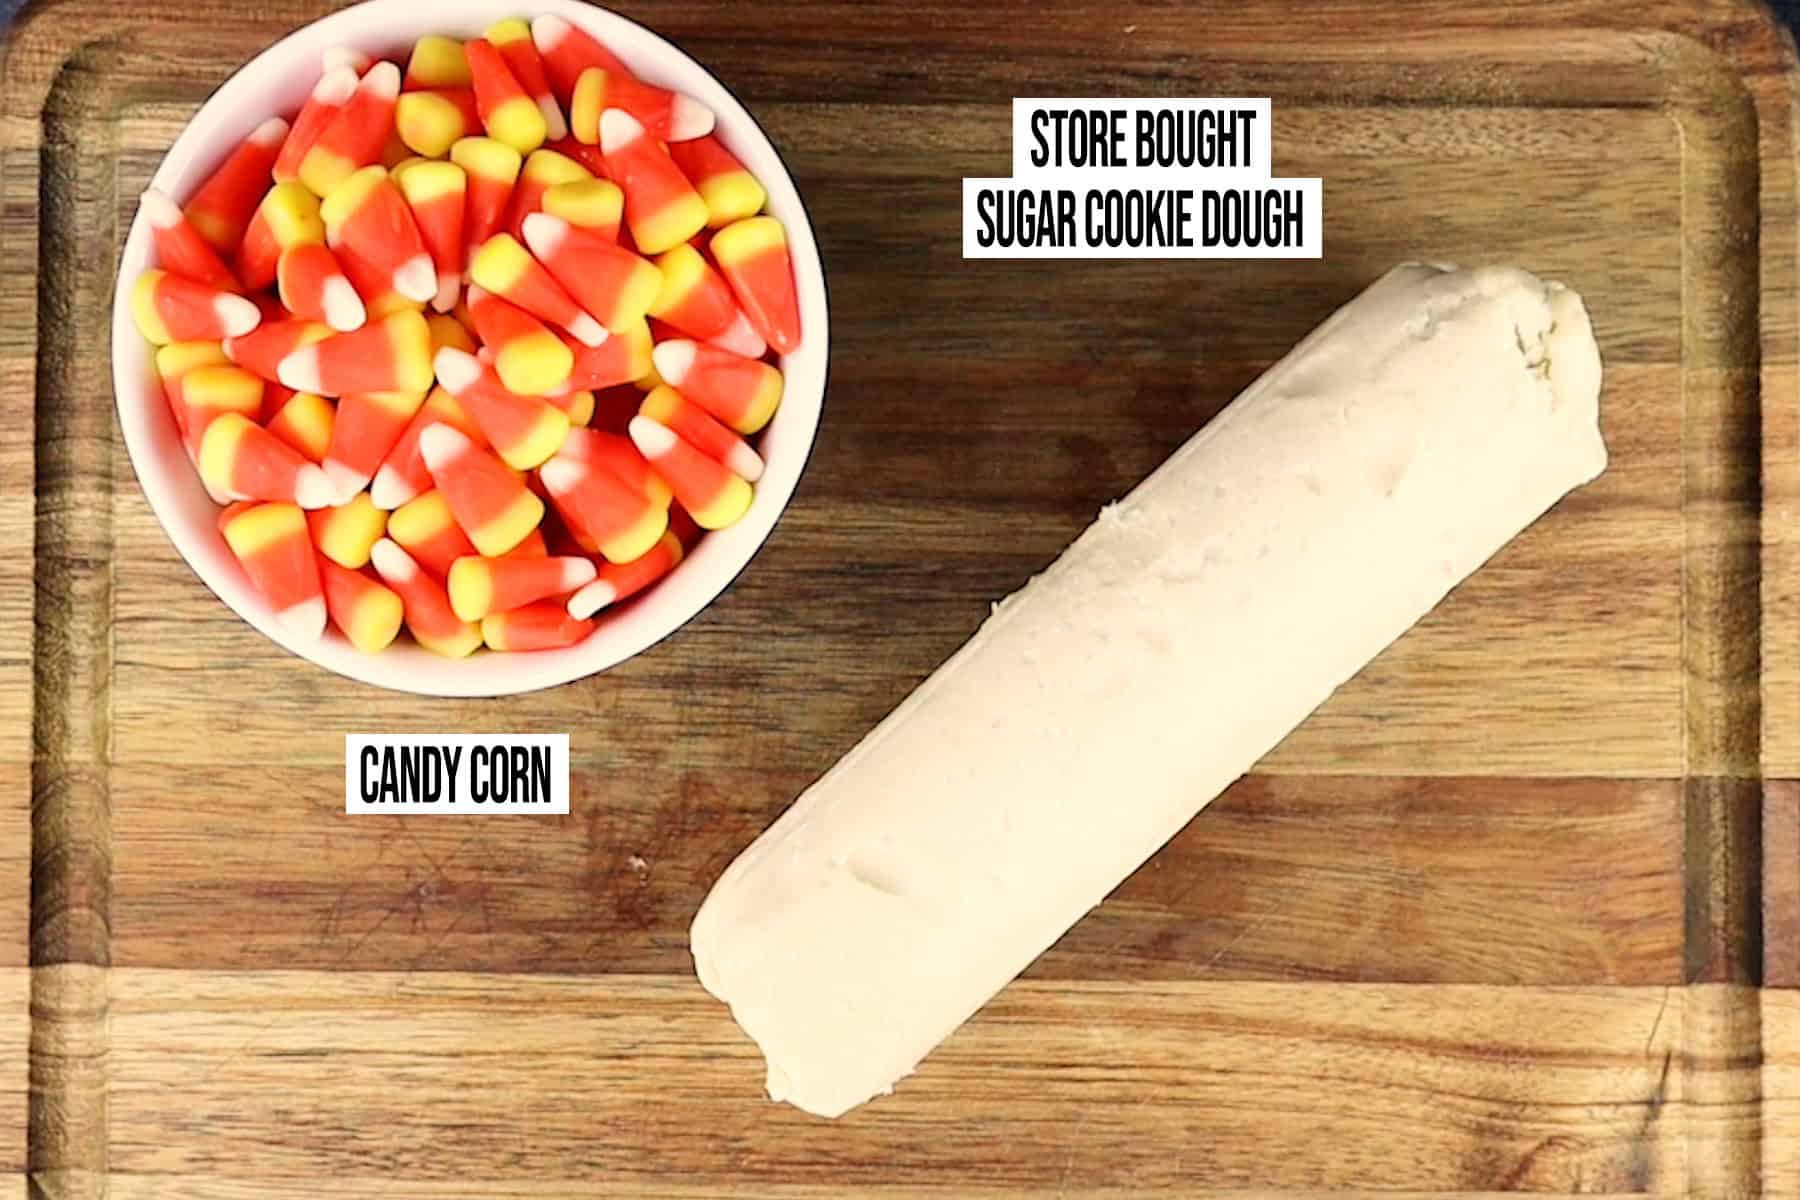
- Candy Corn - The "kernels" you press into the dough to create the cob appearance. I used about three bags for six cobs.
- Premade Edible Sugar Cookie Dough - Serves as the base "cob" to which candy corn kernels adhere. I prefer the Pillsbury brand, but you can use any you like.
Substitutions
- Cookie Dough Alternative: Use homemade sugar cookie dough (safe-to-eat type) instead of premade.
- Candy Variation: Try using colored candy pieces (e.g. orange, yellow chocolate candies) for a twist.
- Flavor-Infused Dough: Use flavored doughs like chocolate, cinnamon, or pumpkin spice instead of plain sugar cookie.
When I first saw these on the internet, I knew I had to give them a try. What I came to find out is that most tutorials and pictures aren't very well done, so after a bit of trial and error, I wanted to share how to really make these tasty treats.
Make sure to check out my other Thanksgiving recipes here! You don't want to miss my cranberry sauce, mini pumpkin cheesecakes, pumpkin pie with graham cracker crust, or this tasty caramel corn!
How to Make Candy Corn on the Cob?
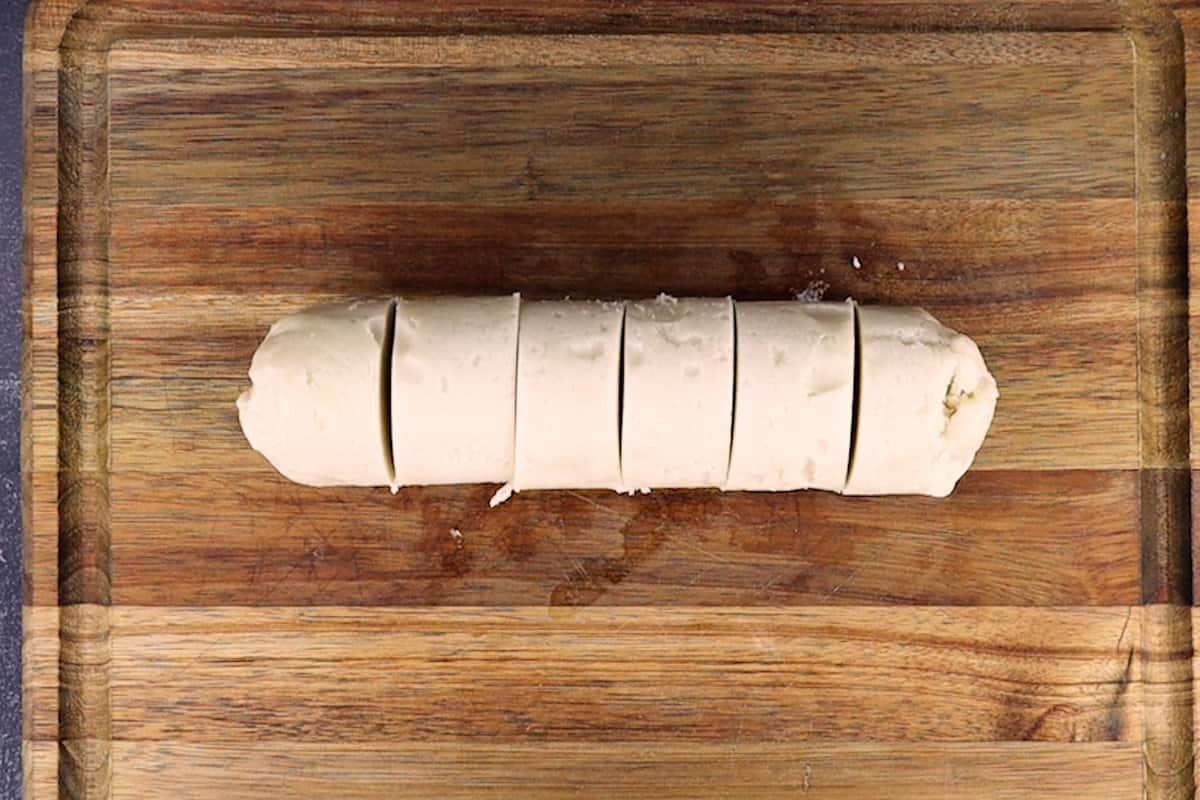
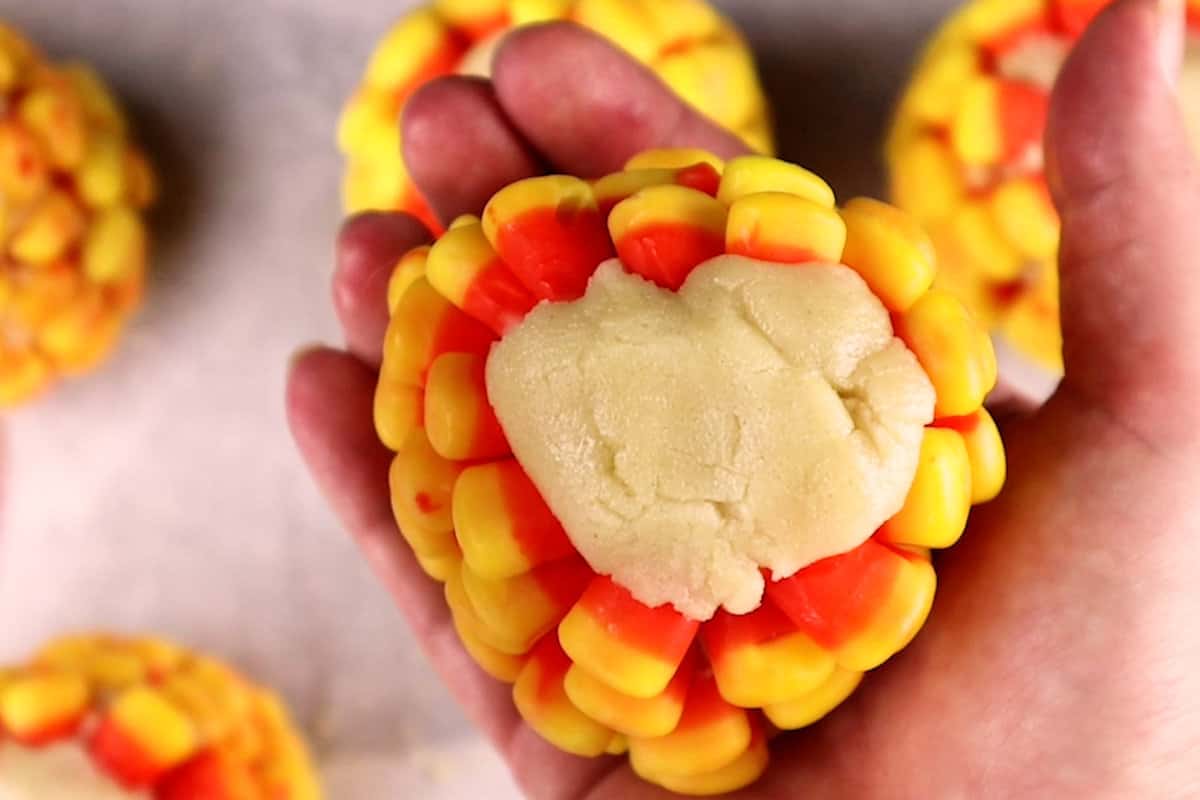
- Step 1: Divide your cookie dough into 6 portions.
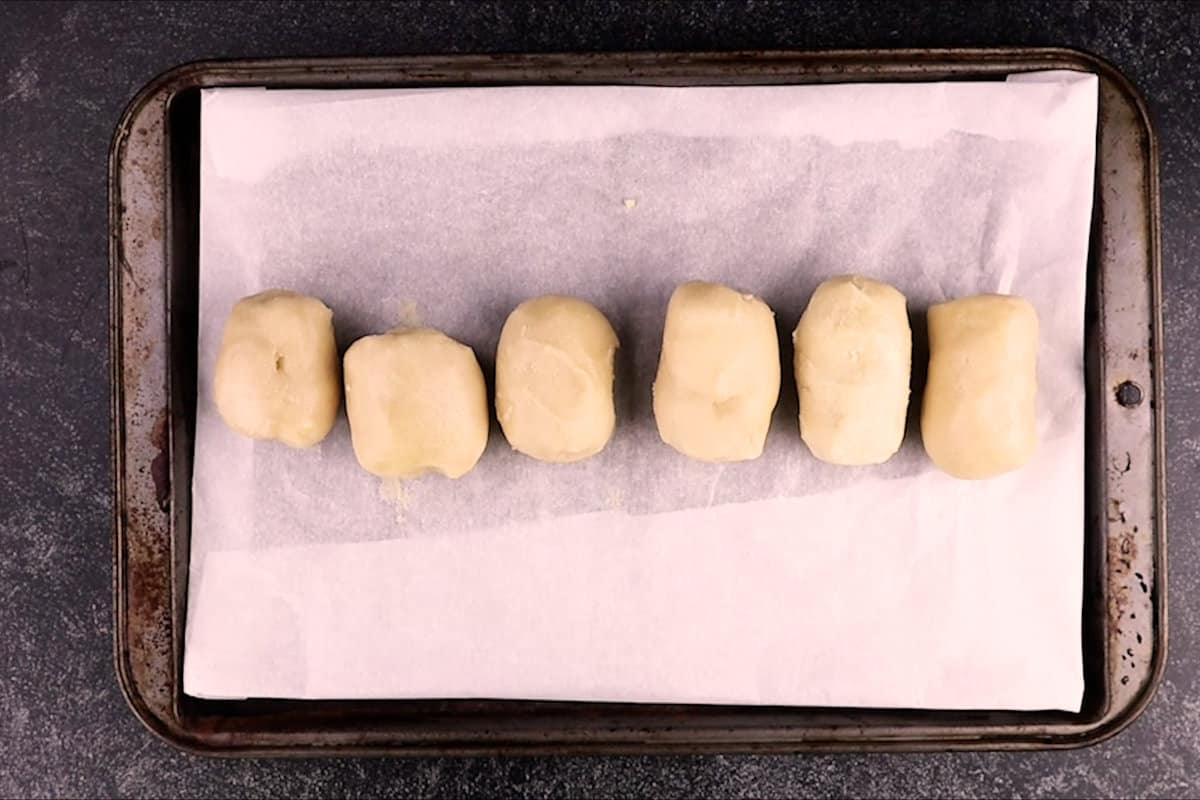
- Step 2: Roll the dough into short and thick tube shapes.
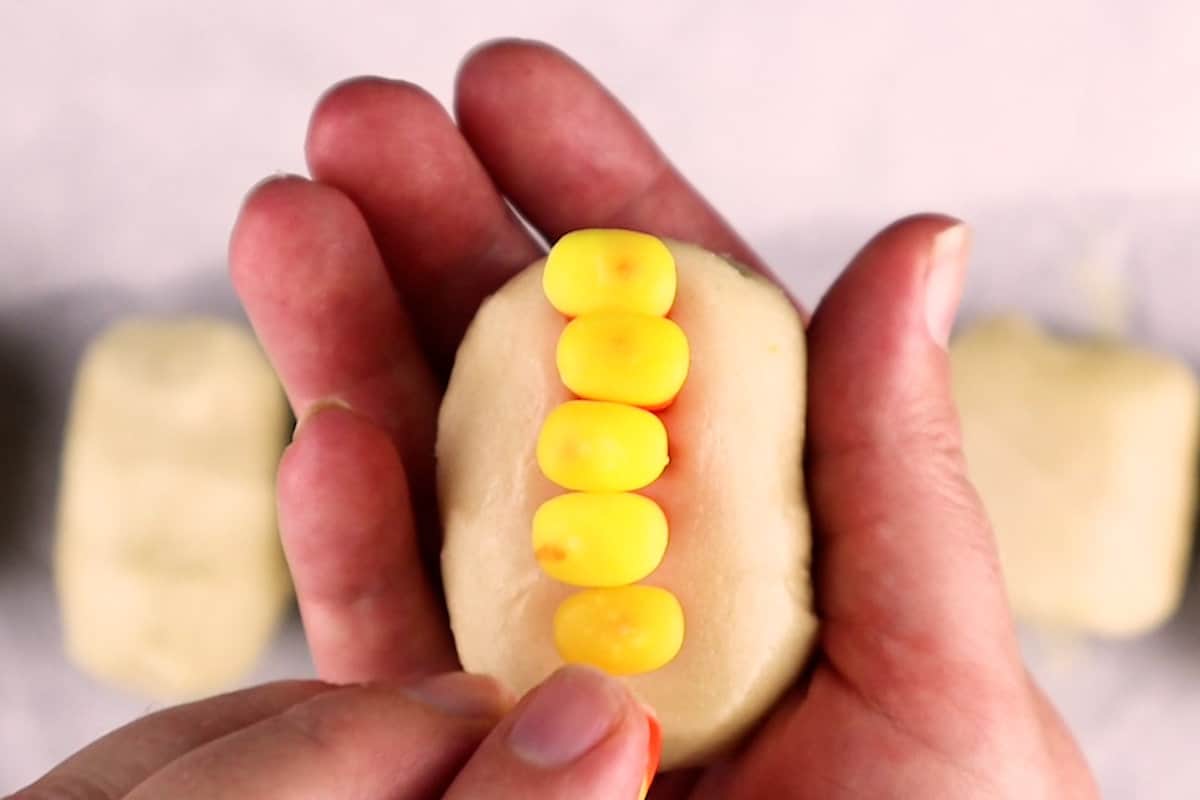
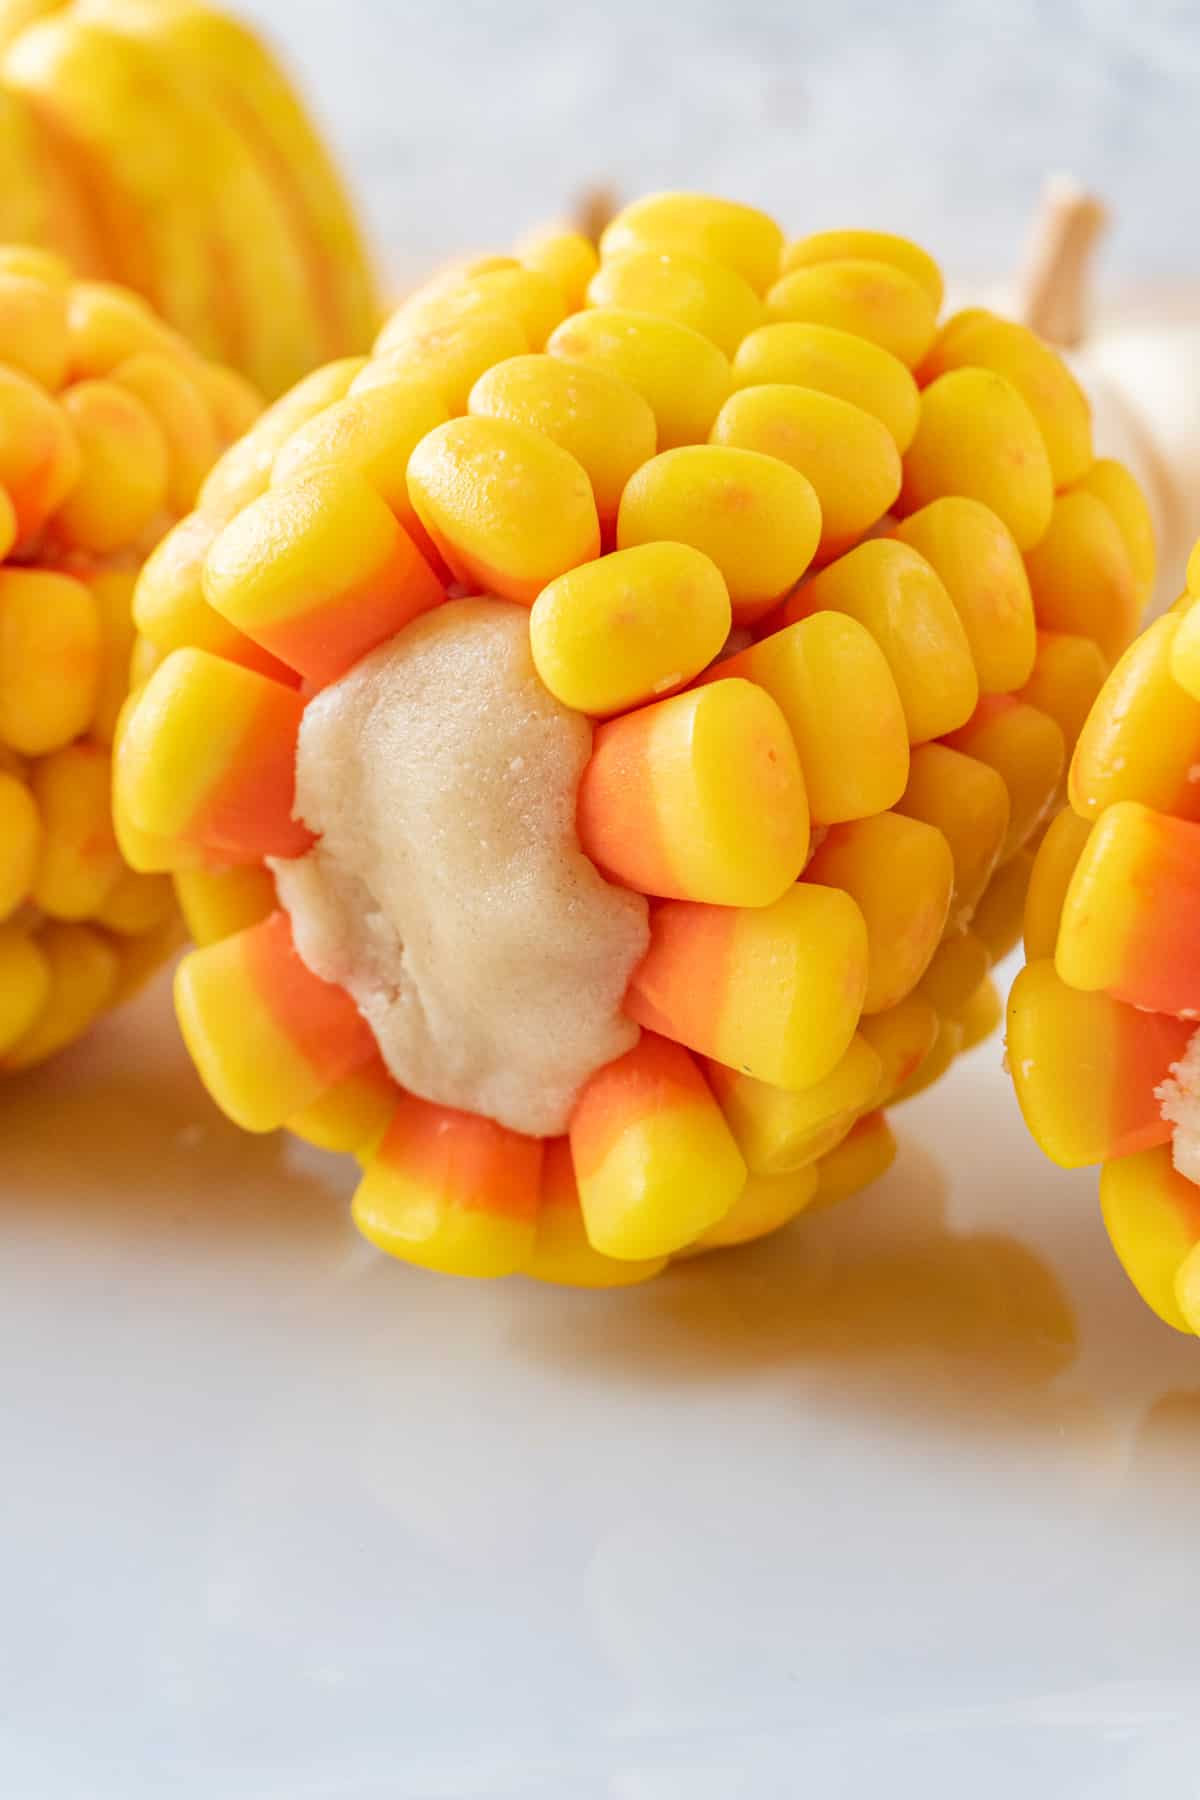
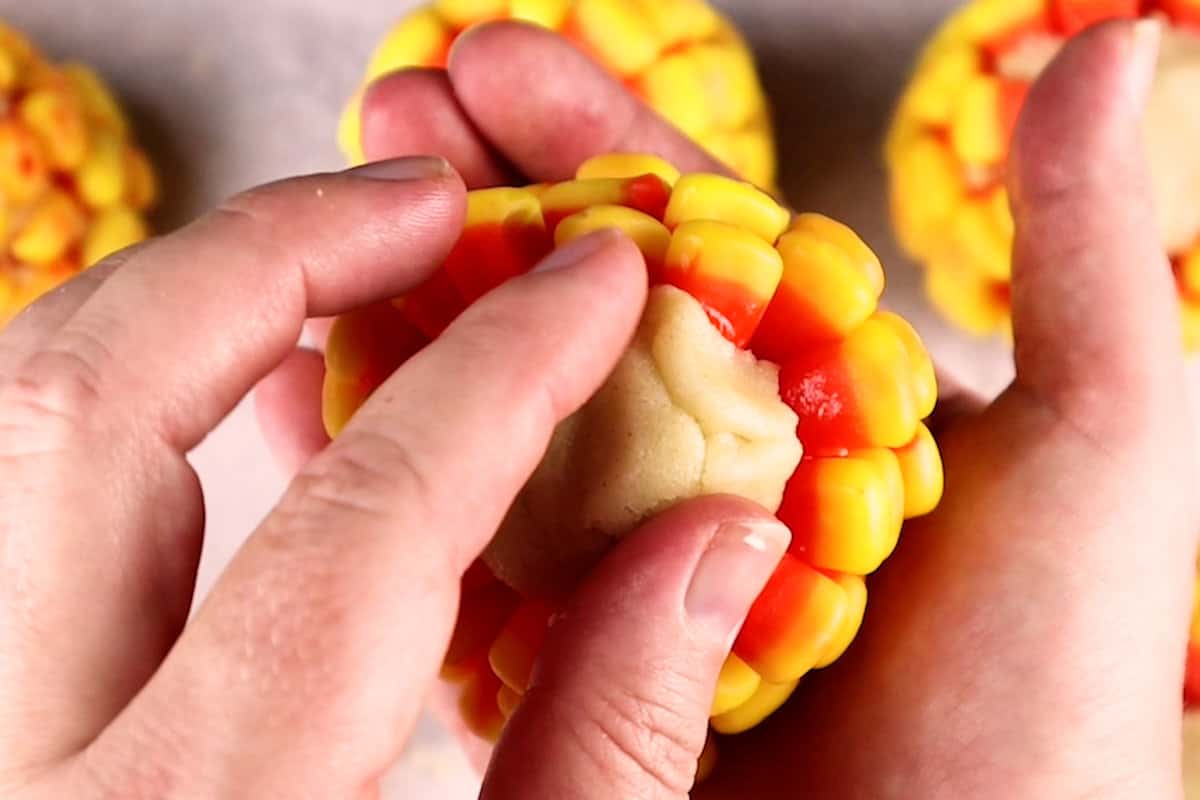
- Step 3: Place the narrow, pointed end of the candy corn into the dough, and then continue with the next one, forming a row down the side.
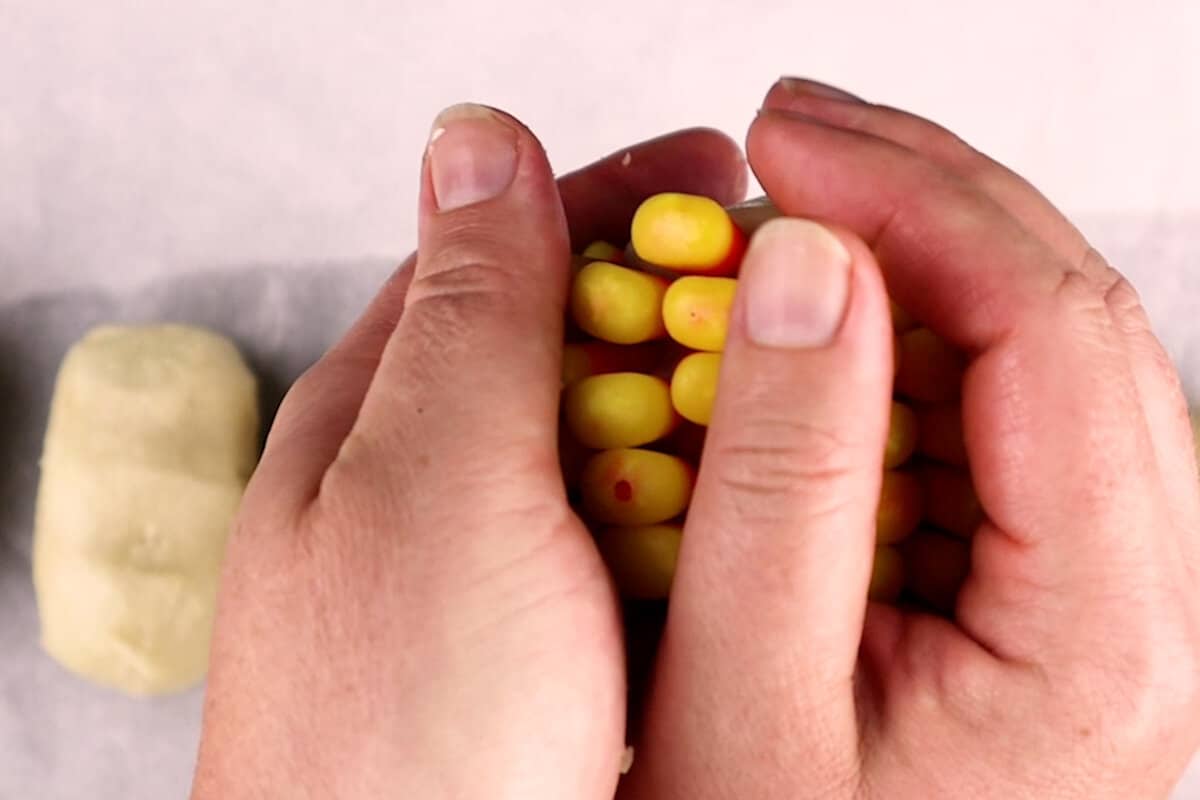
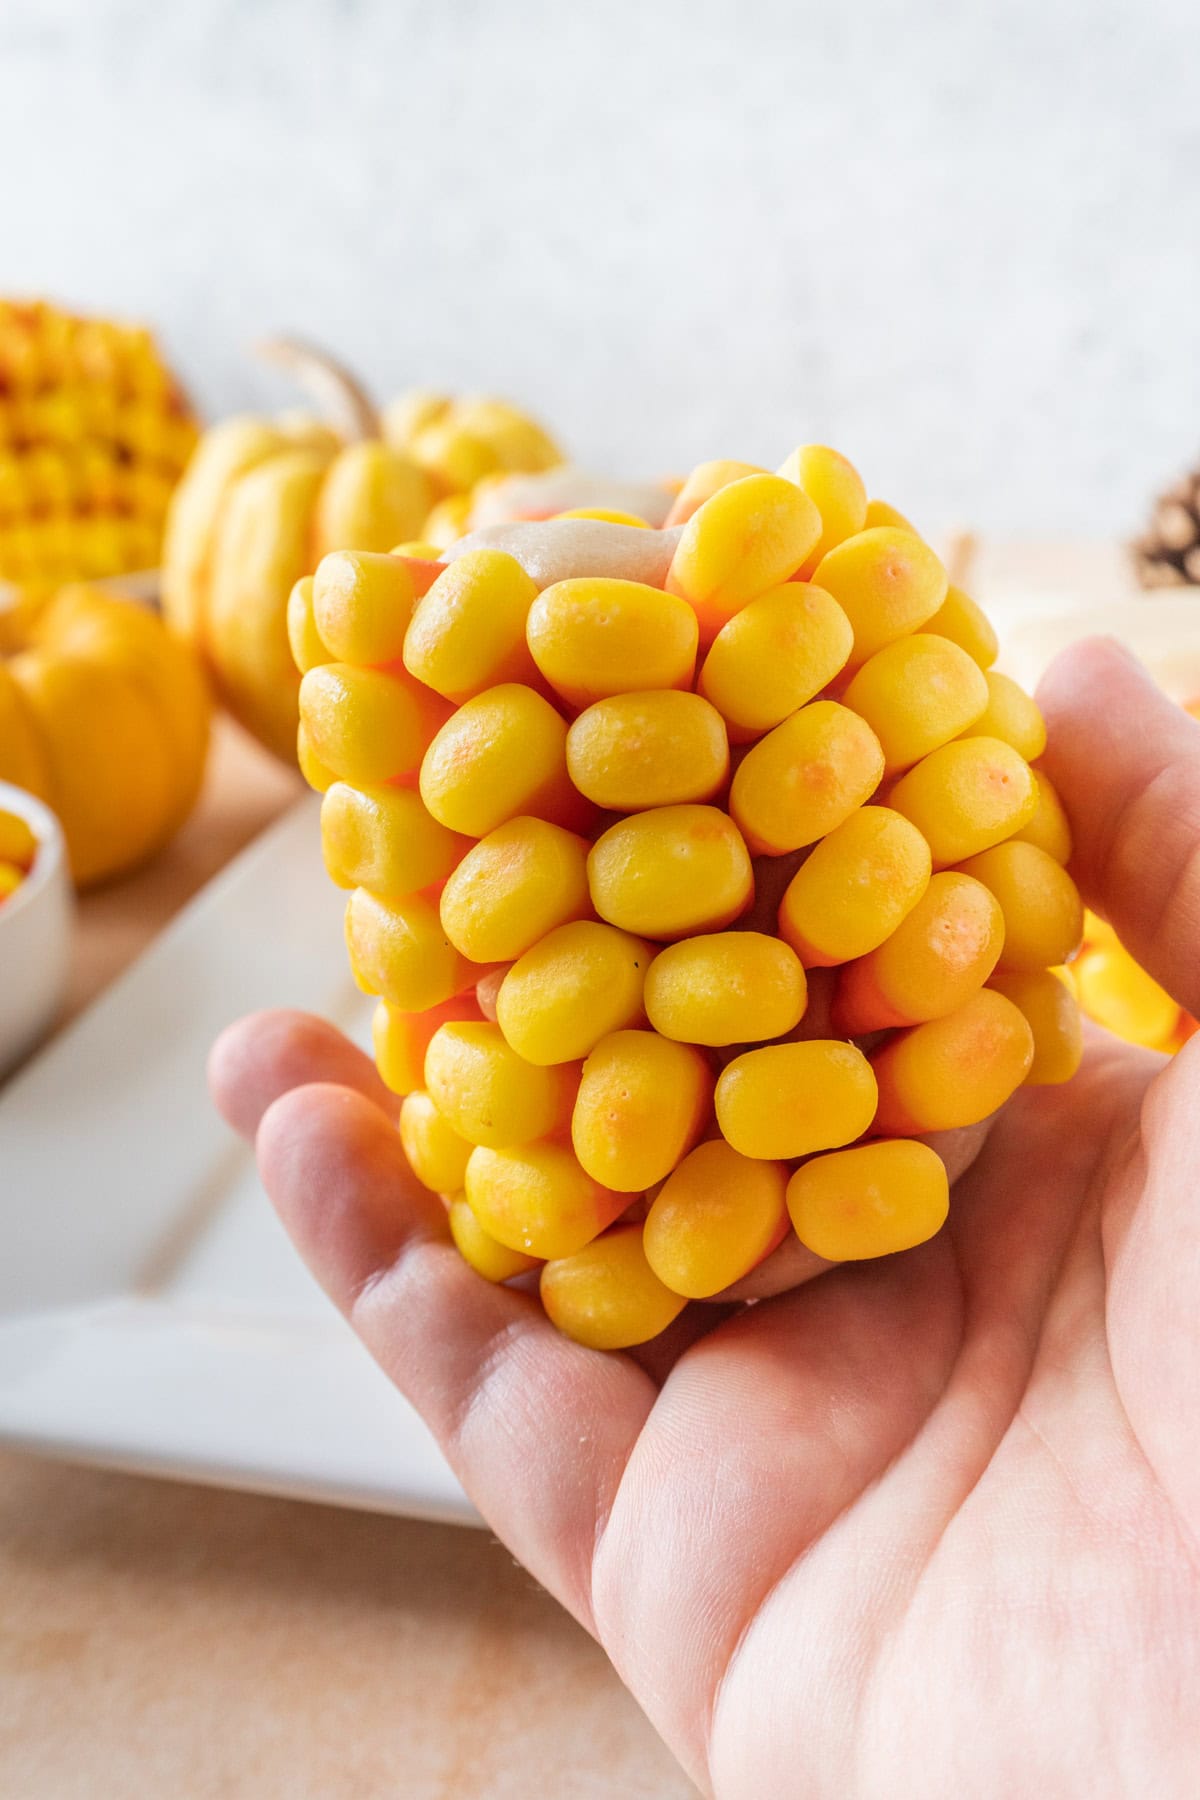
- Step 4: Add the next row and repeat until all rows are filled in. As you add the candy corn, reshape the cob as needed by pressing in the sides.
Save this for later!
Don't worry, I promise not to spam you!
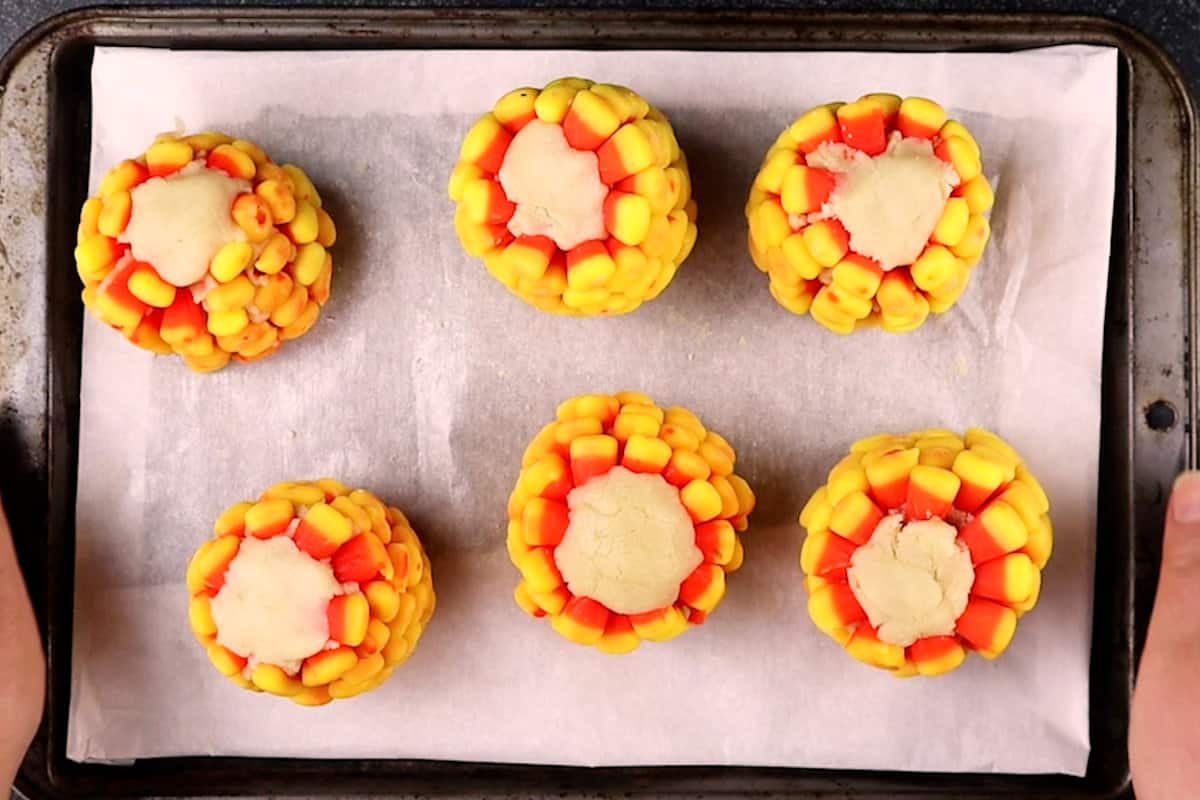
- Step 5: Refrigerated until ready to serve!
Problems and Solutions
You might be thinking.....problems? This is the easiest thing in the world! After a bit of trial and error here are my key takeaways!
Time: Since you have to add each candy corn piece, you will need a little time to make these. Just be patient and have fun!
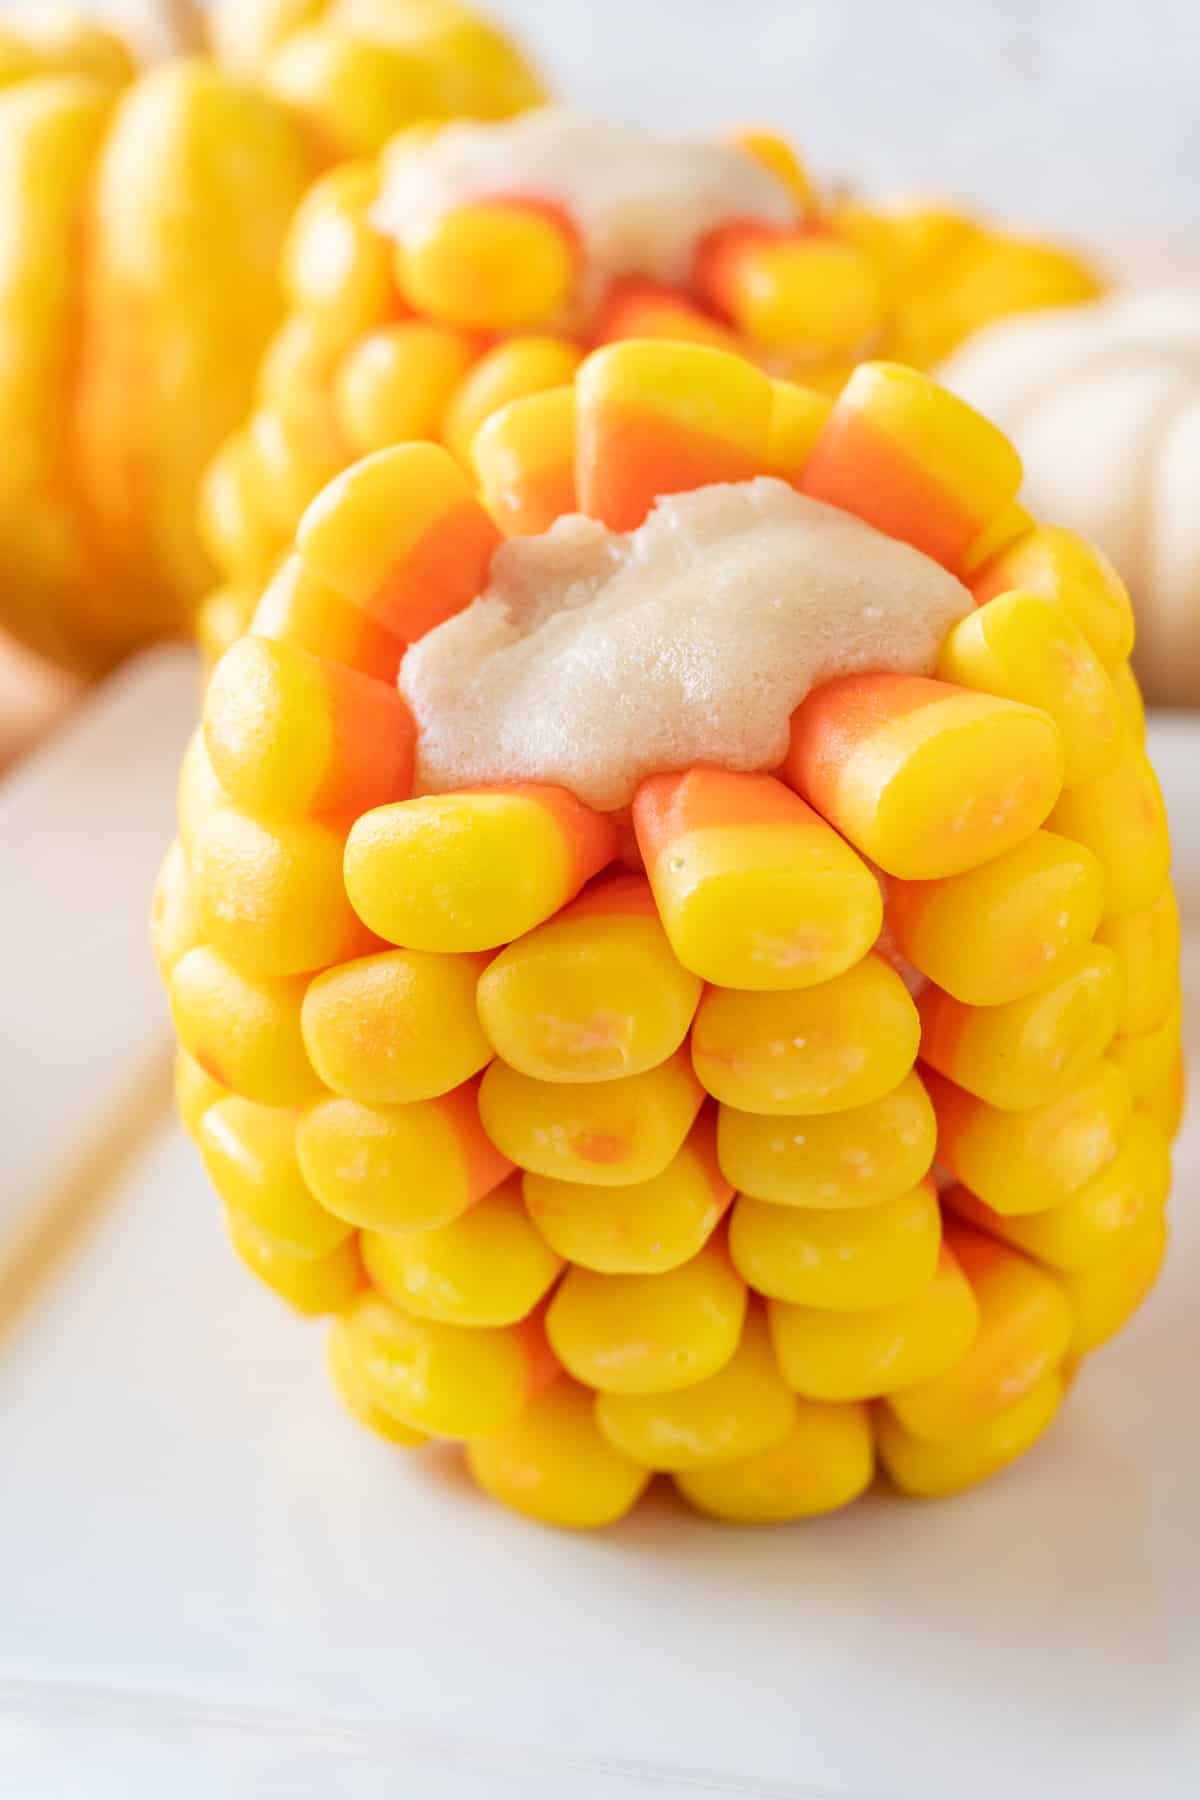
Ends Falling Off: When you're almost done adding all the candy corn pieces, the ends will be most vulnerable to detaching since you've nearly cut through the dough with all the candy corn. Carefully press the dough back together.
Misshapen: I found that if I pressed the candy corn in too far, it would look misshapen, and dough would show between each piece of candy. To solve this, place the tip of the candy corn in, and if they wiggle loose, just press them in again a little further.
Trial and Error: I tried to make them longer and narrower, but they fell apart. I even tried to reduce the volume by cutting each piece of candy corn so I only had to press the top piece into the dough, and they just fell out.
Overall, I loved how these came out, and I wanted to share that I really don't know how some of these other Candy Corn on the Cob recipes look as small and perfect as they do.
Variations
Chocolate Dip: After assembling, dip one end in melted chocolate and let it set.
Sprinkle Topping: Dust lightly with edible glitter or colored sugar before the dough sets for shimmer.
Alternate Candy Shapes: Mix in small gummy bits or candy corn "flavor cousins" (if available) for variation.
Expert Tips
- Chill the Dough First: Cold dough is firmer and easier to press candy corn into without tearing. If the dough is too soft at any time, stick it in the refrigerator for 5-10 minutes.
- Start Small: Begin with a small and compact piece of cookie dough. It will increase in volume and length simply by adding the candy corn.
- Work in Rows: Add one row of candy corn at a time, then rotate the cob to ensure even coverage.
- Reshape: Don't be afraid to reshape and press the cookie dough back together if it starts to come apart.
- Fix the Ends: When you get close to the ends, gently press the dough back together so the candy corn stays securely in place. You may also need to remove a bit of dough that has been smooshed out.
- Stand Them Up to Chill: Store the assembled cobs upright while chilling so gravity doesn't flatten one side.
Frequently Asked Questions
Place in an air-tight container in the refrigerator until ready to use. Store standing upright for the best results.
Typically 6 cobs using 16 oz cookie dough and about 48 oz candy corn.
Yes - just use a safe-to-eat sugar cookie dough that's firm enough to press candy corn into. Most Homemade sugar cookies have eggs in them and aren't safe to eat raw.
I recommend making these several days ahead of time and storing them in a Ziploc bag or Tupperware container in the fridge. If you can store them standing up, that is best.
Yep! Since you are using edible cookie dough, go for it! Just remember, each cob has the equivalent of 4 cookies and lots of candy corn in it!
More Related Recipes
Be sure to check out my other favorite holiday desserts like these pumpkin cupcakes, pecan pie brownies, pecan pie cake, soft pumpkin cookies, and this amazing chocolate silk pie!

If you like this recipe, make sure to give it a 5-star review and leave a comment down below!
Also, don't forget to sign up for my newsletter, and make sure to follow along on Facebook, Instagram, and Pinterest!
Video
Candy Corn on the Cob
Ingredients
- 16 oz premade sugar cookie dough - I recommend the Safe to Eat Pillsbury Dough
- 48 oz candy corn Three 16 oz bags
Instructions
- Divide the sugar cookie dough into 6 equal portions. Roll each piece into thick logs.16 oz premade sugar cookie dough
- Place each log onto a parchment-lined baking sheet and refrigerate for 2 hours. You want the dough to be firm. *
- After the dough is chilled, work on one log at a time, keeping the other logs in the freezer or refrigerator. Place candy corn directly into the log. I recommend placing the smaller tip into the log, gently pressing it in, and continuing to place candy corn into the cookie dough all the way down the length of the log. Work one row at a time, then rotate slightly and add the next row. Repeat until you achieve a corn-on-the-cob look.48 oz candy corn
- Return completed cob to the refrigerator or freezer and repeat with the remaining logs.
- Cover or place cobs in an air-tight container and keep corn on the cobs refrigerated or frozen until ready to serve!
Notes
- *If the dough is ever too soft while working with it, place it back in the refrigerator and wait 10 minutes, then try again.
- After adding all the candy corn, fix up the ends if the cookie dough is bulging a bit.
- *Use different types of edible cookie dough for fun flavor combos!


Leave a Reply