
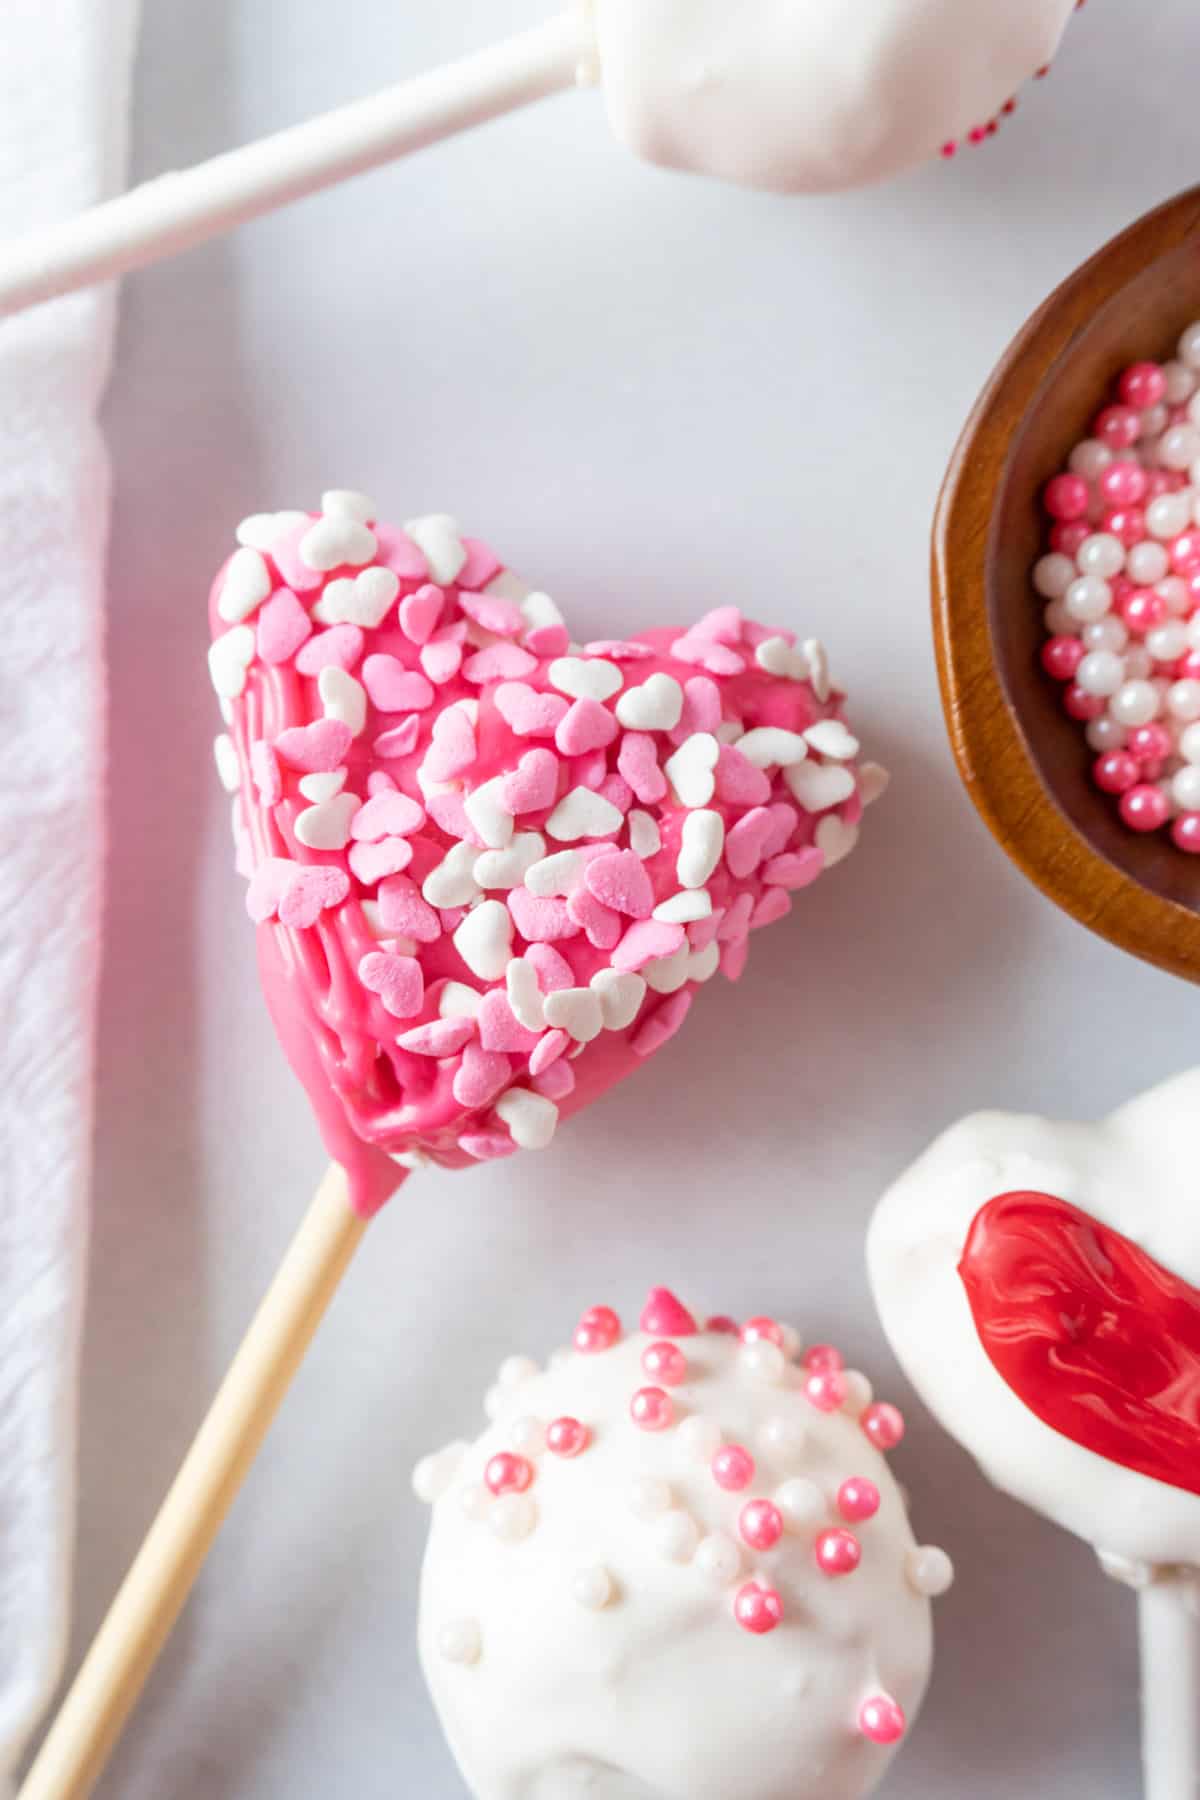
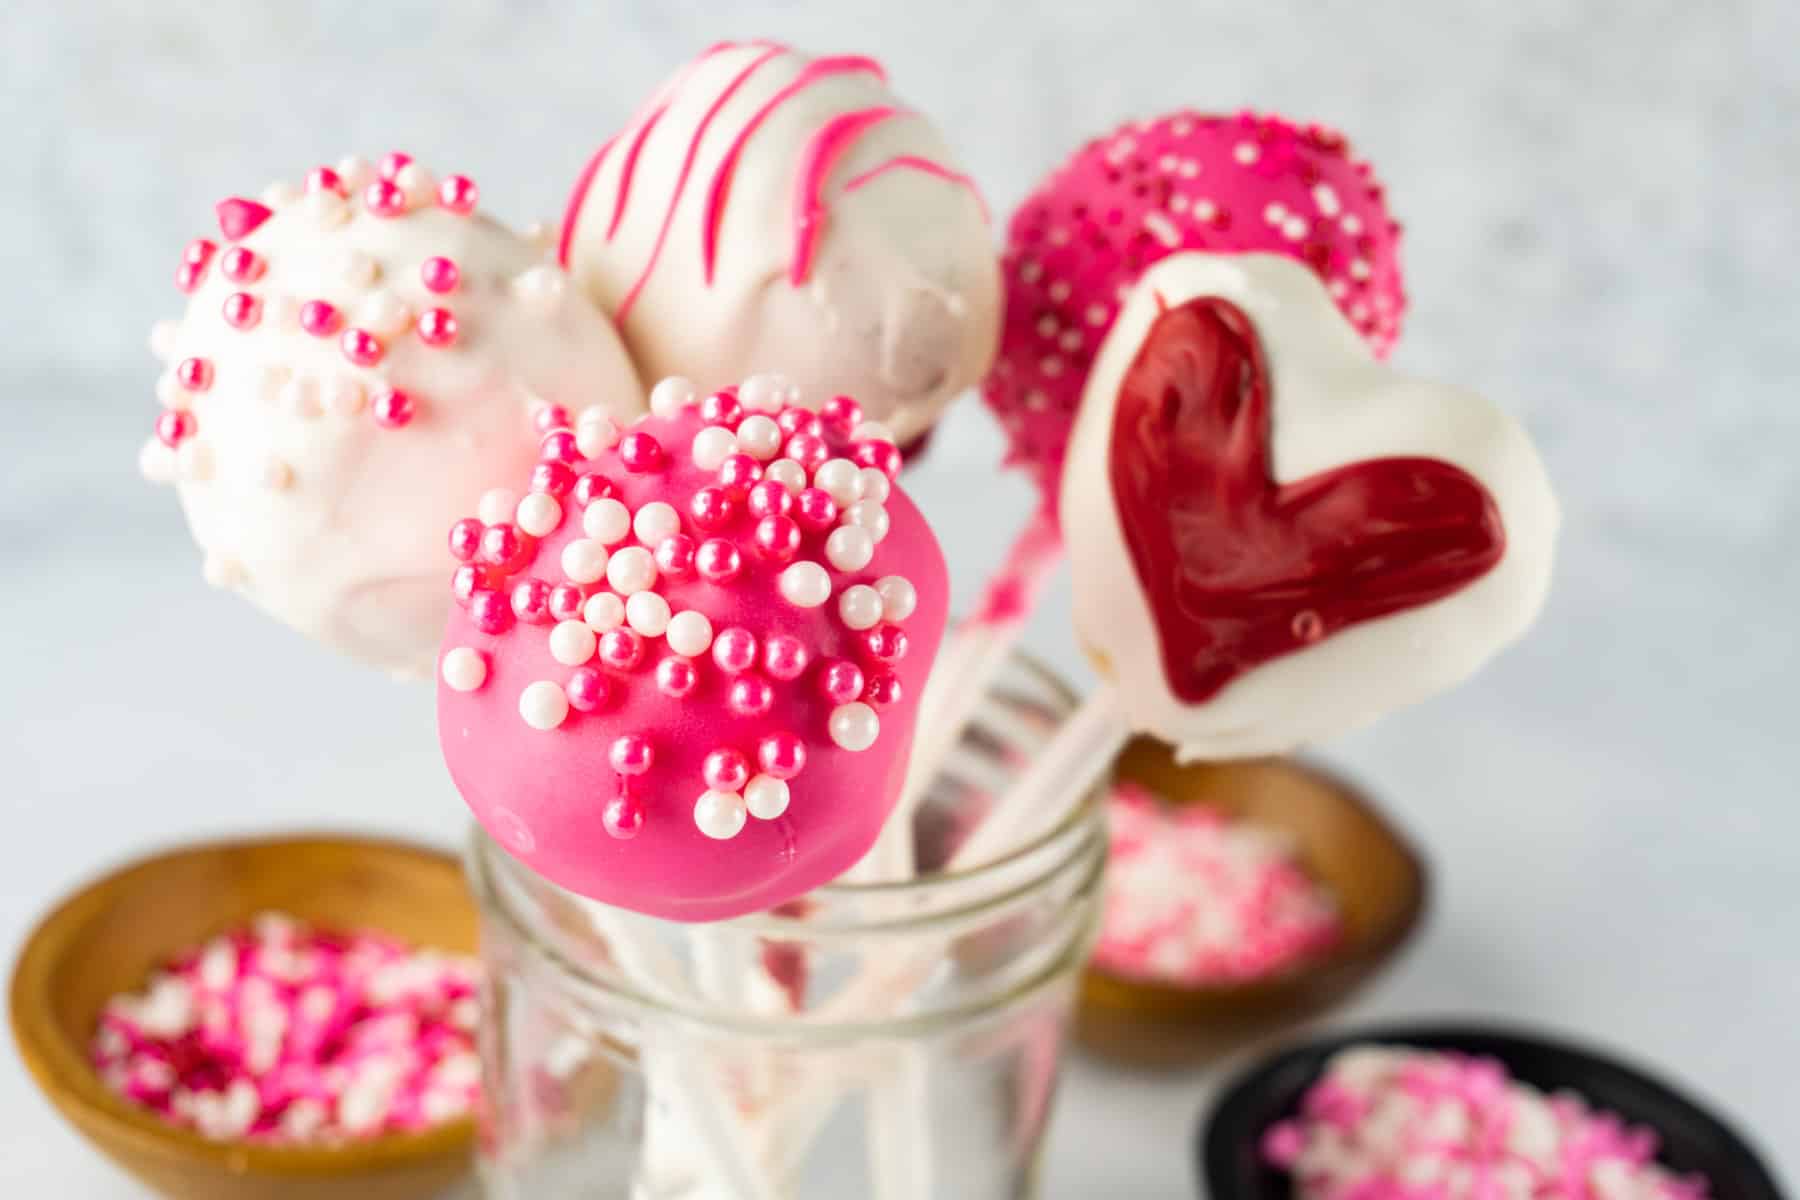
Celebrate love with these adorable and delicious Easy Valentine’s Cake Pops—perfect for sharing with someone special! These bite-sized treats are coated in smooth chocolate and decorated with festive sprinkles, making them a sweet way to spread the love.
Jump to:
Why You'll Love This Recipe
Cake pops are so easy to make and are so versatile!
Mix and match any cake and frosting combination with your choice of candy melts and sprinkles to easily customize these treats for any occasion!
Keep things simple with round cake pops or create fun heart shapes- both are simple and look great!
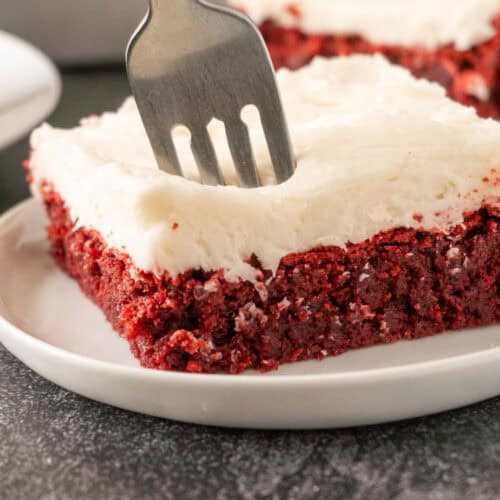
If you like this recipe make sure to check out my easy chocolate cake pops, dark chocolate buttercream frosting, and this tasty Valentine's Day Cake with strawberry frosting!
What Goes Into Valentine's Cake Pops?
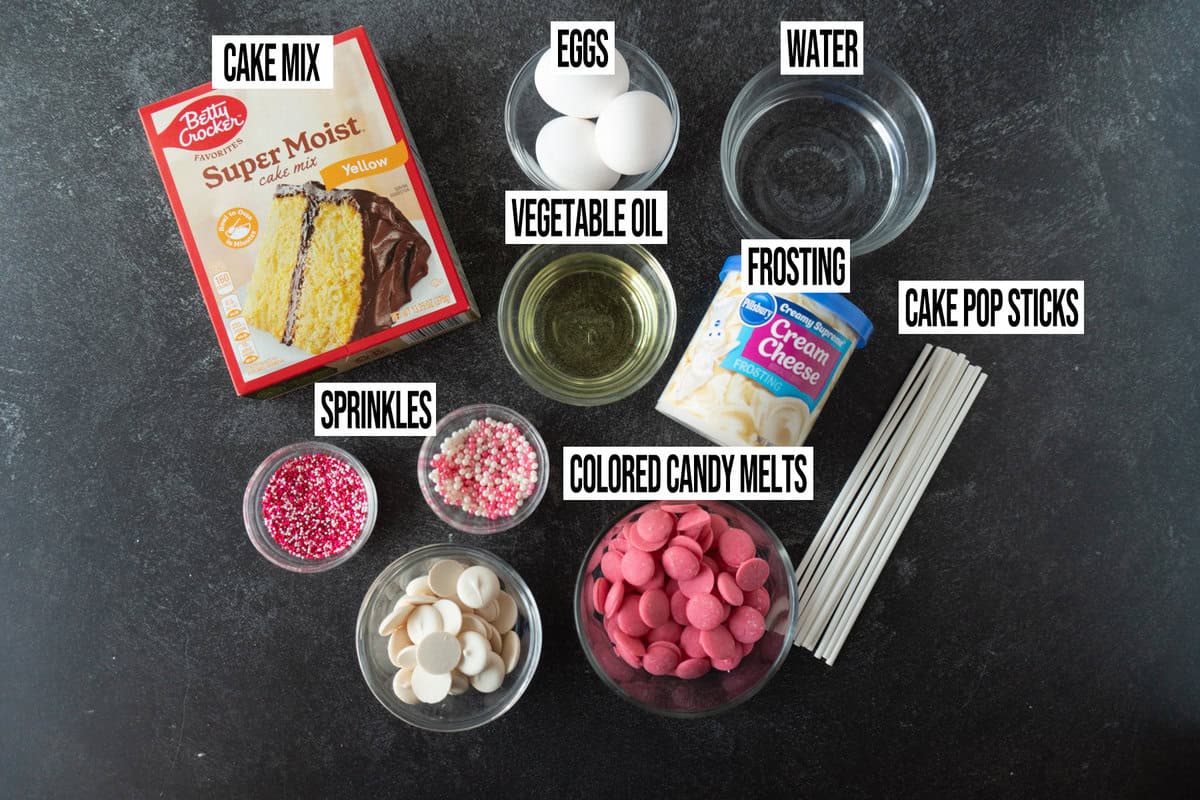
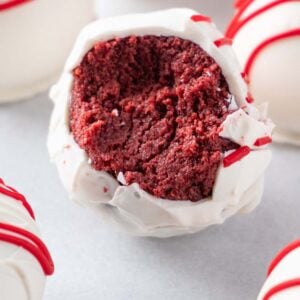
Box of Cake Mix- I used vanilla then added pink food coloring to half to get white and pink but any cake will work! You can even make my tasty Buttermilk Chocolate Cake and turn it into cake pops!
Pink Food Coloring Gel: Coloring the cake is optional and not necessary at all. I just liked have the extra pop of color.
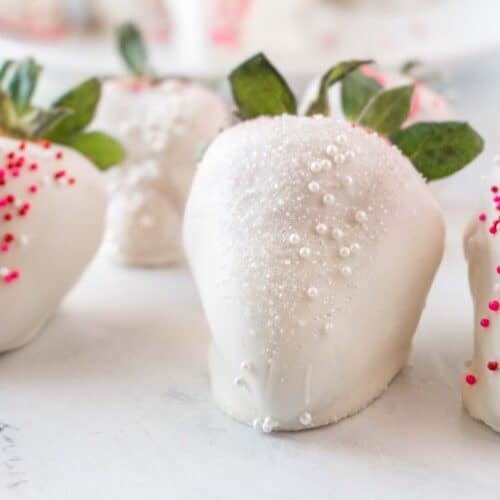
Decorating Items: Cake Pop Sticks, Cake Pop Stand (or a block of Styrofoam works great too!), Candy Melts (I used white, red, and pink), and sprinkles!
Frosting- Any flavor of store-bought or homemade buttercream frosting.
How to Make Valentine's Cake Pops?
- Step 1: Mix up your cake mix according to the directions on the box and bake.
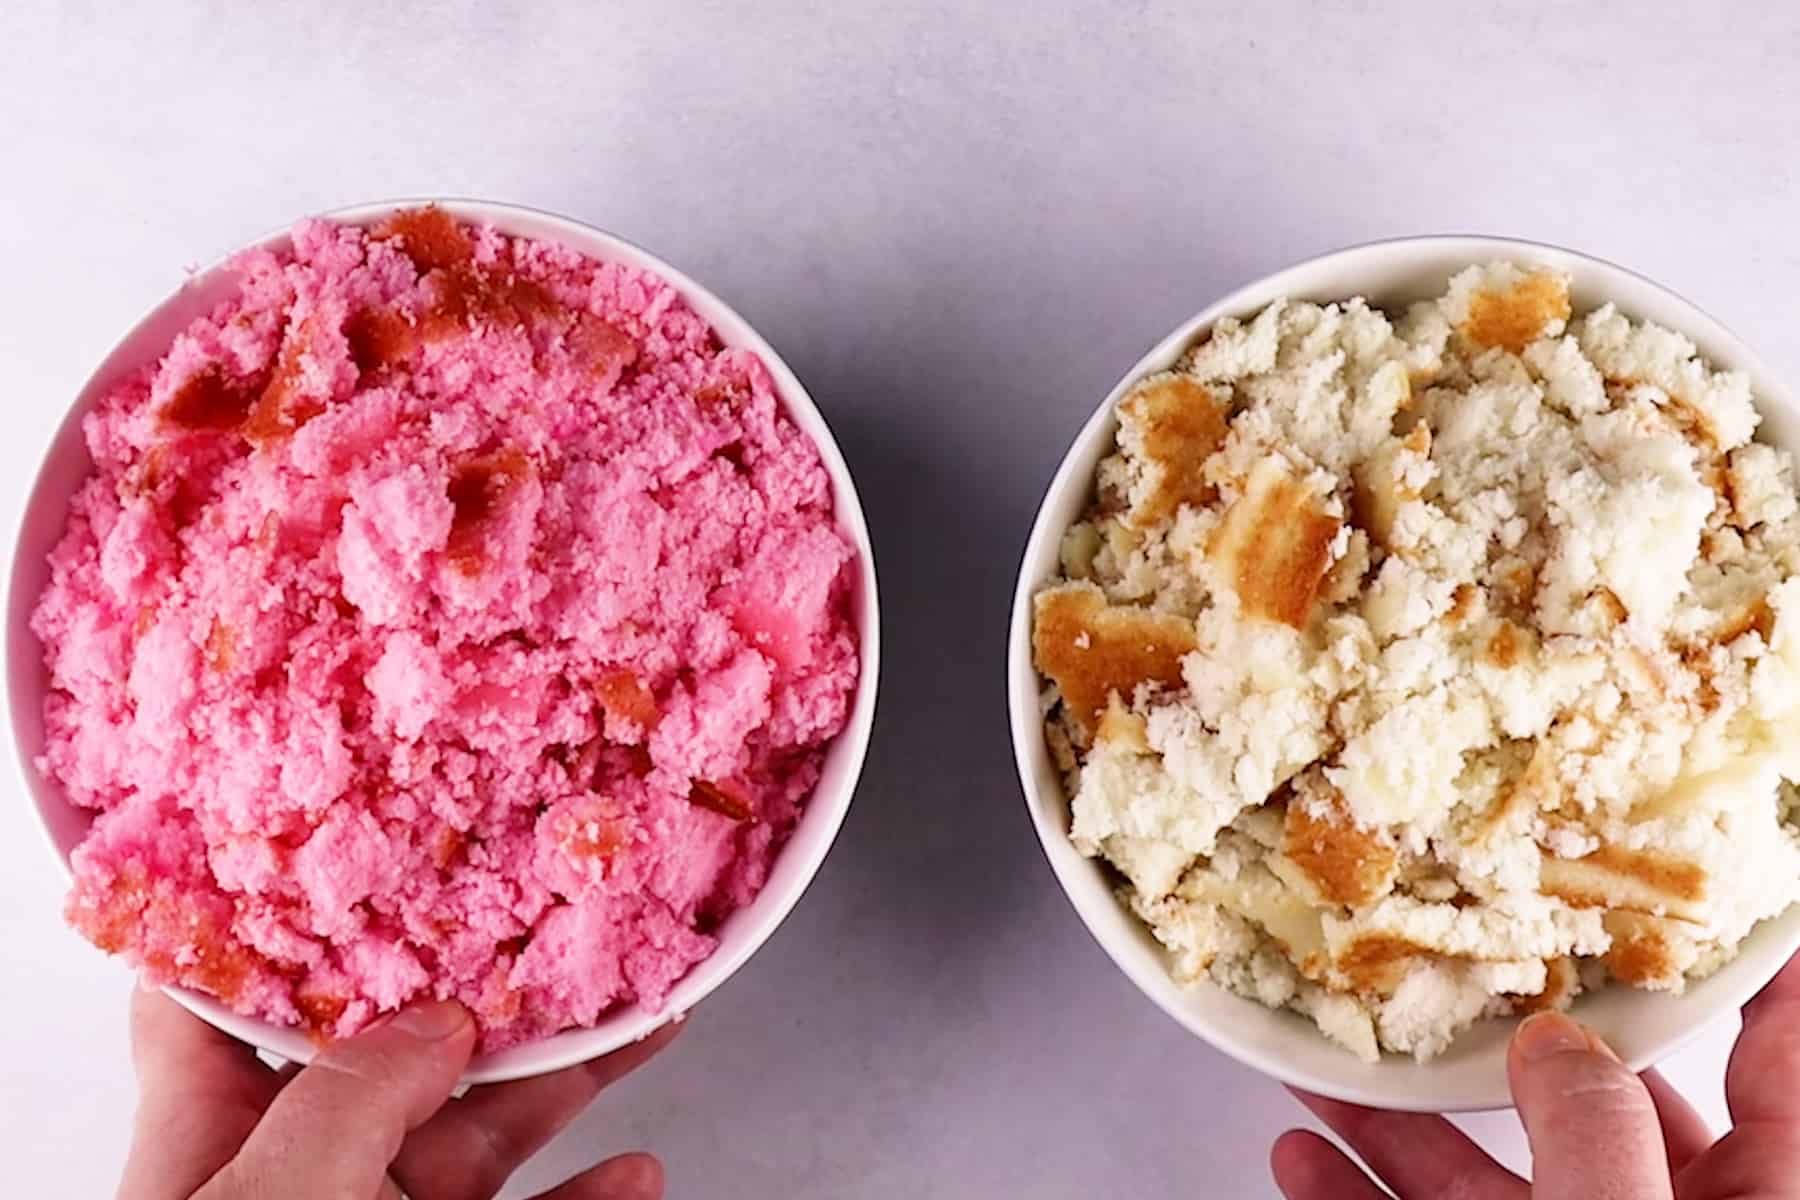
- Step 2: Crumble baked cake.
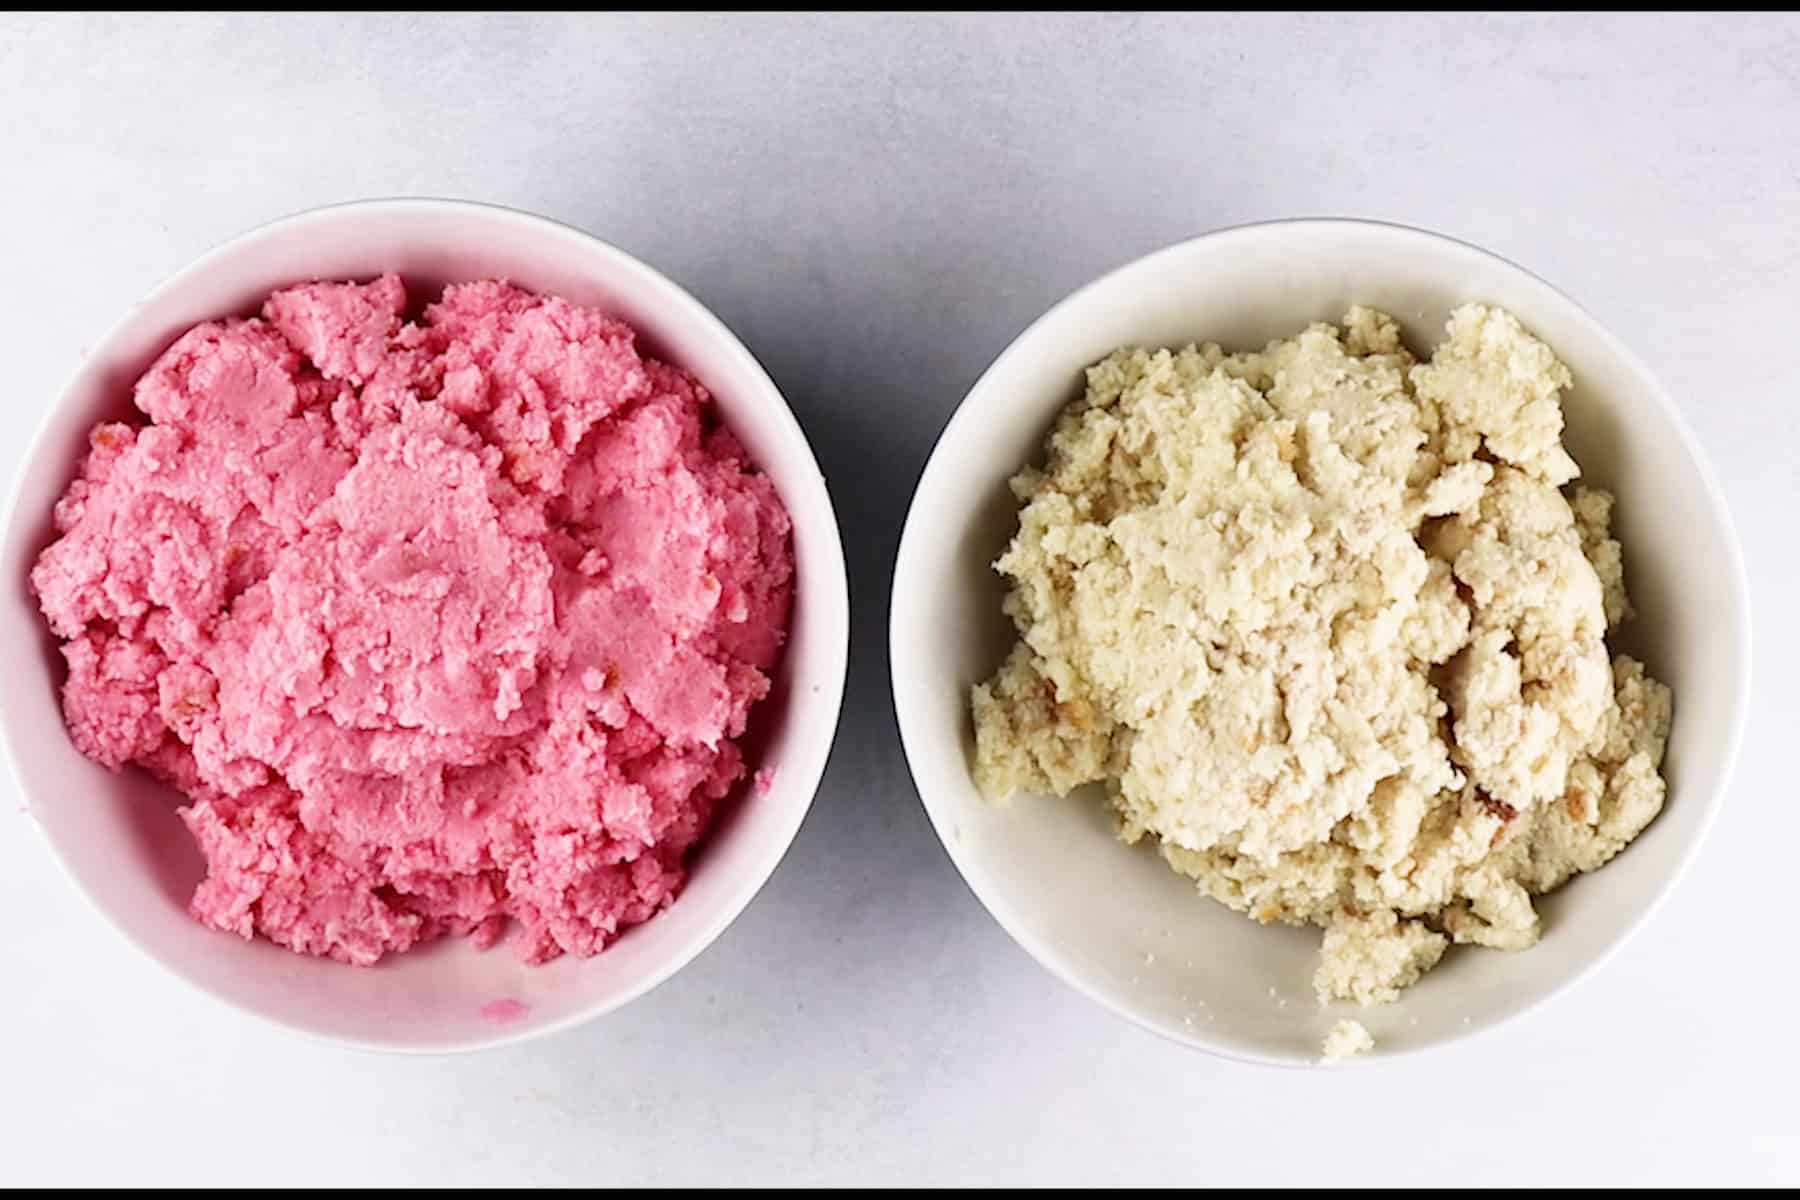
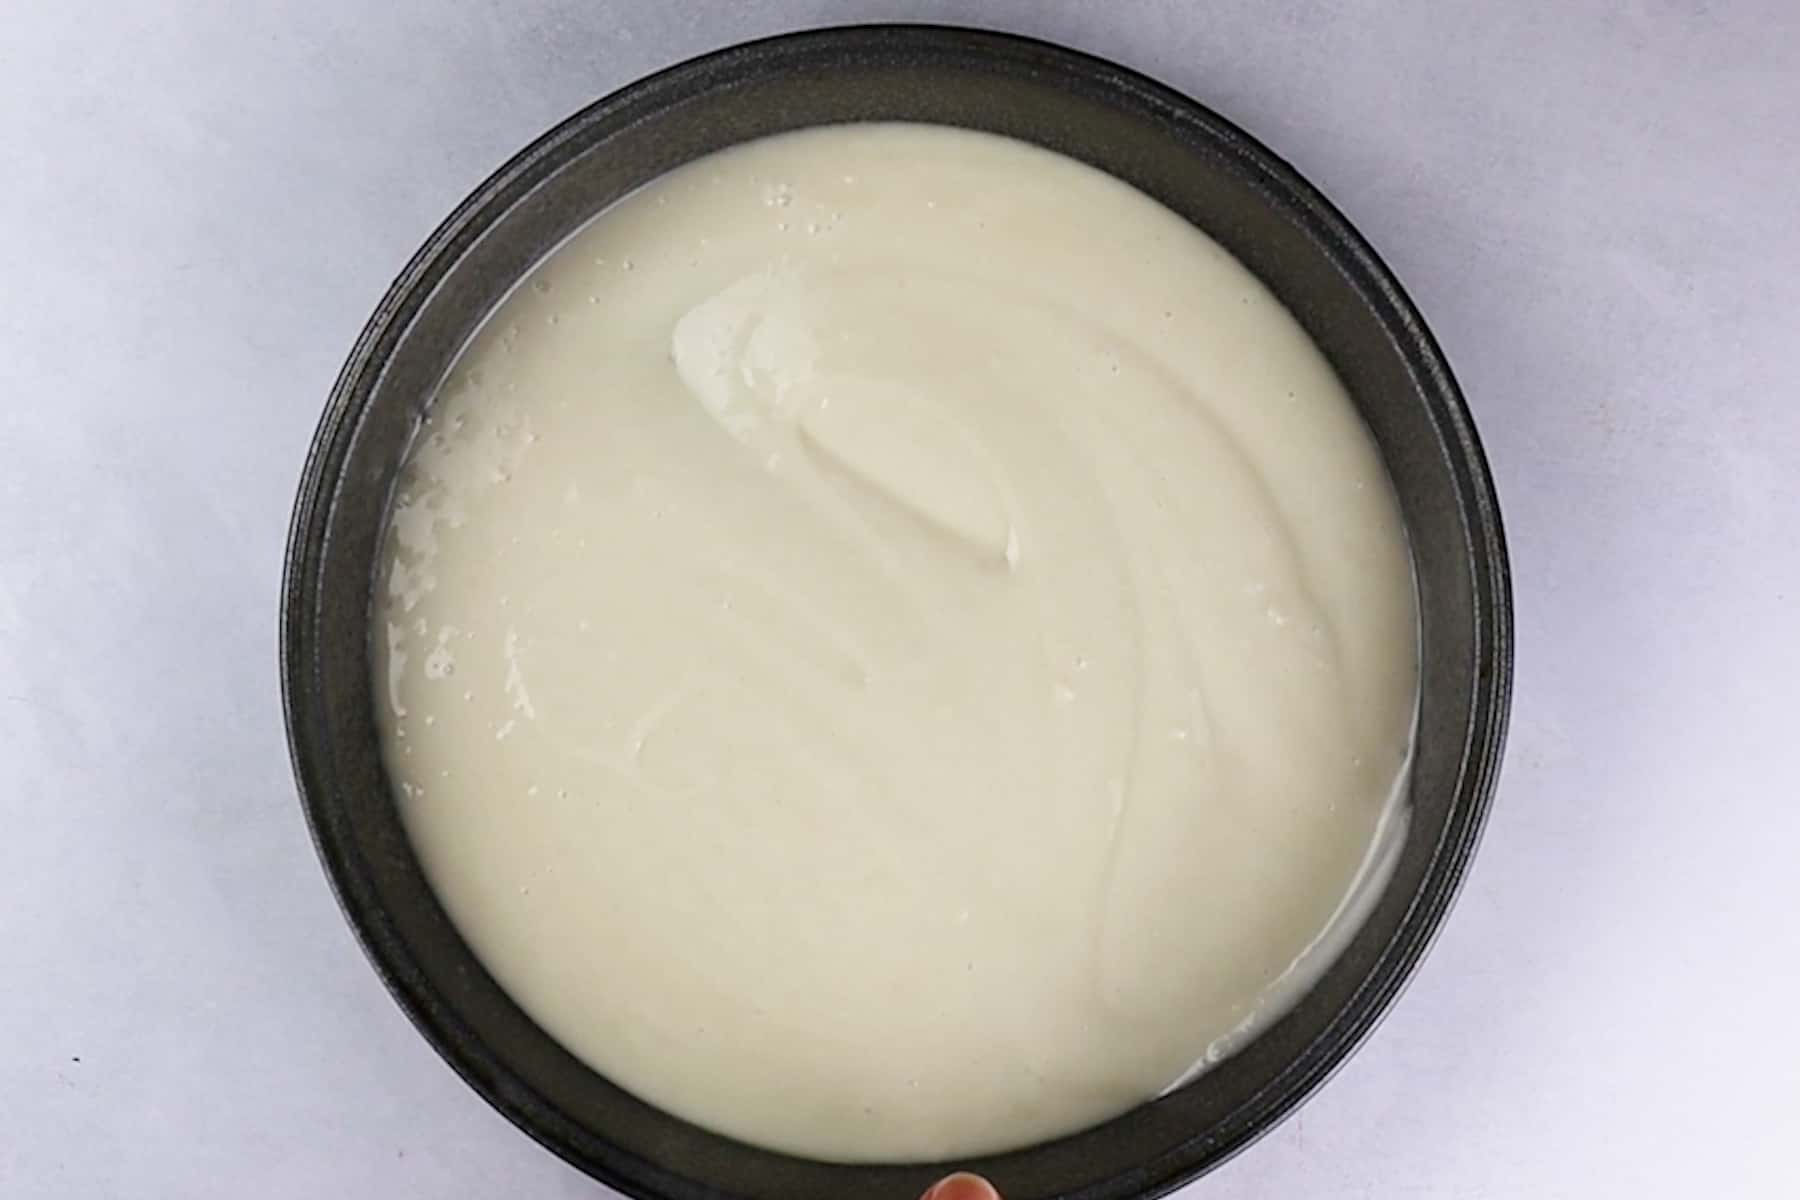
- Step 3: Mix crumbled cake with frosting.
How to Shape Valentine's Cake Pops?
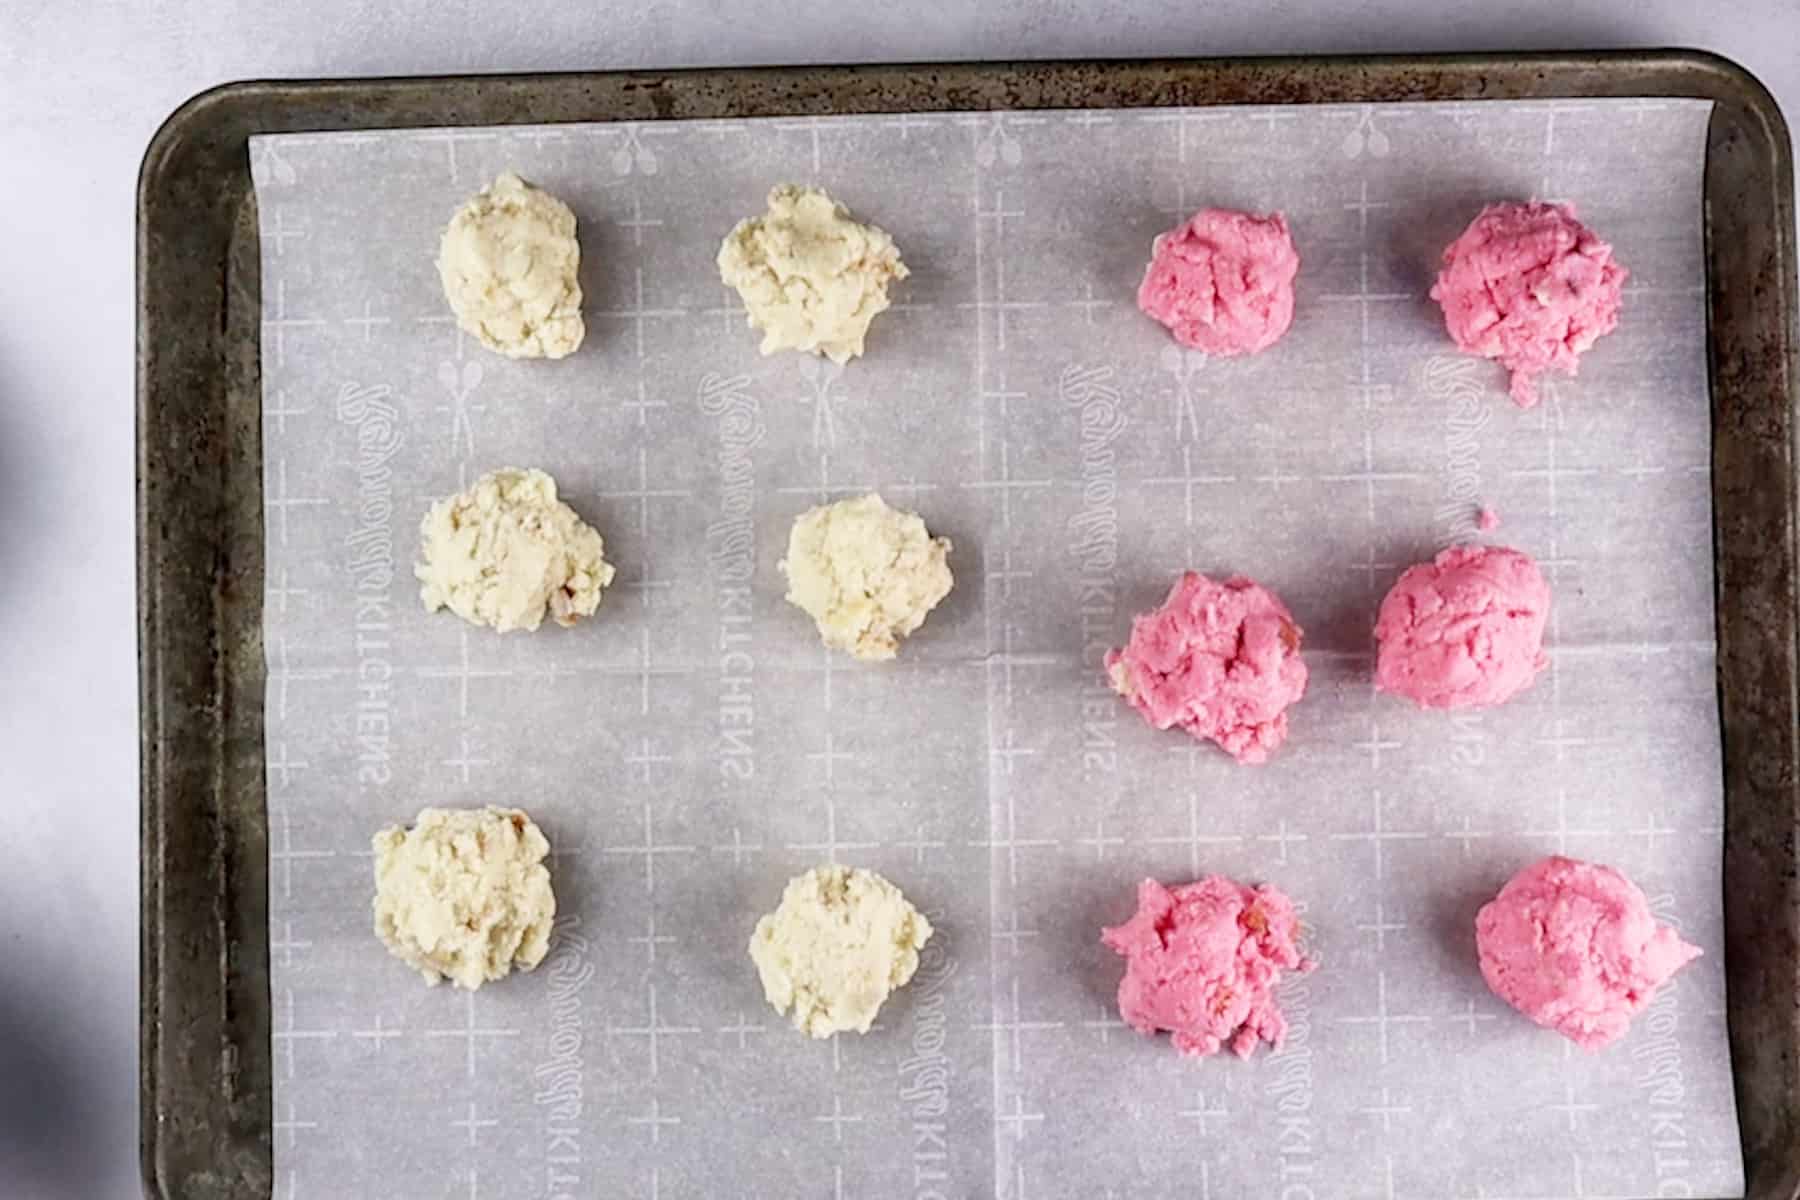
- Step 4: Scoop spoonfuls of cake pop mix onto a parchment-lined baking sheet. Freeze for 10 minutes. This allows the batter to be less sticky.
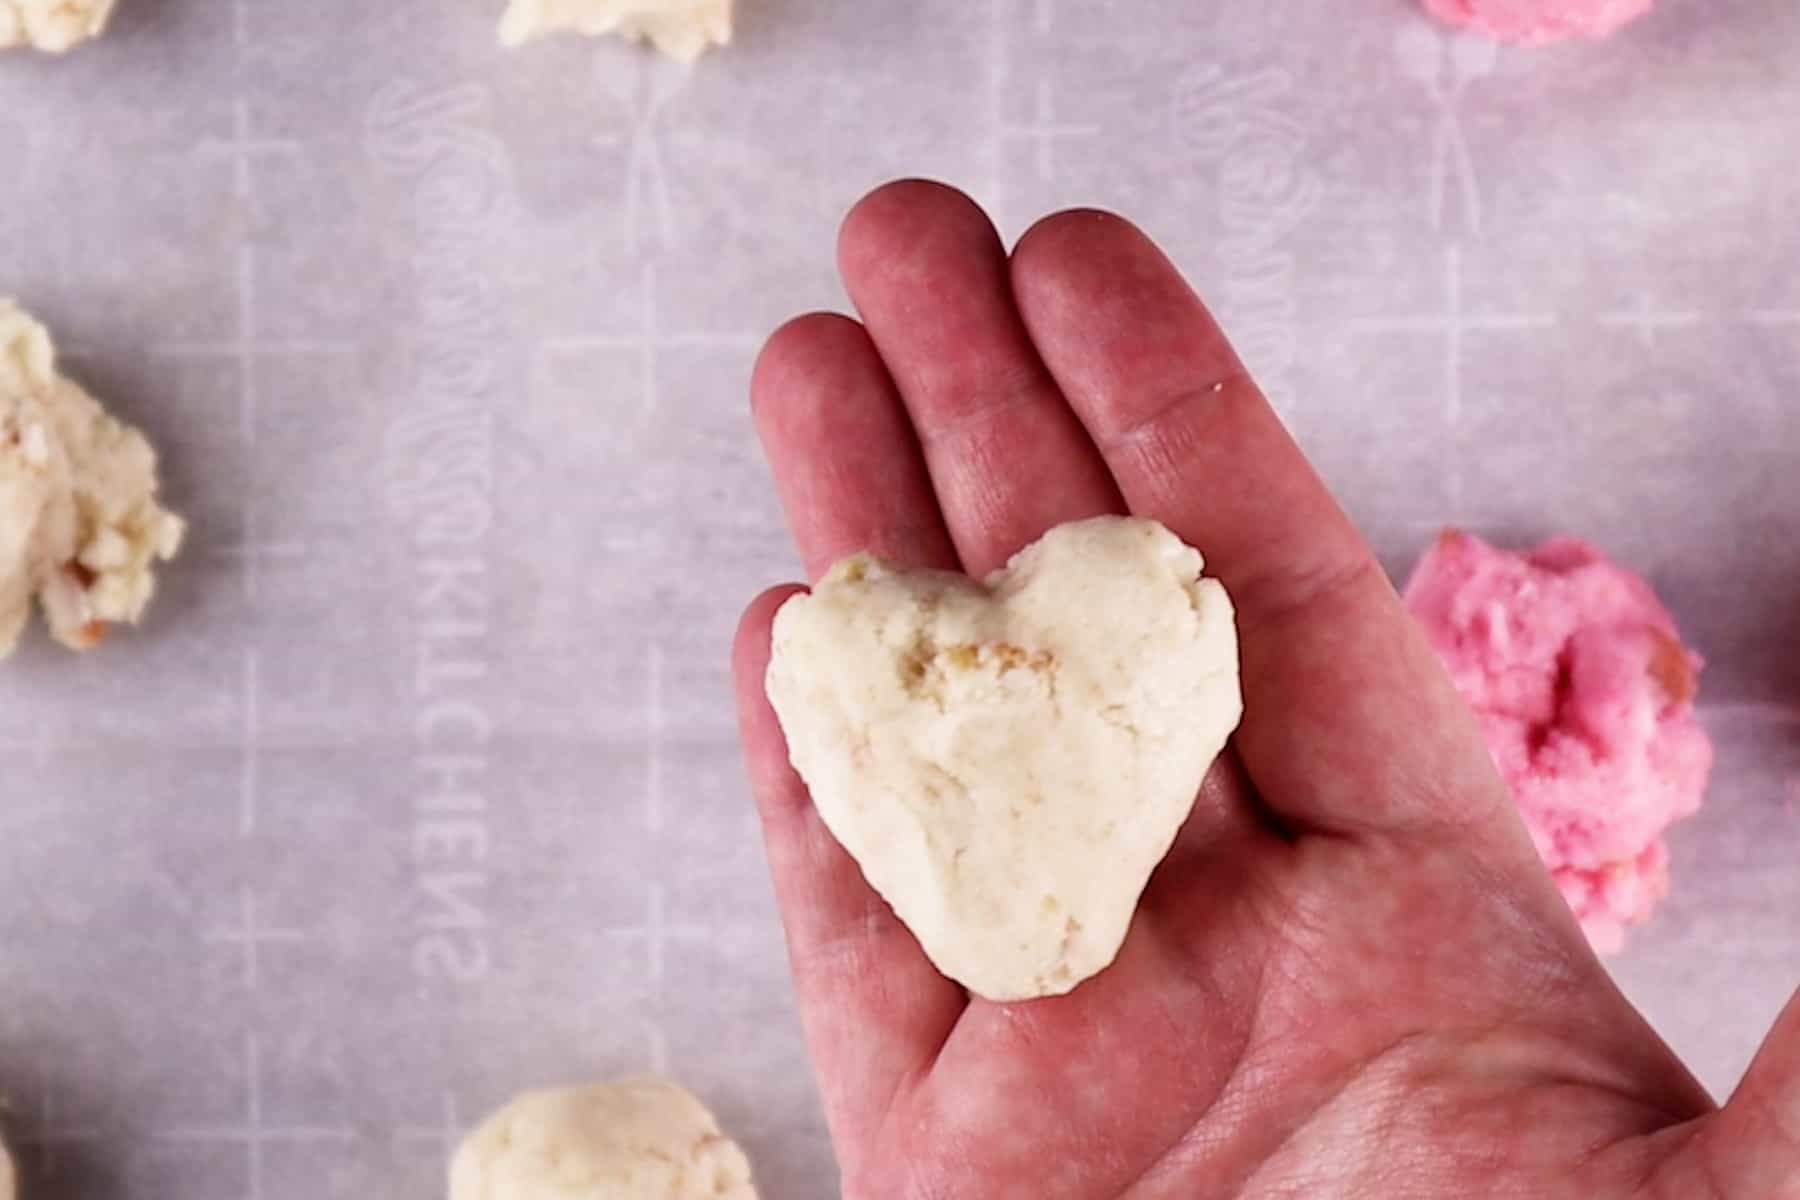
- Step 5: Remove from the freezer and roll each spoonful into balls or press into a heart shape.
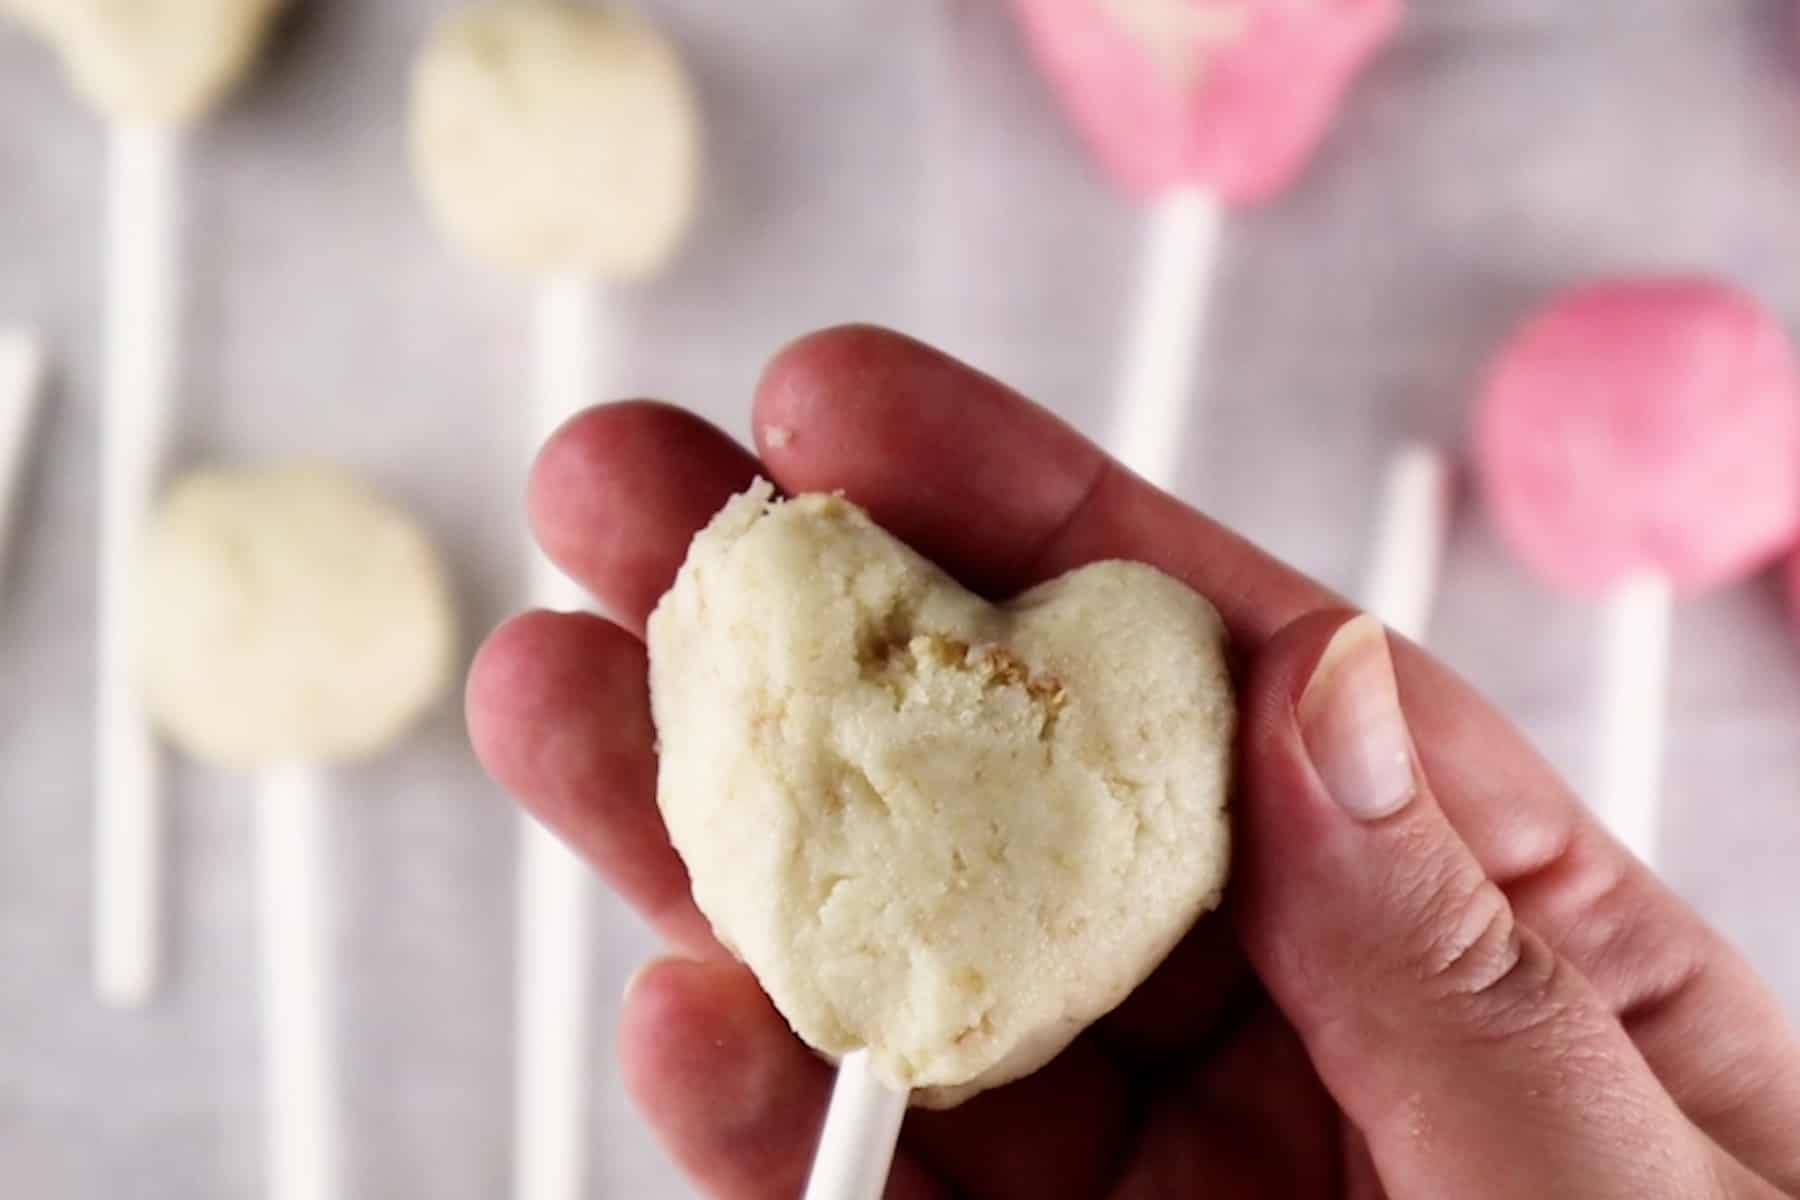
- Step 6: Gently press a cake pop stick into the bottom of each ball or heart.

- Step 7: Keep in the freezer and decorate one at a time.
Save this for later!
Don't worry, I promise not to spam you!
How to Decorate Valentine's Cake Pops?
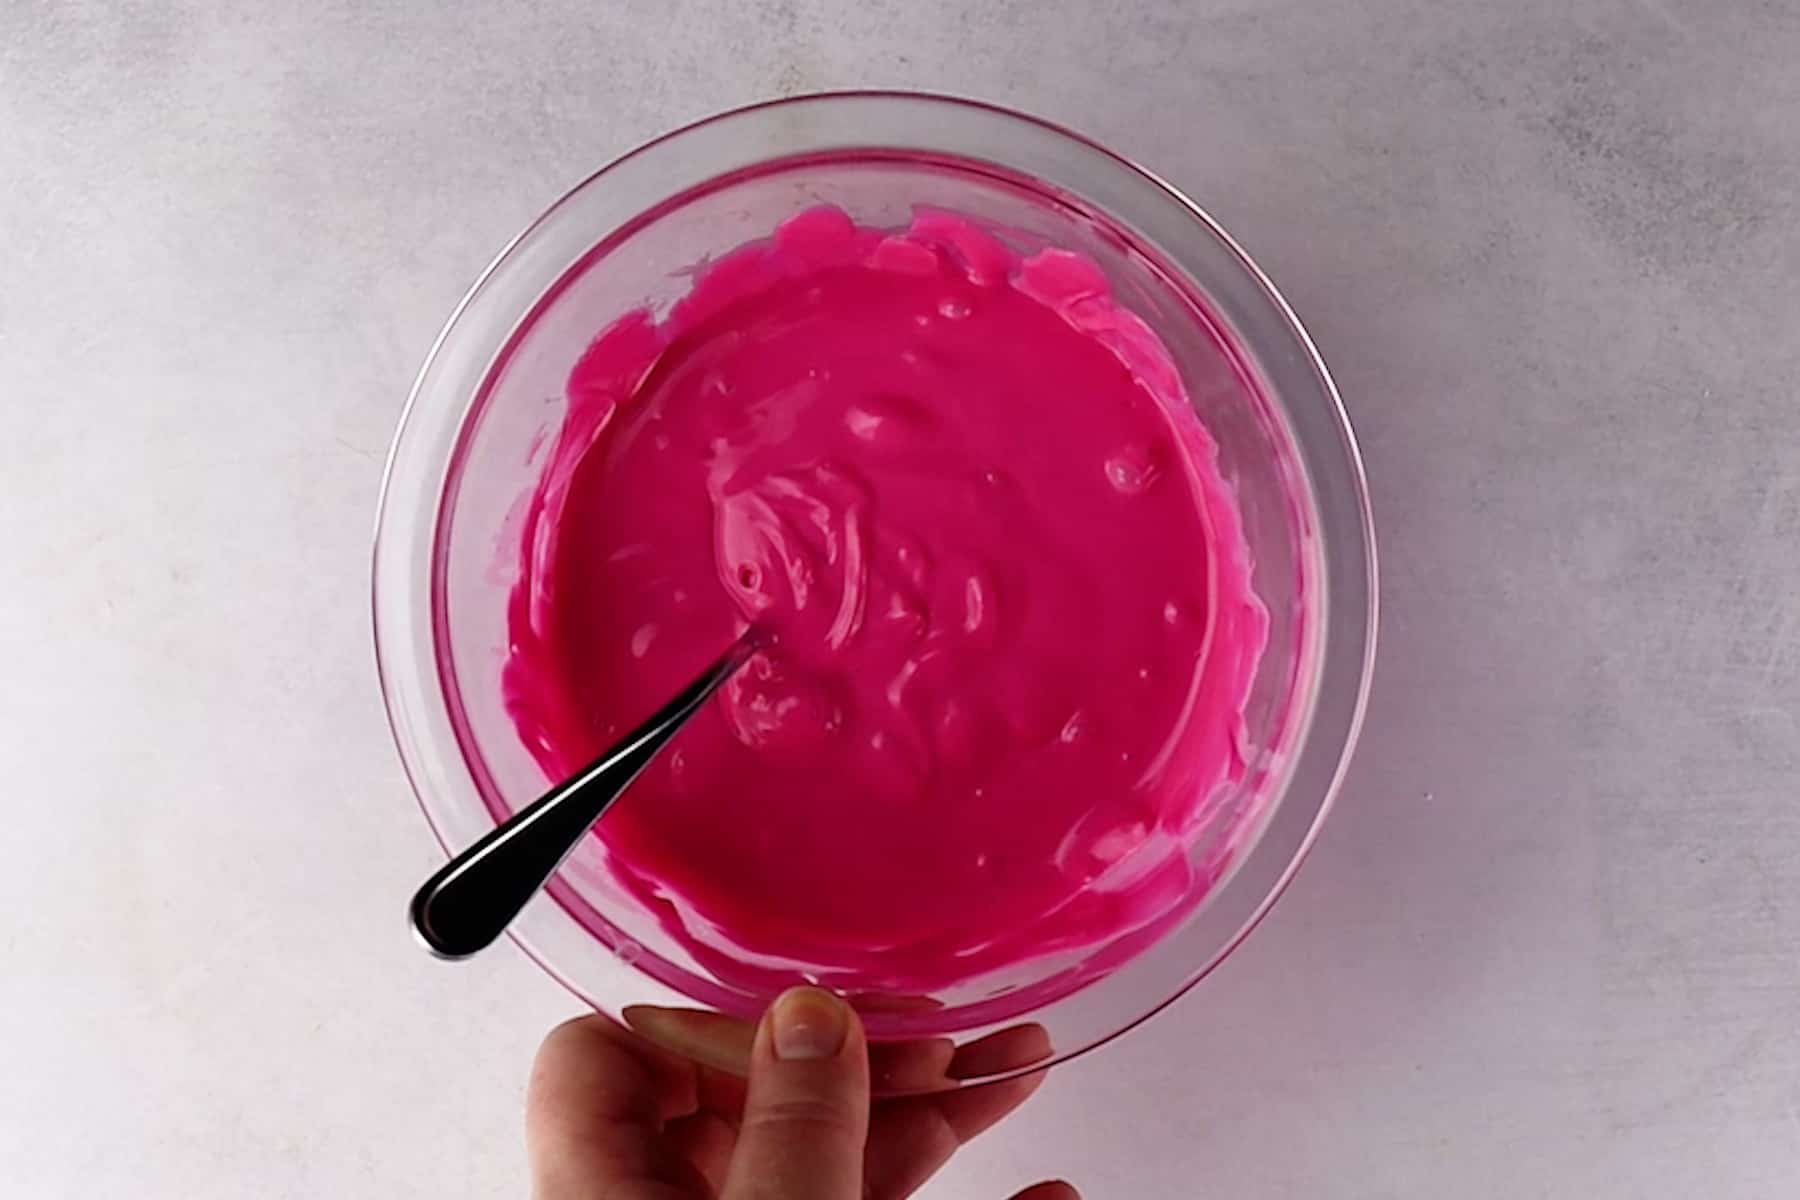
- Step 8: Melt candy melts in a microwave-safe bowl.
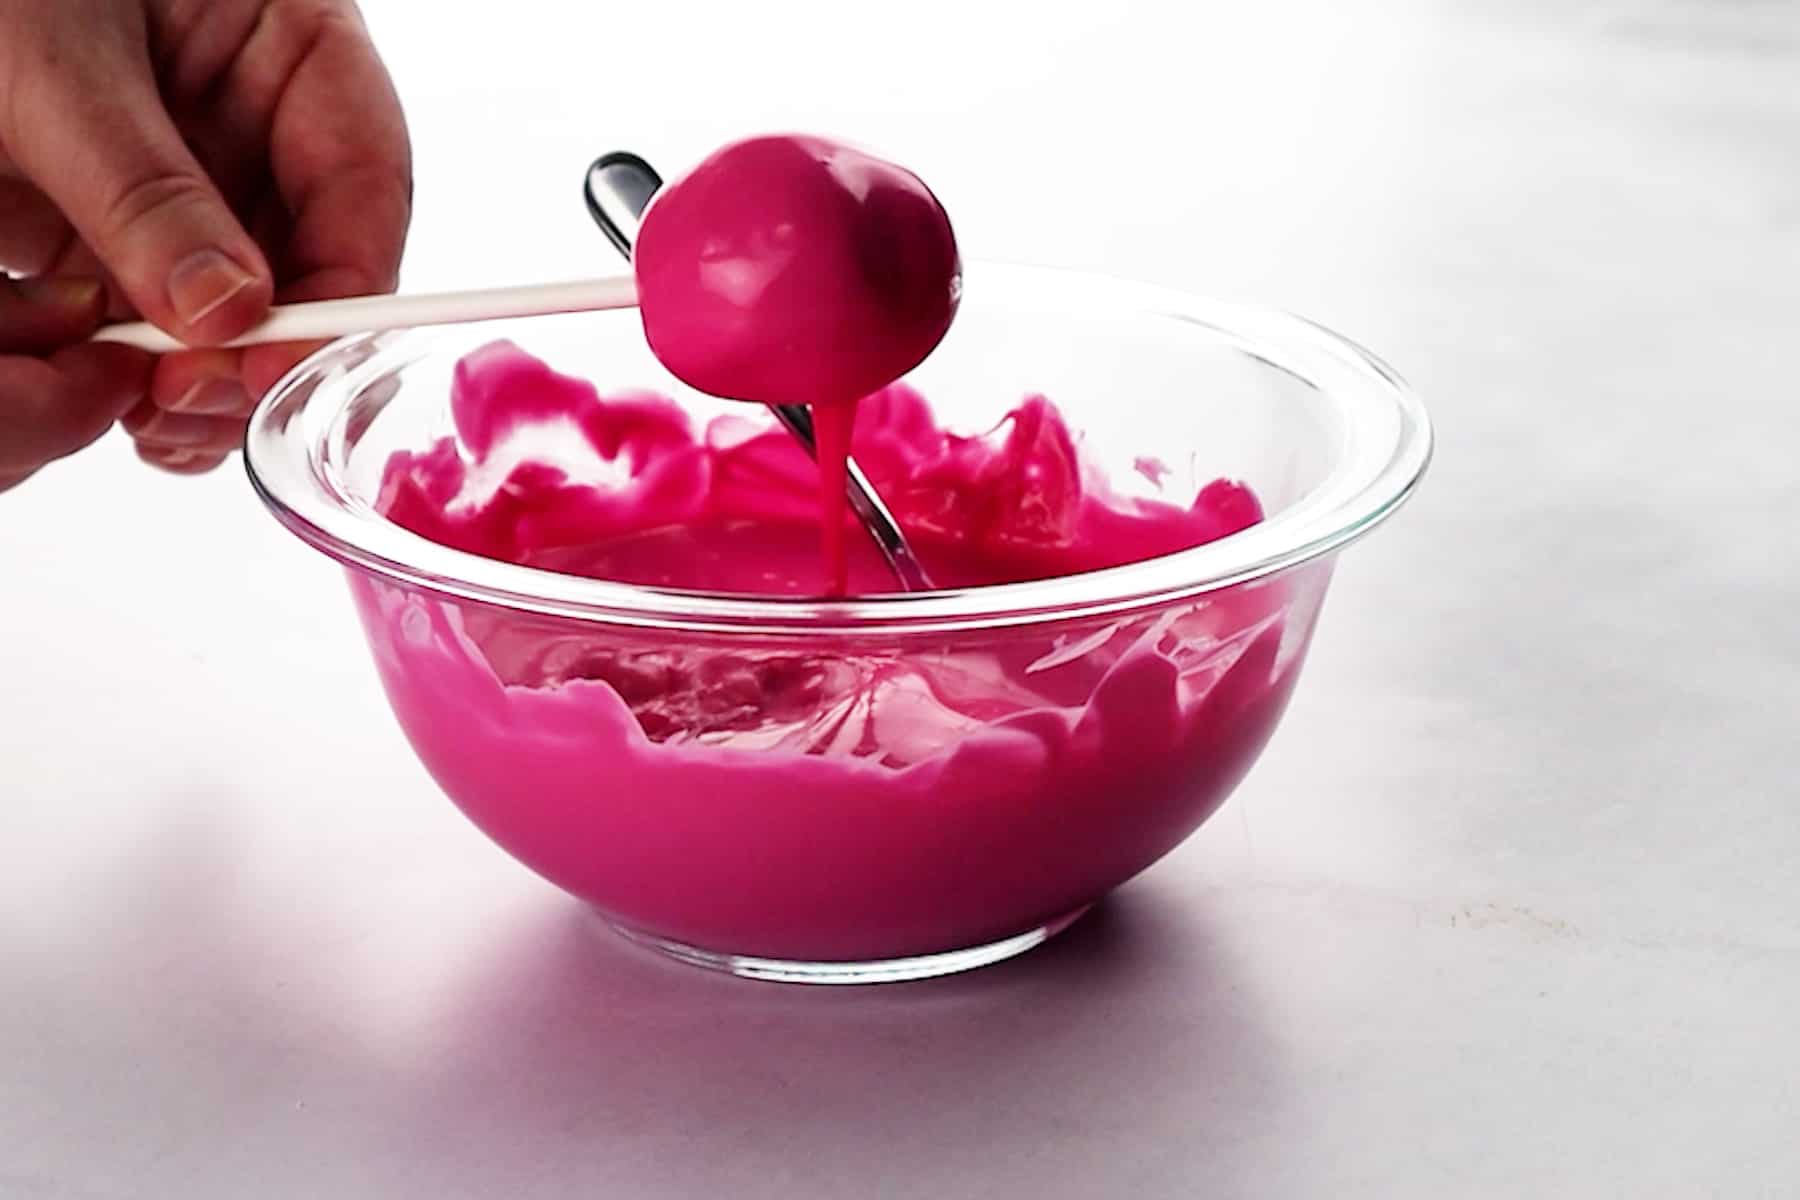
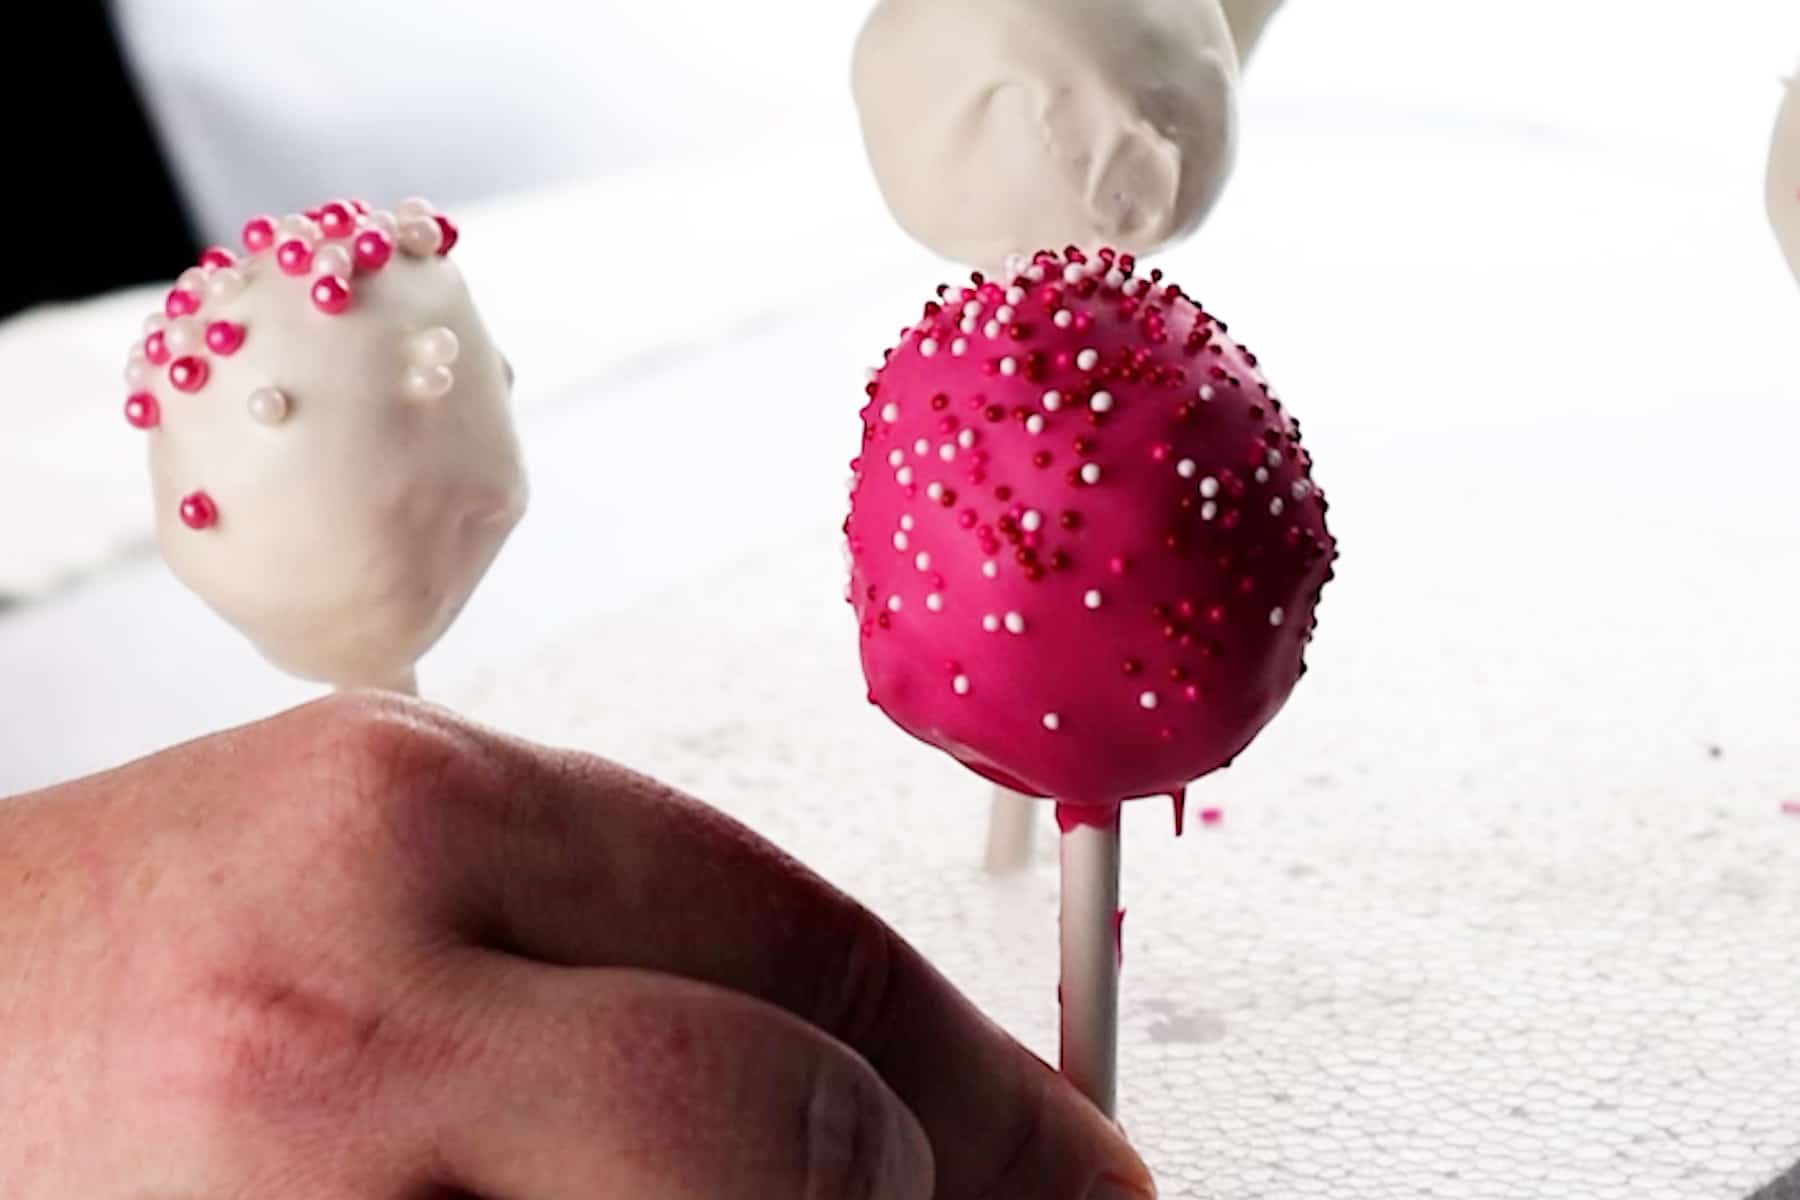
- Step 9: Dip each cake pop into the melted candy melts and then add sprinkles.
- Step 9: Allow the candy coating to harden fully.
Expert Tips
- Melt candy melts in a microwave-safe bowl, in the microwave, stirring every 30 seconds at 50% power. This prevents candy melts from burning and getting hard.
- After dipping the cake pops add sprinkles right away so they will stick, or allow the candy coating to harden and drizzle, or draw a heart with a different colored candy melt.
Frequently Asked Questions
Store cake pops in the fridge in an airtight container or ziplock baggie until ready to be eaten.
Cake pops are best eaten within a week.
I recommend 1 store-bought box of cake mix made into a cake to 2 cups of frosting.

What is your favorite way to decorate cake pops? Let me know in the comments below!
Other Related Valentine Recipes
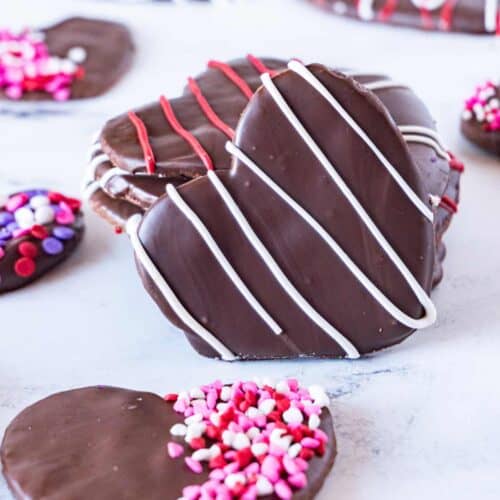
If you are looking for more easy and delicious Valentine’s recipes don’t miss my fun Heart Shaped Cake, the Best Valentine Heart Sugar Cookies, and these Easy Heart Shaped Chocolate Chip Cookies!

If you like this recipe make sure to give it a 5-star review and leave a comment down below!
Also, don't forget to sign up for my newsletter, and make sure to follow along on Facebook, Instagram, and Pinterest!
Video

Easy Valentine’s Cake Pops
Equipment
- Cake Pop sticks*
- Styrofoam Block or a cake pop holder
Ingredients
- 1 box Vanilla Cake Mix
- 1 Cup Water
- ½ cup vegetable oil
- 3 egg whites
- Pink Food Coloring- optional
- 16 oz vanilla frosting store bought, or homemade
- 12 oz candy melts* at minimum
- Sprinkles or Other Candy Melts for decorating- optional
Instructions
- Preheat oven to 325°F. Grease two 9 in cake pans.*
- Combine the cake mix, water, vegetable oil, and eggs in a large bowl.1 box Vanilla Cake Mix, 1 Cup Water, ½ cup vegetable oil, 3 egg whites
- Beat on medium speed for 2 minutes, scraping down the sides when needed.
- Pour half of the batter in a prepared baking pan, add pink or red food coloring to the remaining, stir until completely mixed in, then pour that batter into the second cake pan.*Pink Food Coloring- optional
- Bake for 25-30 minutes or until a toothpick inserted comes out clean.
- Allow cakes to cool, then crumble* and place each color in a large bowl.
- Add 1 cup of vanilla frosting to each bowl and stir until well combined.16 oz vanilla frosting
- Drop spoonfuls of the mixture onto a parchment lined baking sheet, then freeze for 10 minutes. This will allow the batter to set up enough to roll into balls or hearts without being super sticky.
- Once set, roll each spoonful into a nice ball or shape into a heart (see post above on how to do that), stick a cake pop stick in each one, then return to freezer.
- Melt candy melts in a microwave-safe bowl. Melt on 50% power stirring every 30 seconds, until melted and smooth.12 oz candy melts*
- Dip your cake pops in the melted candy melts and then press the cake pop stick into the Styrofoam. * If you are wanting to add sprinkles, I recommend adding them pretty soon after dipping, otherwise the candy melts will set up and the sprinkles won’t stick.Sprinkles or Other Candy Melts for decorating- optional
- Once all are dipped and the shells are hardened you can add a second color as strips, or drawing a heart by melting more candy melts of a different color, placing in a Ziploc bag/piping bag, cutting the tip off, then drizzling on.
Notes
- *I used white, red, and pink candy melts to dip the cake pops into, and then used leftover melted candy melts to decorate.
- I made 24 cake pops, but depending on how big you make them you may get a few more or a few less.
- If you aren’t dyeing the batter, you can bake the cake in a 9x13 pan.
- Storage: Store Valentine Cake Pops in an air-tight container in the refrigerator. Eat within a week.


Lisa Killian says
Love this recipe. These cake pops are so easy to make and super cute!